There is a host of ways you can add imagery to your Mind Maps.
First, watch this short tutorial video and for more detail return to this article to see how to add images to different AYOA Mind Map components
Detailed Steps:
1. Adding cover Images to Box Branches
When using the box branches, images are added within the text box.
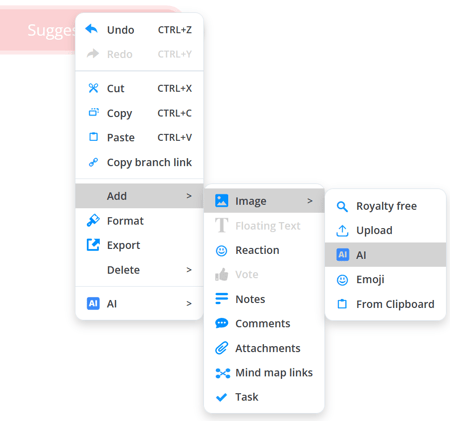
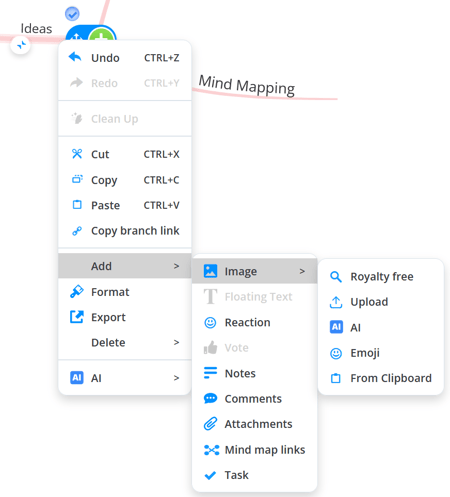
1. Right-click on the branch you would like to add an image to. This will open the context menu with different options.
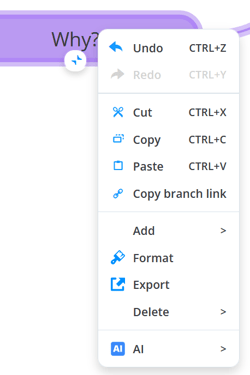
2. Choose Add and then the Image option.
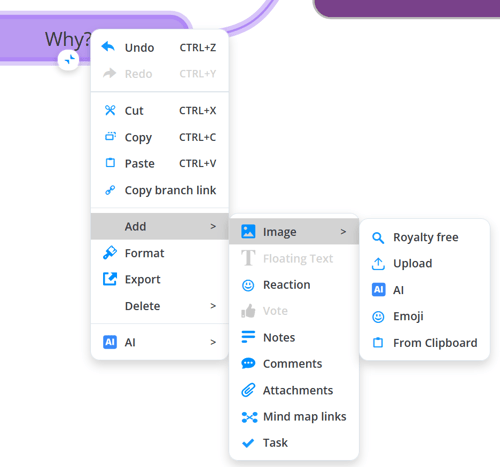
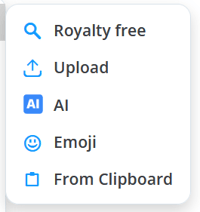
3. The image options are:
- Search for a Royalty free image ( Unsplash)
- Upload an image from your own device
- Use the AI assistant
- Use an Emoji as an image
- Images saved in Clipboard

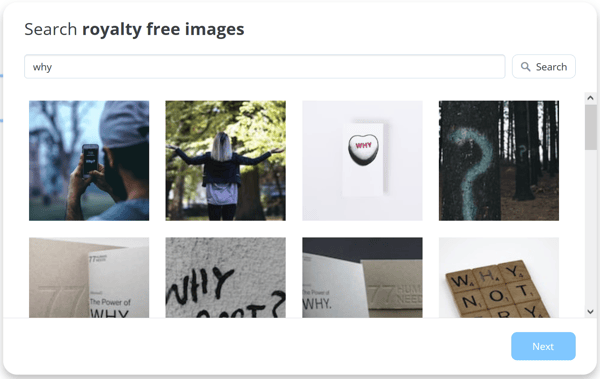
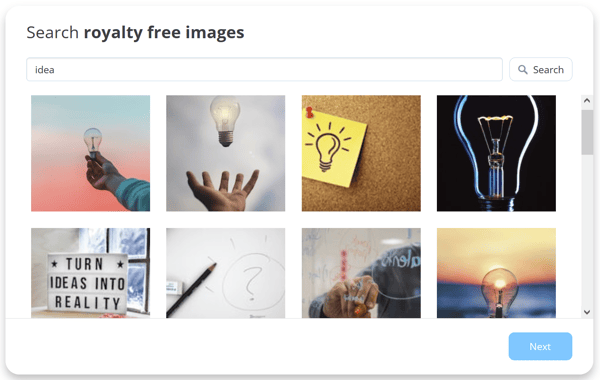
4. If you choose the Royalty free option, you will then be prompted to type in a keyword. Click Search and hit Enter on your keyboard when done. You will see a list of stock images appear based on your search entry.
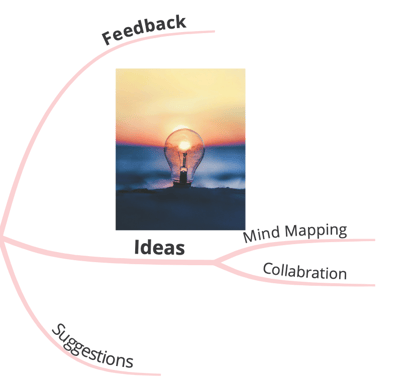
5. Once selected, the image will be added to your branch.
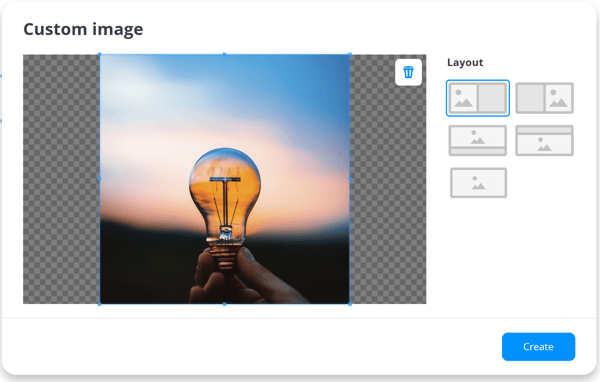
6. To add an image from your computer, click Upload. This will then open a new window prompting you to drag and drop or click to add an image from your computer.
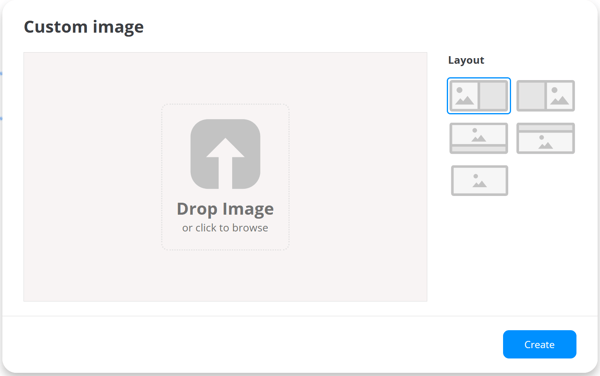
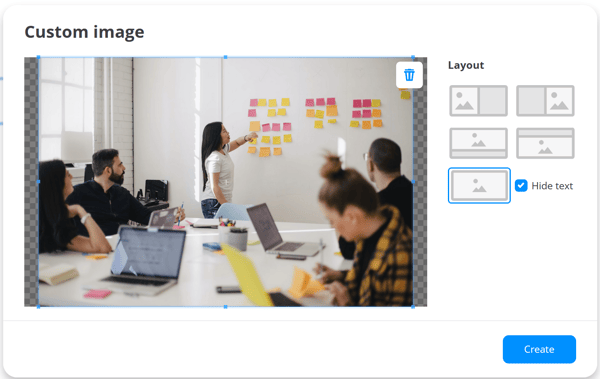
7. You can then choose what section of the cover image you would like to show on your branch. Click Create when done.
8. To add emoji as an image, click on the Emoji option and select one from the list.
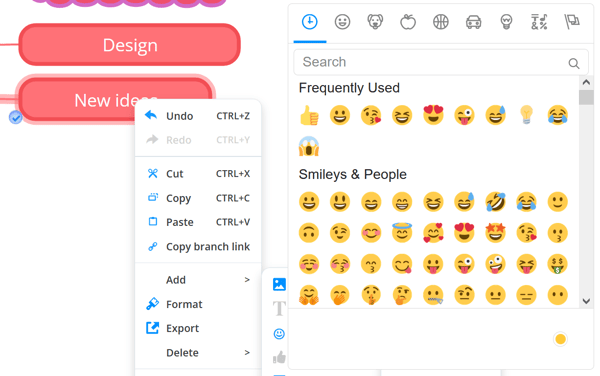
9. Once the image position in the box branch is selected, emoji will be added to the branch.
10. To add an image from a Clipboard, right-click on the chosen image on your computer and click the From Clipboard option. This will open a window with the image edit settings.
2. Adding images using AI
With the help of AI, you can generate images and add them to your branches.
1.To start, right-click on the branch, choose Add option and then Image followed by AI.
2. The box will be shown where you can choose the type of image and the subject.

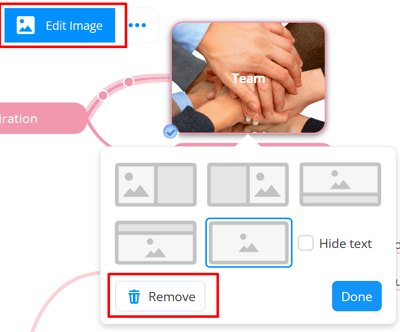
3. Editing Images in box branches
You can edit an image in the box branch by clicking on the image and, in the top toolbar, selecting the Edit Image option. You will then have a pop-up window where you can change the position of the image within the box branch. 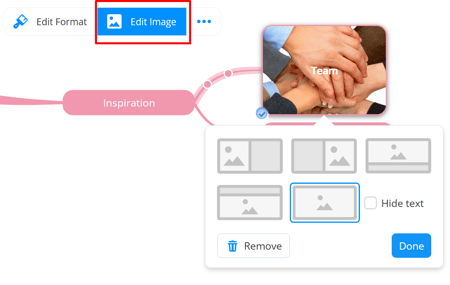
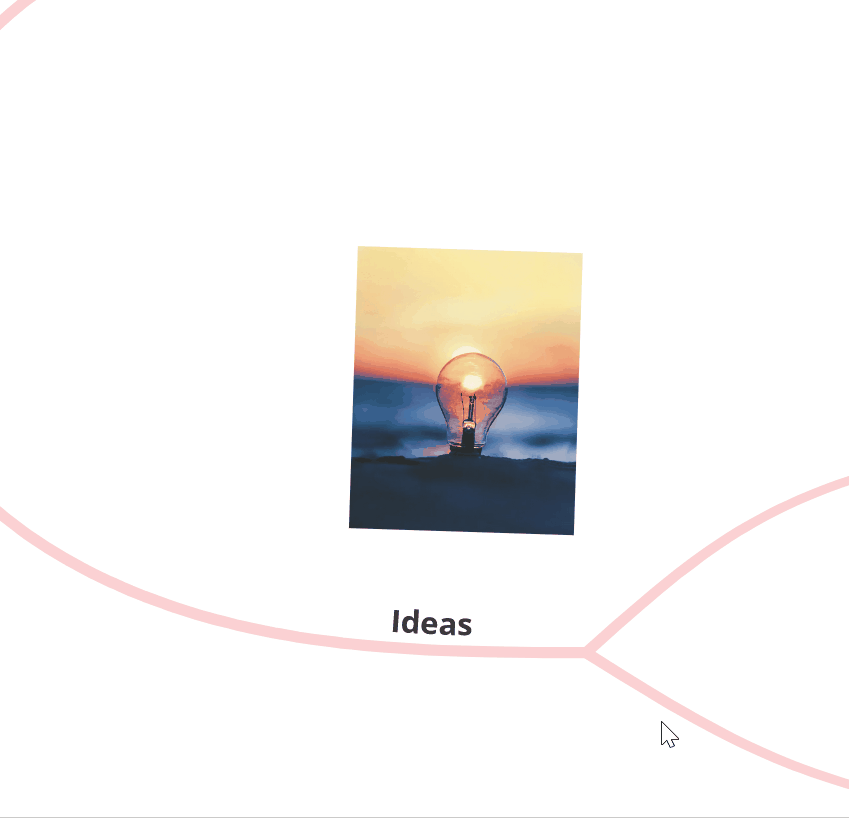
4. Adding Images in the Mind Map
When you add an image in the Mind Map style the image is added on the Mind Map board next to the branch.
1. Select the branch and right-click with your mouse to open context menu. Choose Add and then Image.
2. Choose to either upload your own image from your device, search for a royalty free image, use AI or add an emoji as an image, or use the copied image from the Clipboard.
3. Search for and select your image.
4. The image will now be added next to the branch.
5. Use the green arrows to rotate your image. Use the dots at the corners of the image to make it bigger or smaller.
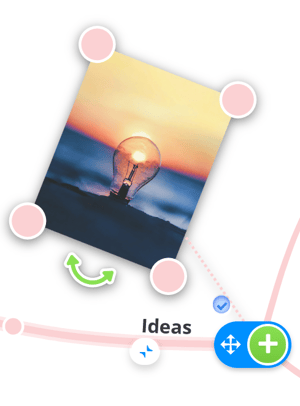
6. You can drag the image around the map.
5. Adding images using Branch tools
All you need to do is click on the chosen branch, select plus icon and choose the type of image you would like to add.
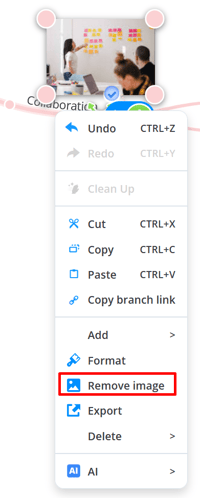
6. Removing Images from Branches
To remove an image from the branch, click on the branch and the select the Remove Image option in the top tool bar.
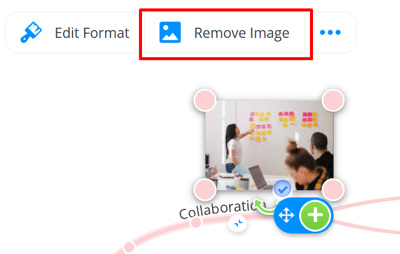
Alternatively, right-click on the branch and select Remove Image from the context menu.
To remove the image from the box branch, click on the box branch and select Edit Image in the top toolbar. You will see the pop-up with image positions and the Remove option.