To add a Task in your project timeline you have two options:
Click and drag
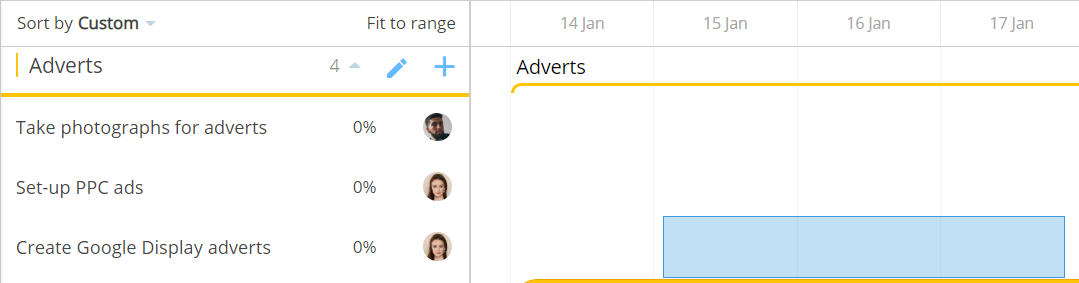
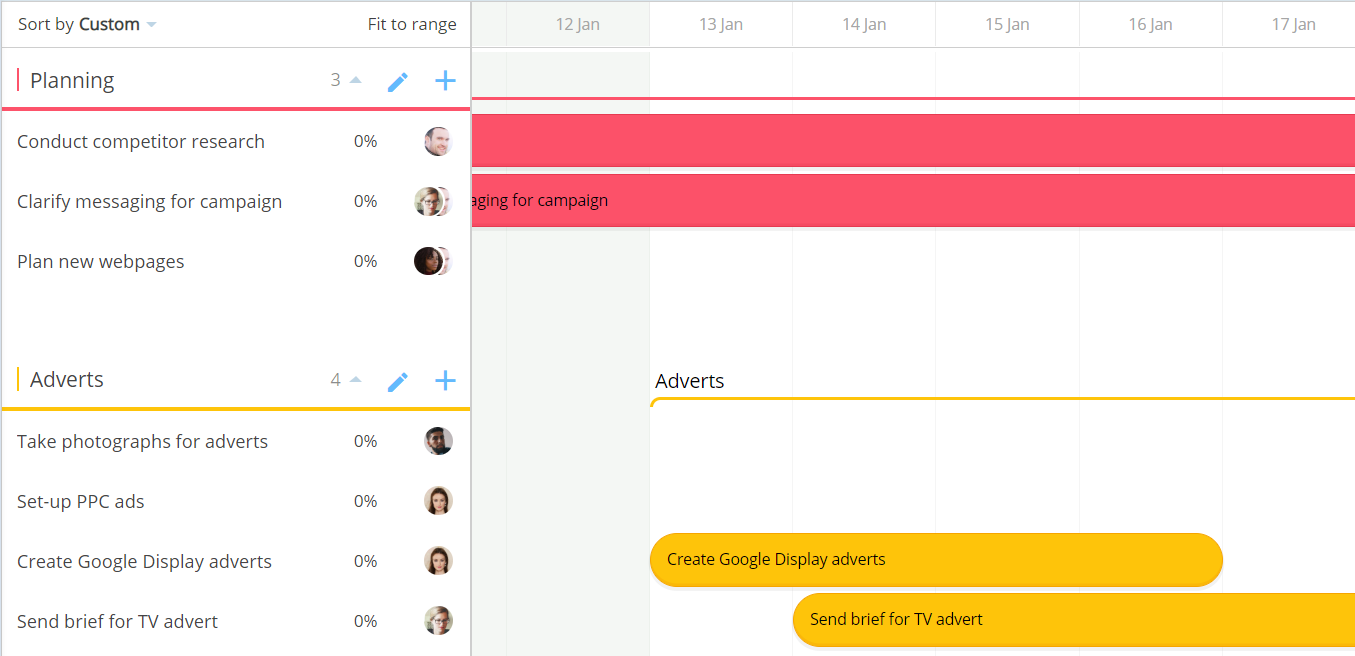
1. Add a Task to the list to the left of the Gantt Timeline, or select one from the list if already in place
2. Using the scroll bars at the bottom of your AYOA window, head to the point on the timeline that shows when you would like to that Task to start
3. Select the section on the timeline next to the selected Task in the left of your view.
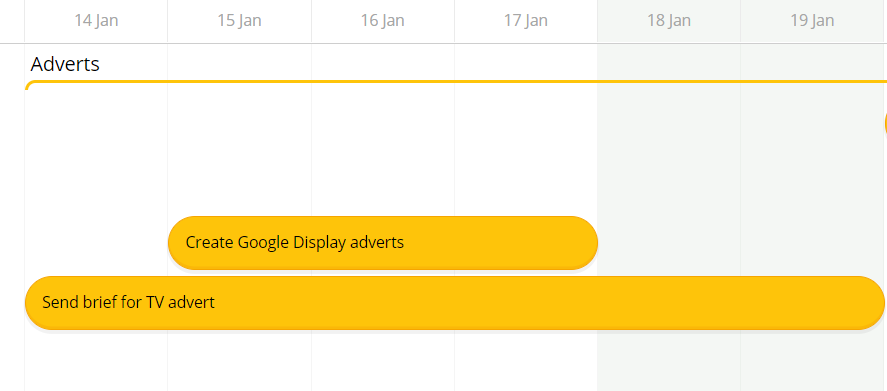
On the timeline, click, hold and drag the cursor from your desired start date to the proposed due date and let go.
4. This will add the Task to the timeline.
Or manually enter the details
1. Click on the Task
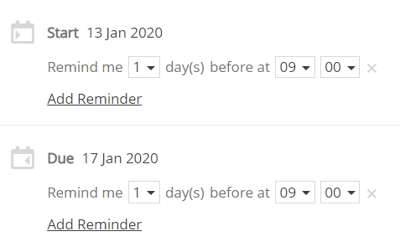
2. Add a start date by clicking on Set start date. Then choose a date from the calendar and click Set start date.
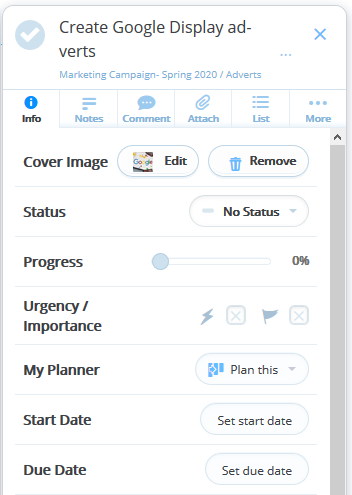
3. Then add a due date by clicking Set due date. Then choose a date from the calendar and click Set due date.
4. This will automatically add the Task to the timeline.
You can add a new Task directly onto the timeline or to the Task list and set dates as above.
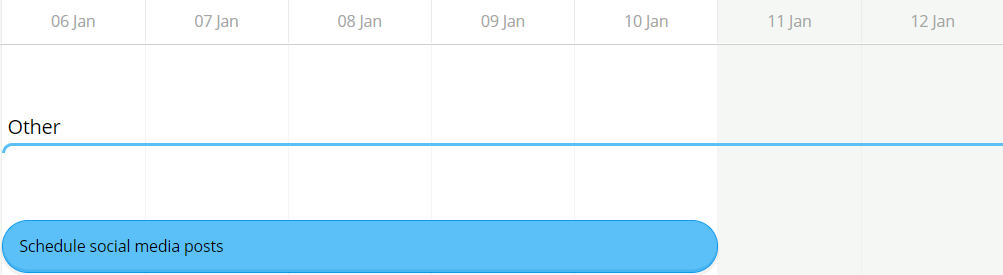
Adding a Task directly to the Timeline:
1. Underneath the last Task on the timeline click and drag from your proposed start date to due date.

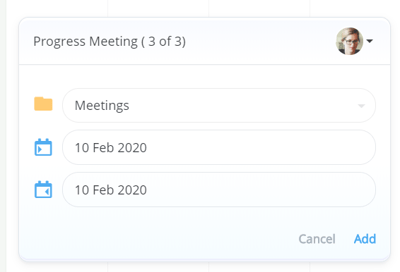
2. You will then be prompted to name the Task, pick the category from the drop-down menu, and change the start and due dates
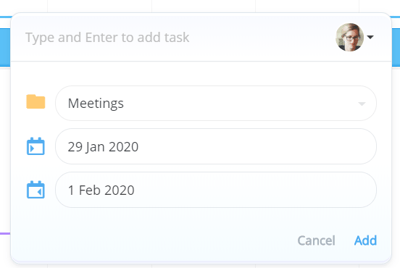
3. Select Add when you are happy with the details.
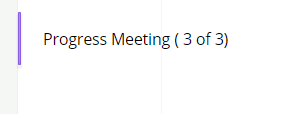
The task will now be added to both the task list on the left-hand side and on the timeline.

Adding a Task to the Task list.
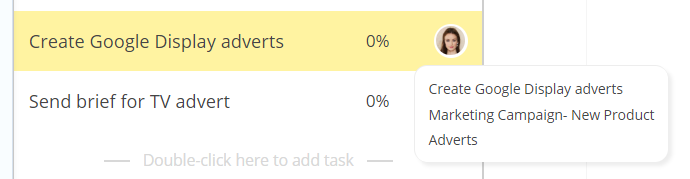
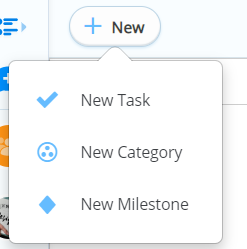
1. You can add a new Task by selecting New at the top of the Task list and then select New Task.

2. Or you can double-click at the bottom of the Category where you want to add the Task.
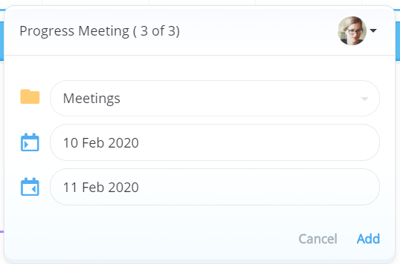
3. You can then choose the name, add or change the Category and choose the Start and Due Date. The Start and Due date will be automatically set to today and tomorrow. Click on each of them to choose dates from the calendar.
4. The Task will now be visible on both the Task List and the Timeline.
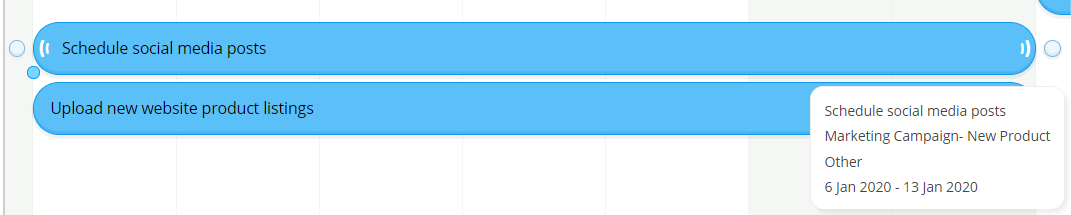
Moving Tasks along the Timeline.
It's quick and easy to move your Tasks along the timeline.
1. Click in the centre of the Task, hold, and drag it to a new location.
2. This will automatically update the start and due dates within the Task.
3. You can also move the Task by opening the Task detail and updating the start and due dates.
4. This will automatically move the Task across the timeline.
Tasks can only be placed in complete days, not half days.
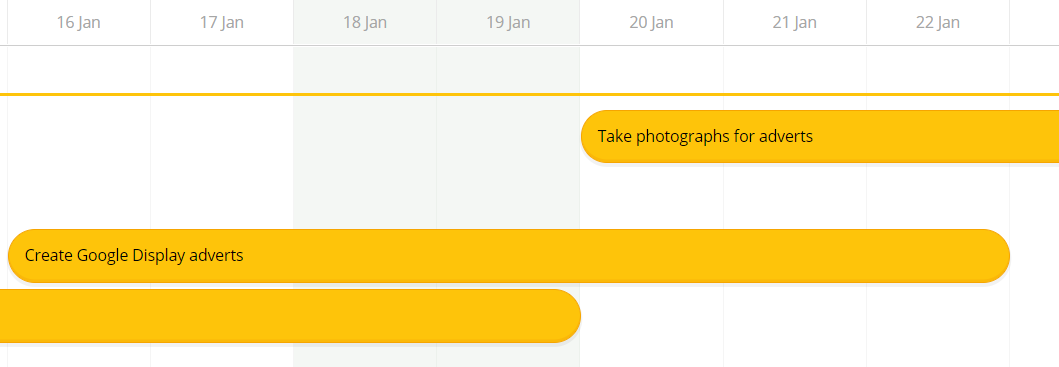
Adjusting Task time
You can quickly adjust the start date and due date of a task on the timeline.
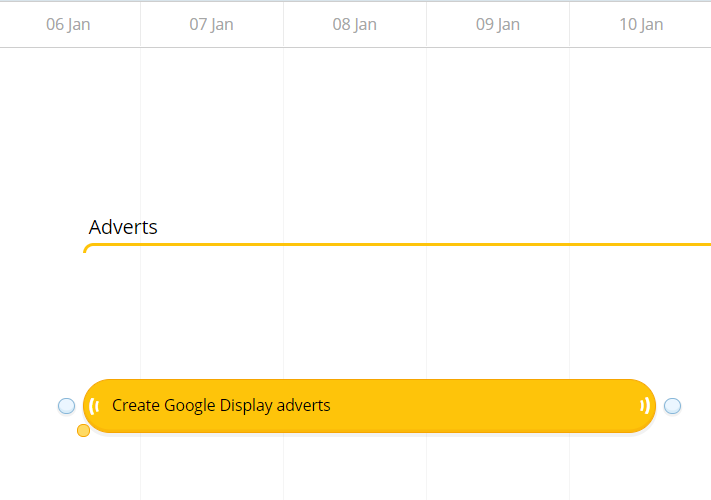
1. Click or hover over the task that you wish to adjust.
2. Hover over the start or end of the task until you can see two arrows.

3. Drag the task backwards or forward to reduce or increase the duration of the task.

4. Release the cursor to apply the changes.
Adding Task details
You can add all the same details to your Task as you can in Workflow/Kanban and Canvas views
Click on the Task on the timeline to open the Task detail.
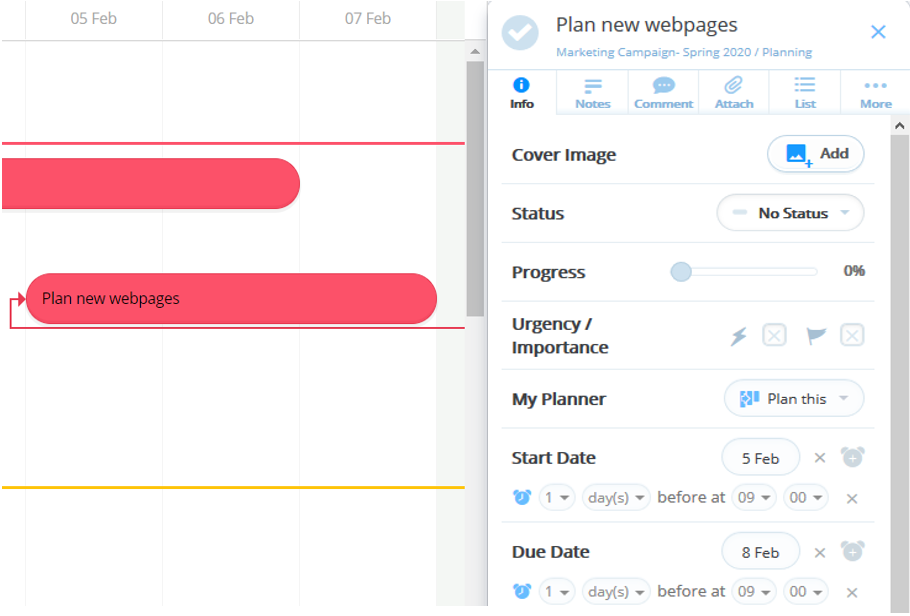
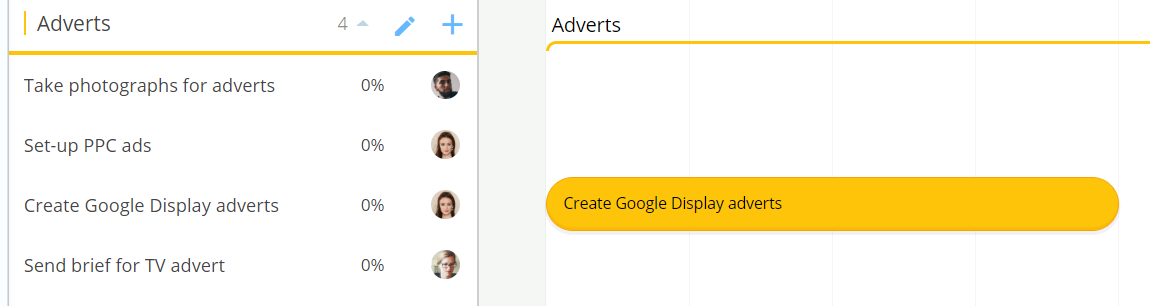
Updating the progress bar will be visually represented on the timeline!