Adding a new Category
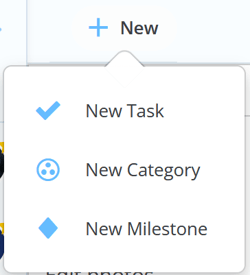
1. Click New at the top of the Task list (top left corner of your Gantt Timeline view)

2. In the drop-down menu click New Category.
3. You will now be able to choose the category name and colour.
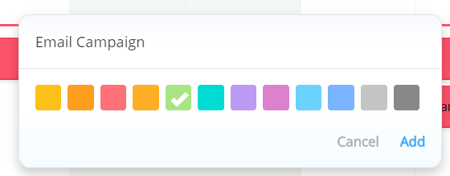
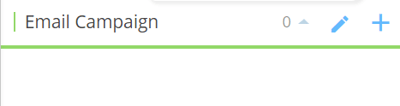
4. Click Add, the category will now appear at the bottom of your task list.
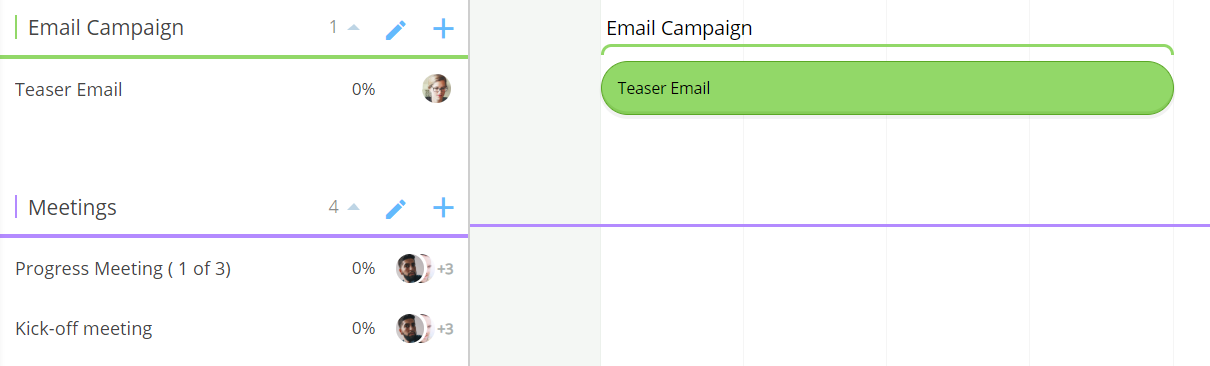
5. Any tasks that are added to a Category will be the same colour.

Moving Categories
1. To move a category, click the Category title so that it is highlighted.

2. Drag and drop the Category to a new location in the Task list.
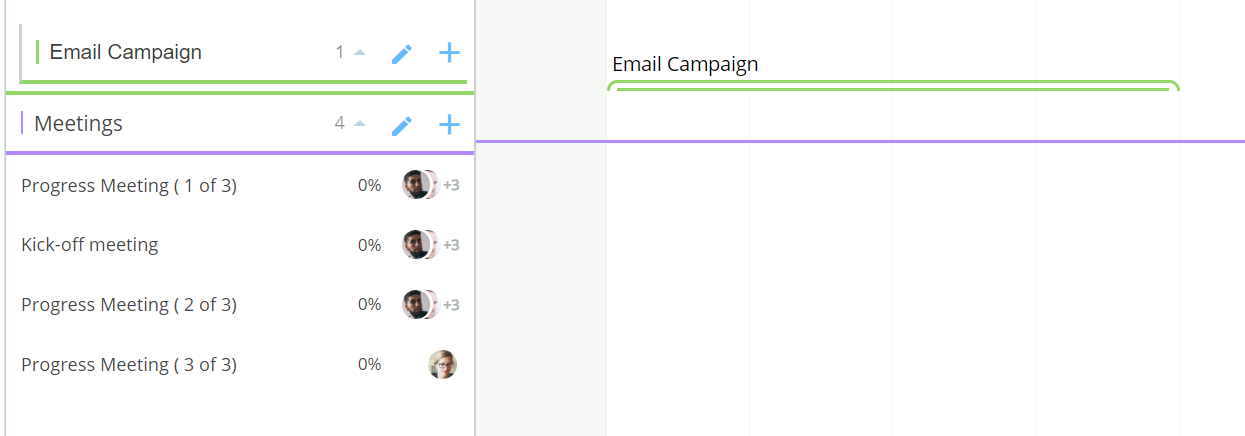
3. The Tasks will be automatically moved with the category.
Editing a Category
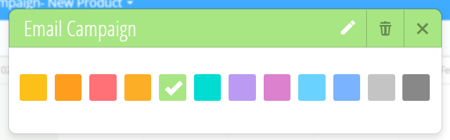
1. Click on the pencil icon next to the Category name.

2. This will open the options allowing to change the name and the colour, or trash the category.
3. Click the pencil next to the text to start editing, click the tick/check icon when done.
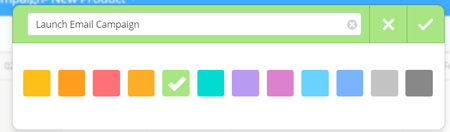
4. Choose your preferred colour, then click X to close the window.

5. If you have changed the Colour of the category all the tasks within that category will also be updated