Capture Maps allow you to brainstorm quickly , optimise and organise ideas without distractions
Creating a Capture Map
1. Navigate to the home page and click +New Project

2. Select the Blank mind map option and name the new Mind Map.

3. Under the Advanced Options, at the bottom of the window, you can add a Map description and any people you wish to collaborate with. Once that is done, click Create.

4. In the new window, you can select the central idea box (a Mind Map must start with a central idea)

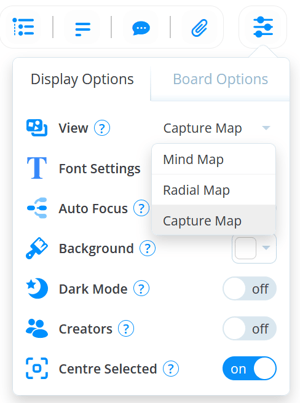
5. Once the Mind Map is created, switch the view to a Capture Map in the Mind Map's settings in the top right corner.

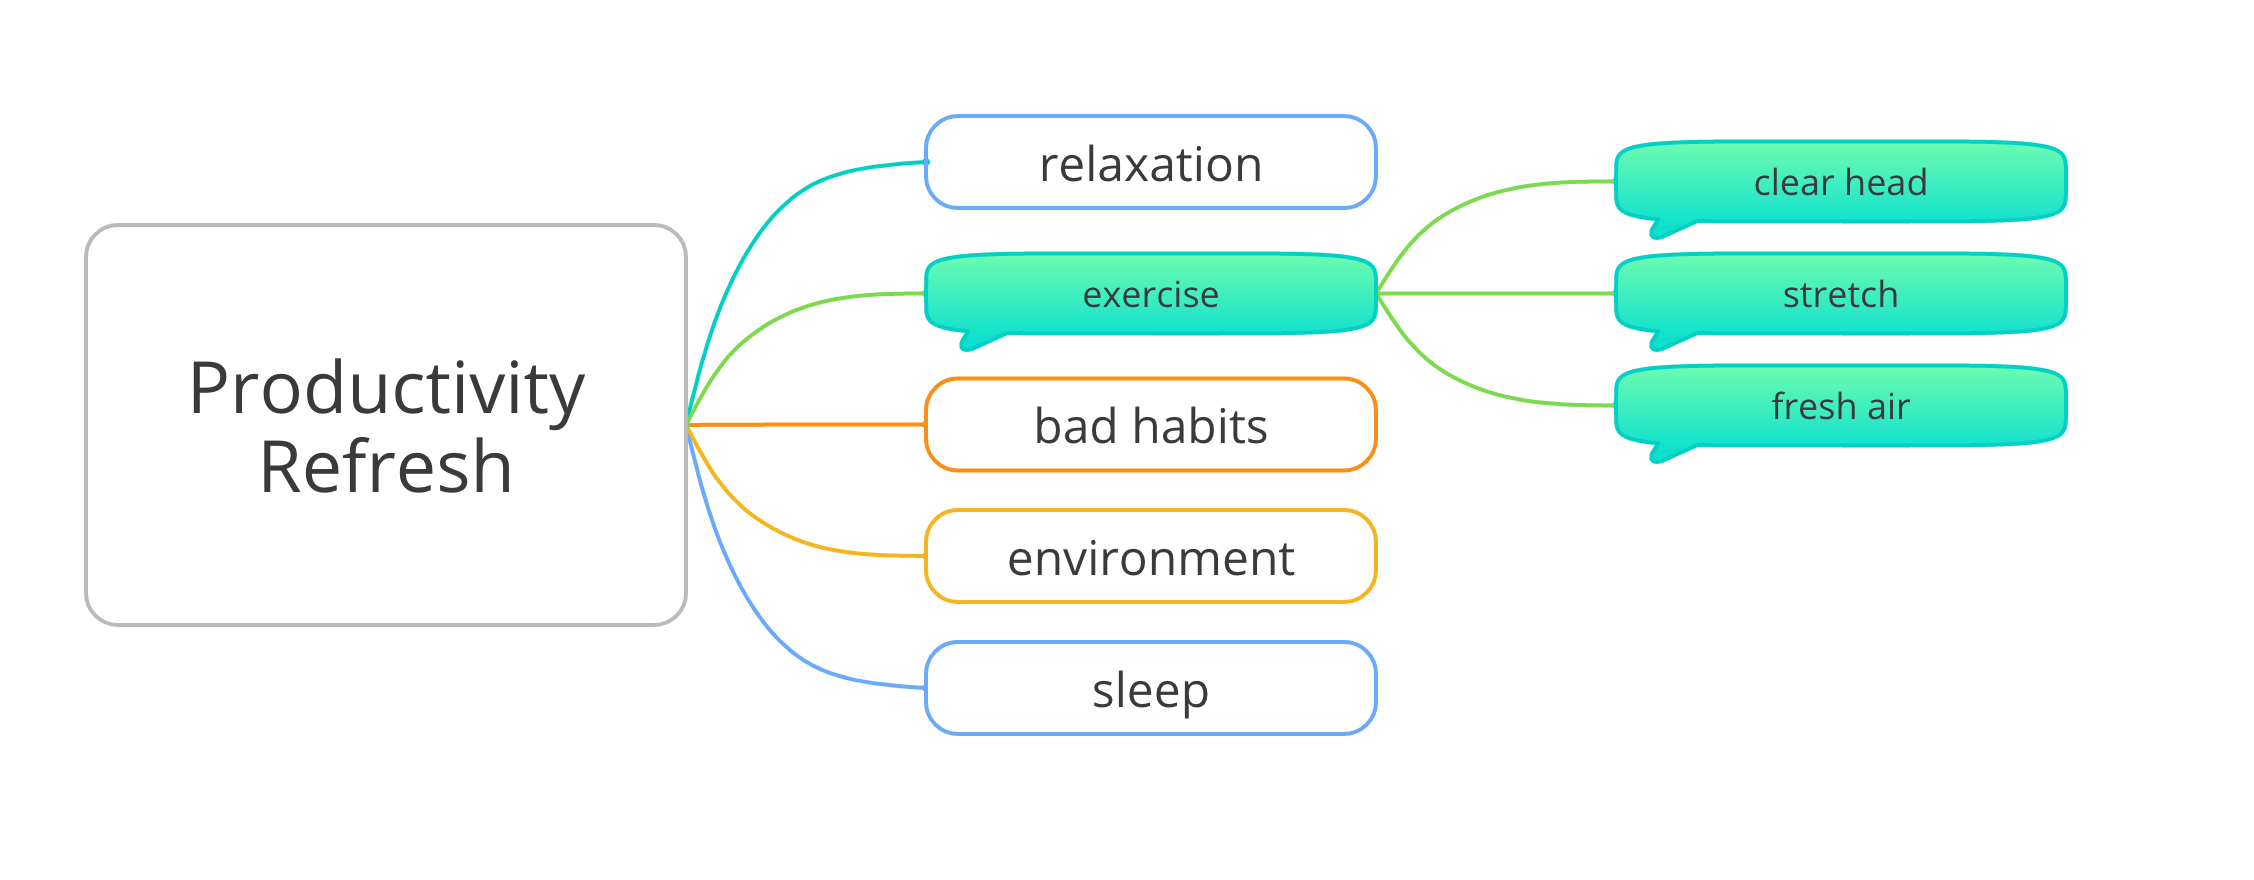
6. Unlike a traditional Mind Map, the Capture Map doesn't have a central idea. Instead, you can add floating bubbles anyway on the canvas. Double-click onto the canvas to add a bubble.
7. You can add separate floating bubbles to the canvas by double-clicking.
8. To add a new connected bubble, to an existing bubble, select the existing bubble by clicking it. Then click on the green + icon. You can also use the Enter button on your keyboard.
9. Using the Enter key you can quickly add multiple connecting bubbles.
10. To disconnect two connected bubbles, click on the connected button, then click on the X that appears on the connector. The two bubbles will now be disconnected. In this example you can see that the disconnected bubbles have changed to a different colour.
Formatting capture bubbles
Bubbles can be formatted in the same styles and colours as you can in other mind map styles.
1. Double-click on the bubble you wish to format to open the editing tools.
2. The formatting options will let you change the shape and colour of the bubble.
3. If you want to update the formatting for all the connected bubbles navigate to Type then click Apply style to children.
Switching between Capture Maps and other views
With Mind Maps, you can switch between the different styles of Maps at anytime.
1. To switch from a Capture Map to any other view, click on the Settings icon in the top right corner. Select the Display Options tab and then, click on the view you would prefer to switch to.
2. When switching from Capture Maps to a different view, a central idea will be created from the name of the map, and each key bubble will be added as parent maps, which all the connected bubbles added as child branches.
3. If you switch from a different view to a Capture Map, the central idea will disappear and each parent branch will be transformed to a bubble, with its child branches and connected bubbles