Watch this short explainer video, or follow the steps below
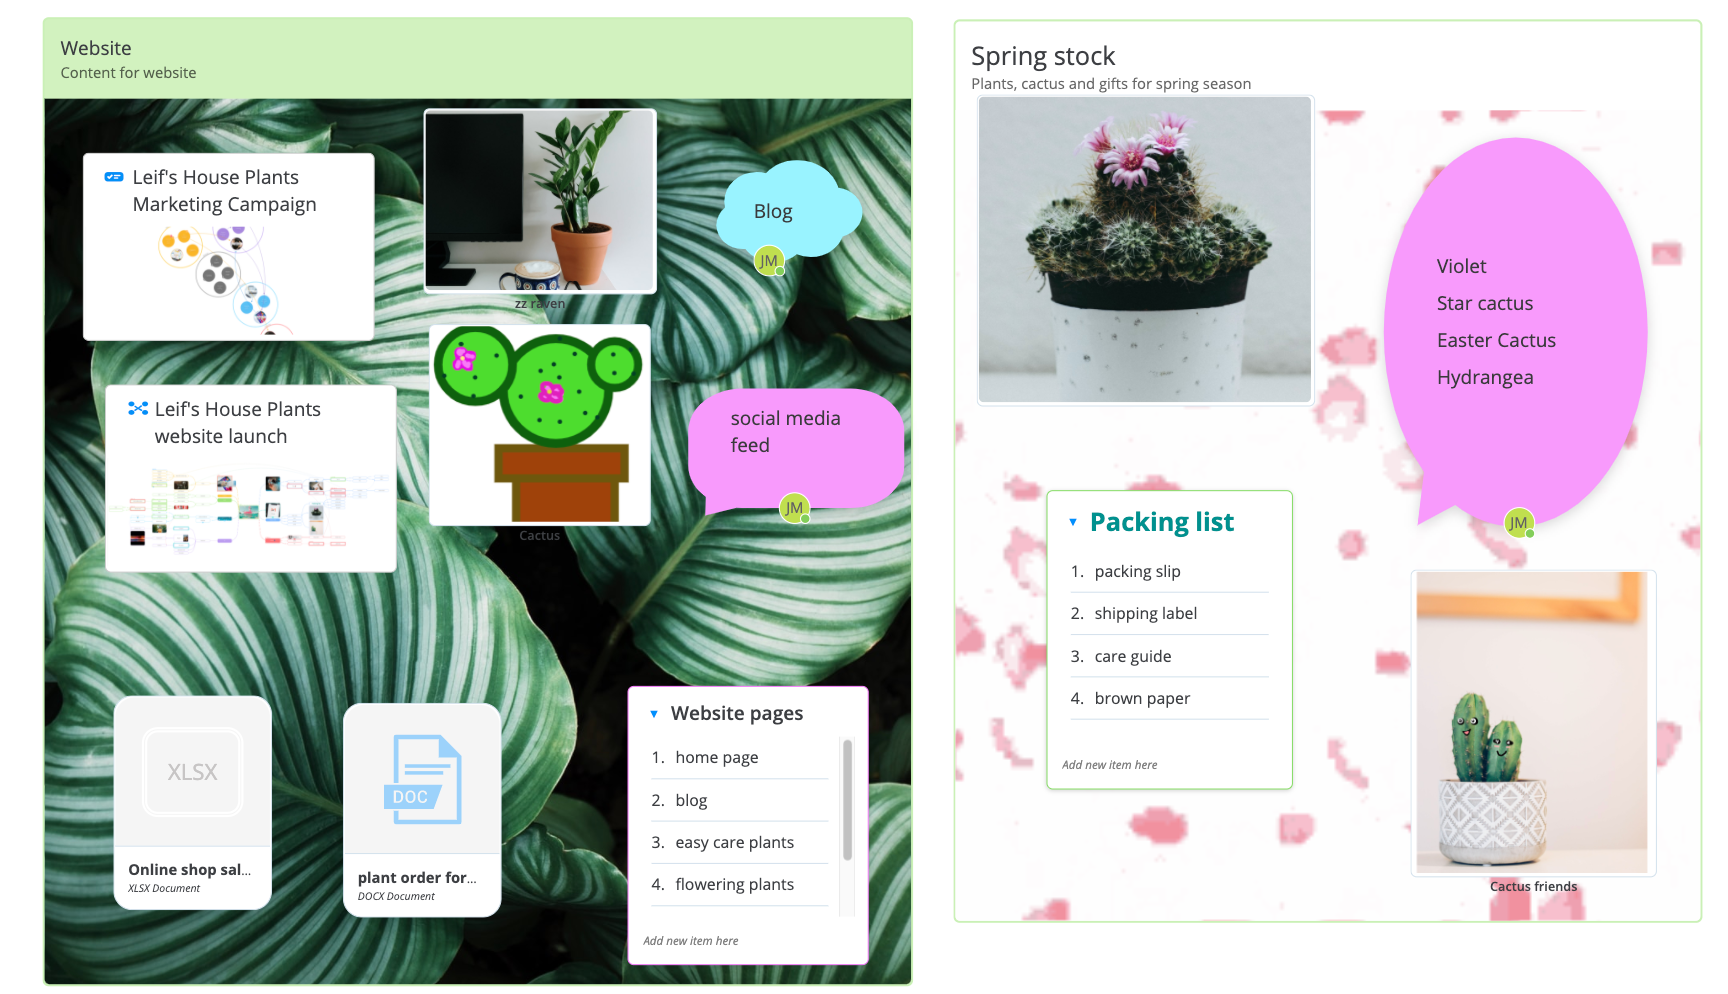
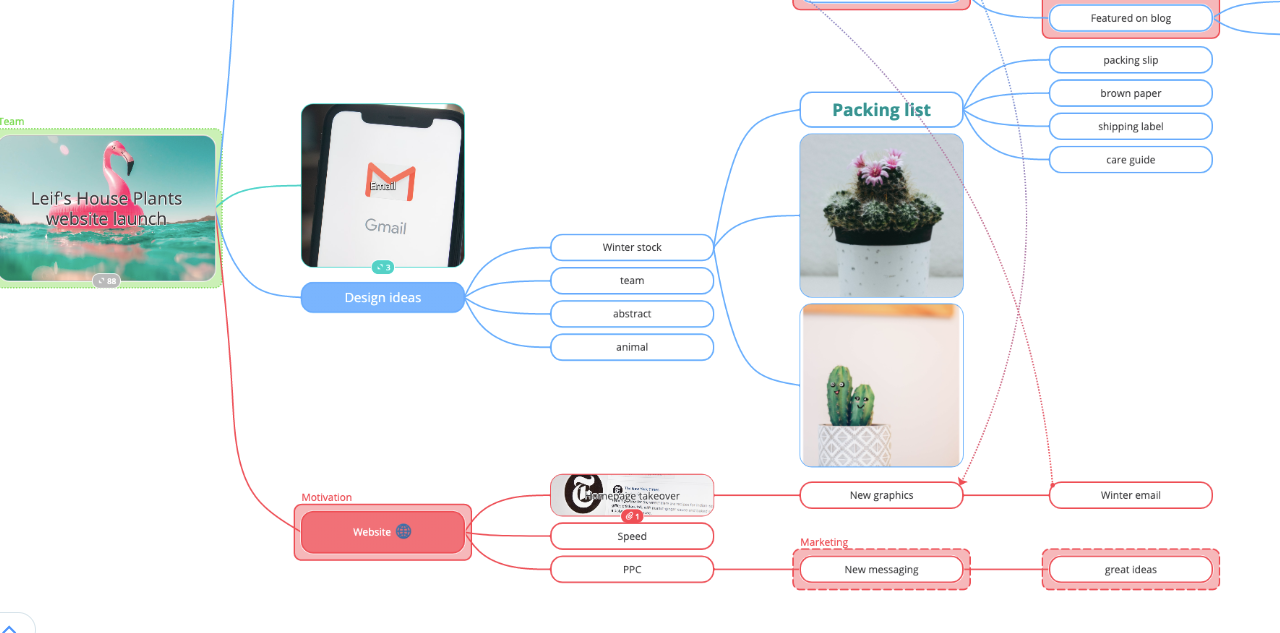
Sections can be exported as their own Mind Maps or Task Boards so that you can easily assign different teams to manage different aspects of your Whiteboard.
There is the option to drag and drop sections or to draw a section,
How to drag and drop a section onto the Whiteboard
1. Click on the section icon in the side toolbar.
2. Select the background or border colour by scrolling up or down.
3. Drag and drop the chosen section style onto the Whiteboard.
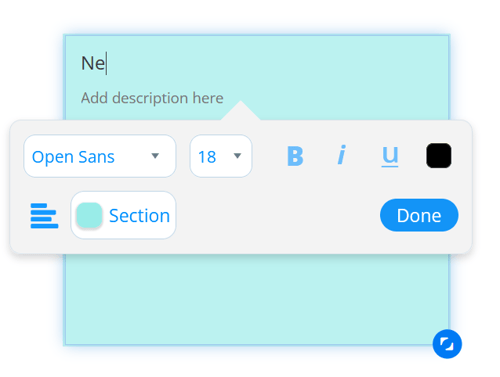
4. Highlight New Section, type to enter a new title for your section, and hit Done or enter on the keyboard when complete.
5. Double-click on the section name and add a new description name, hit enter on the keyboard when complete.
6. Simply drag and drop other elements onto the section.
7. Once elements are added to the section, moving the section will also move all of the contained elements.
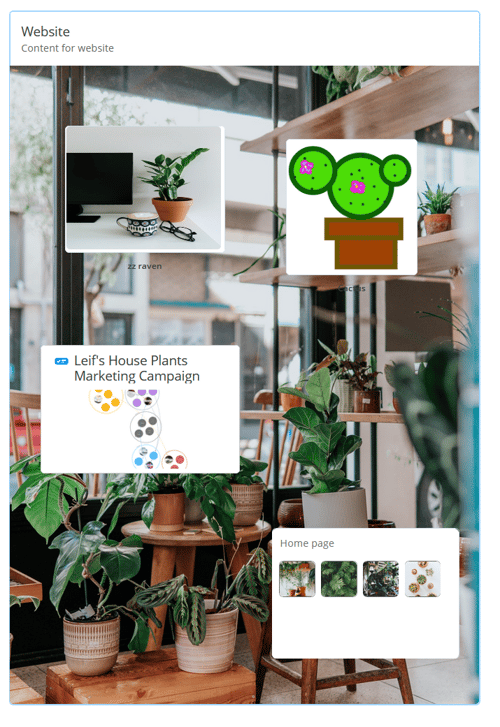
How to add an image background to the section
Images can be uploaded from your device, Dropbox, Google Drive, or searched for on Unsplash.
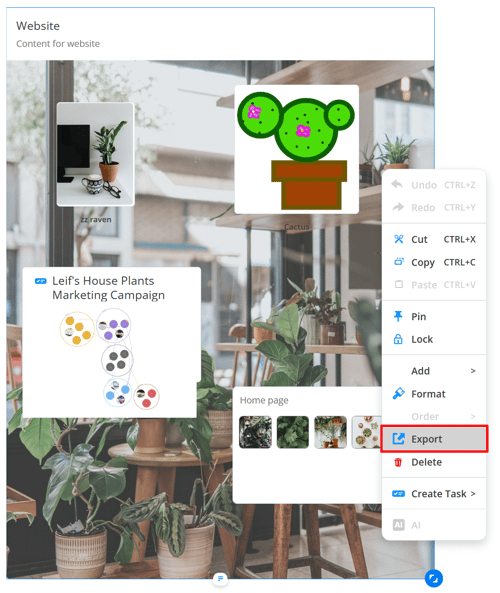
1. Click on the section with the right-click to open context menu.
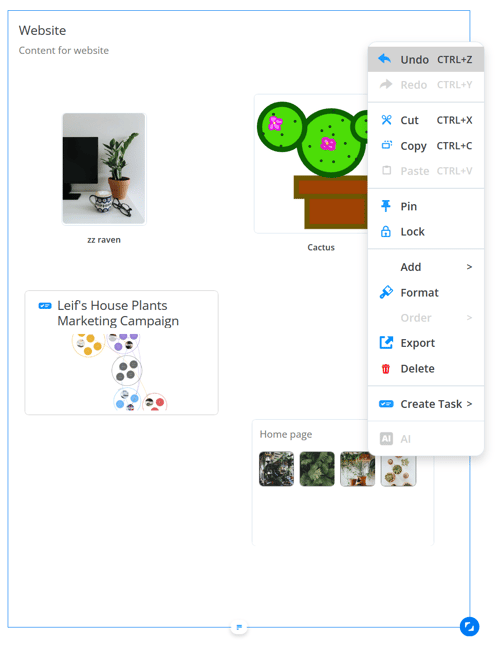
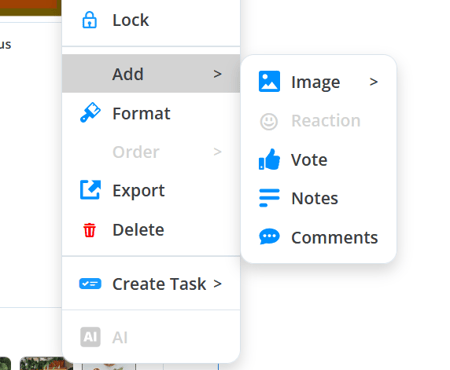
2. Then select the Add option and Image.
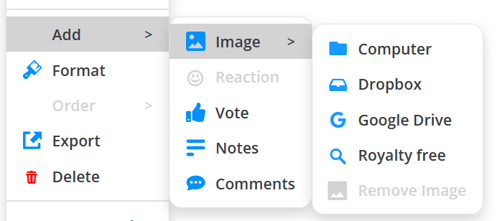
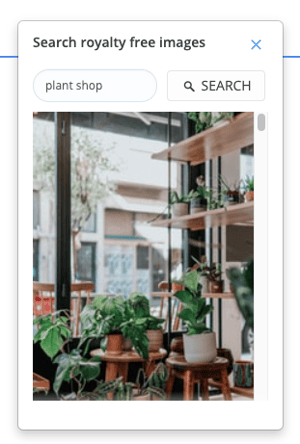
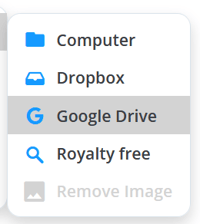
3. Choose where you would like to upload your image from: upload it from your device, Dropbox, Google Drive, or search for an image on Unsplash.
4. Once you have chosen your image, click on it to set it as background.
5. The image will now be added as a background for that section.
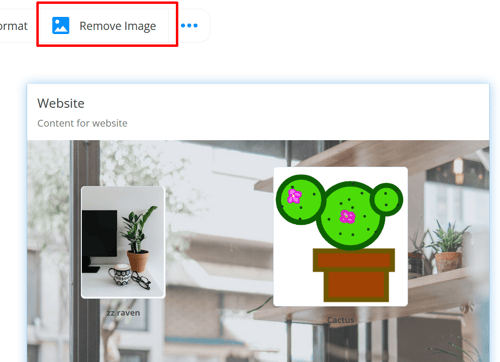
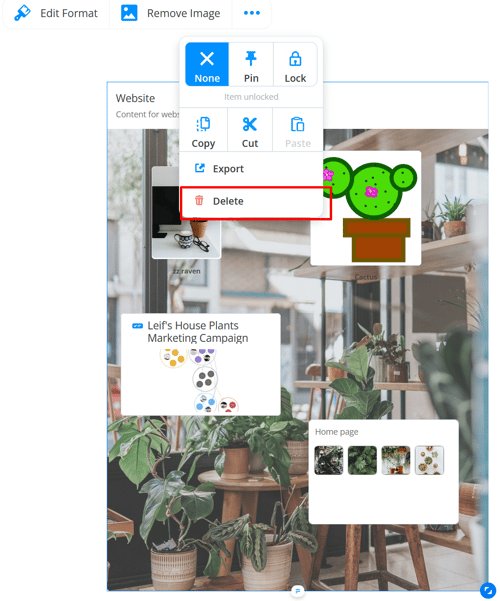
6. To remove the background, click on the section and in the top toolbar click the Remove Image button.
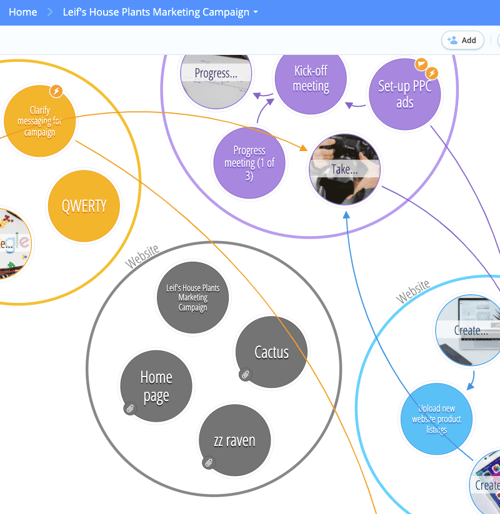
Export the section as a Mind Map
You can export a section as a mind map and all of the elements as branches, or to add it has a parent branch to an existing Mind Map.
1. Create your section.
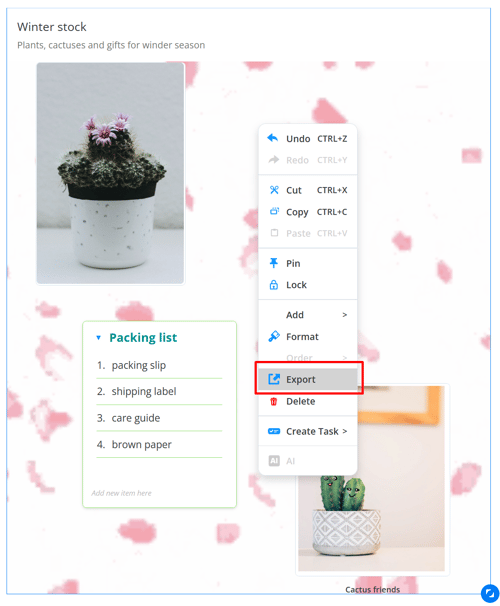
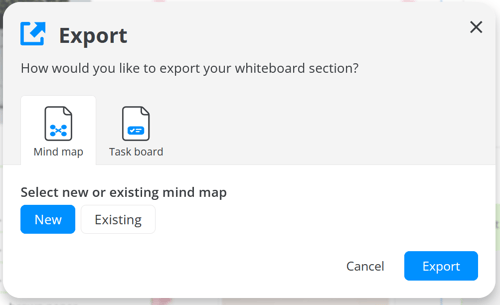
2. Right-click on the section to open context menu and select the Export option.
3. Select Mind Map and just under you will have the option to create a brand new Mind Map from the section, or to add the section as parents to an existing Mind Map.
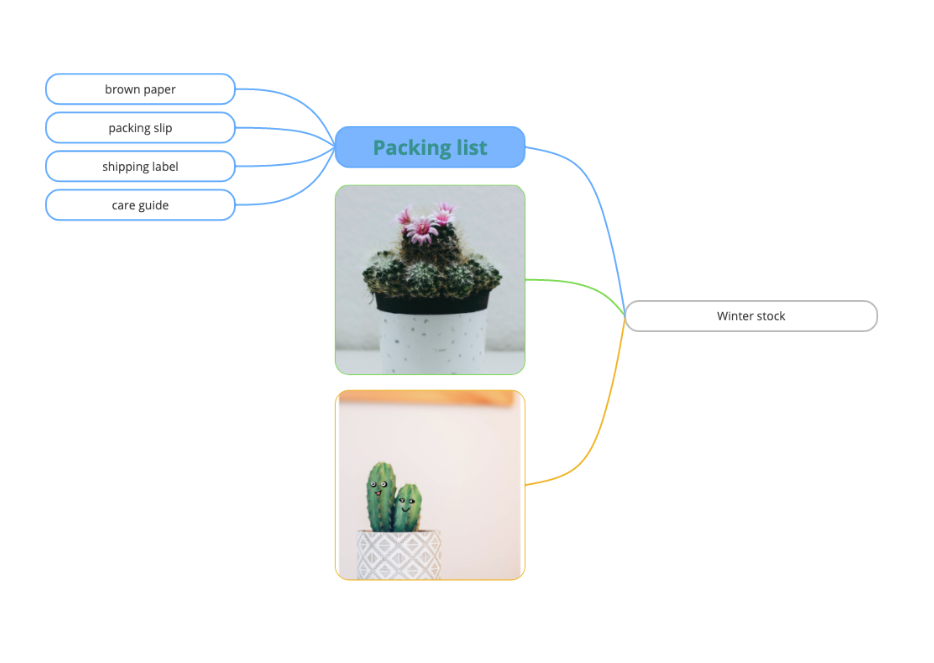
4. If you click New, the section title will be the central idea, any collection titles will be parent branches, and the sticky notes or images will be children branches. If you had any board shortcuts, they will be added as a parent branch a link to the board will be included in the notes.
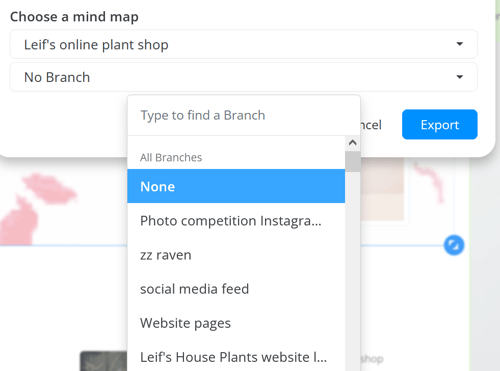
5. If you choose to export the section to an Existing Mind Map, you can choose to add the branches to an existing parent branch, or export as new branches so that the section title is the first parent branch
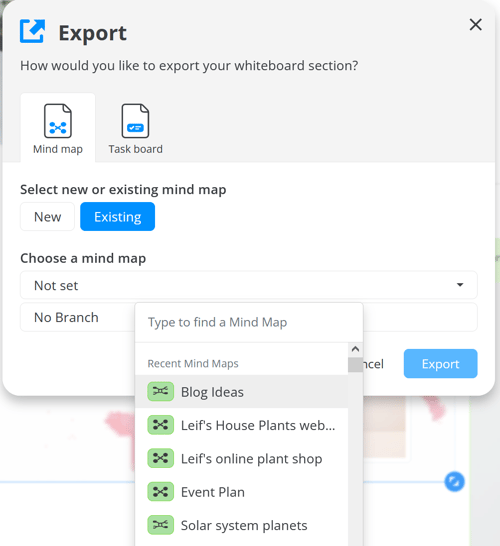
6. Click a listed branch from the list, or choose None.
7. Click open to navigate to the Mind Map where you have added branches.
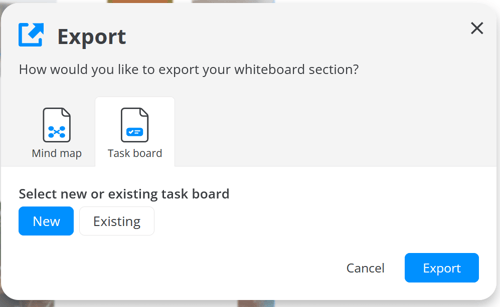
Export the section as a Task Board
You can export your section as a new Task Board, or add it as a category in an existing Task board.
1. Right-click on the section to open context menu and select Export option.
2. Once you select Task board, you will have the option to export the section as a brand new Task Board or export it as a category in an existing Task Board.
3. If you click New, the whiteboard name will be the Task Board name, the section will be added as a category, each of the elements will be added as Tasks.
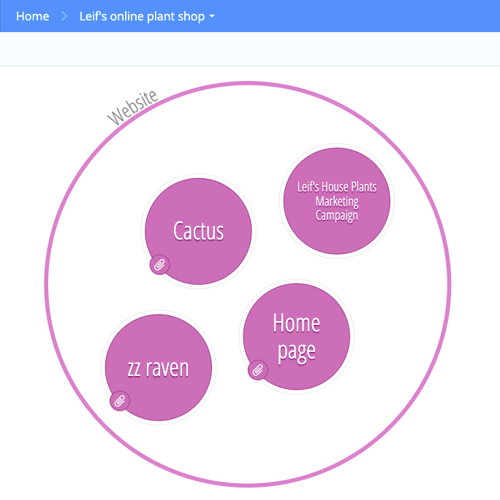
4. If you click Existing, the section will be added as a category.
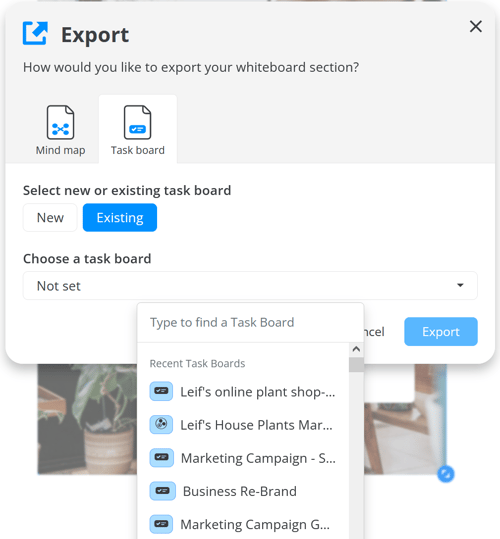
5. Click open to navigate to the Task Board.
FAQ
How do I change the size of a section?
Click and drag the bottom right-hand corner of the section until you are happy with the size.
How do I delete a section?
Make sure you have removed any elements that you don't want to delete by dragging them out of the section onto the canvas.
Click on the section, then the 3 dot menu, and click Delete.
or
Select the selection and hit delete or backspace on the keyboard.
WARNING- deleting the section is permanent, it will also delete any element within that section and cannot be undone.
What image types can be used as backgrounds in sections?
PNG, JPG, and GIFS can be used as background images.
How do I add background images from Dropbox?
When setting an image background choose Dropbox. You will be prompted to sign in to your Dropbox account.
Once you have signed in, browse for the image you want to use, and click on it to apply it as a background image. You will remain signed in until you choose to sign out.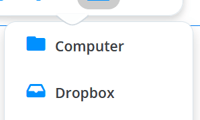
How do I add background images from Google Drive?
When setting an image background choose Google Drive. You will be prompted to sign in to your Google Drive account.
Once you have signed in browse for the image you want to use and click on it to apply it as a background image. You will remain signed in until you choose to sign out.