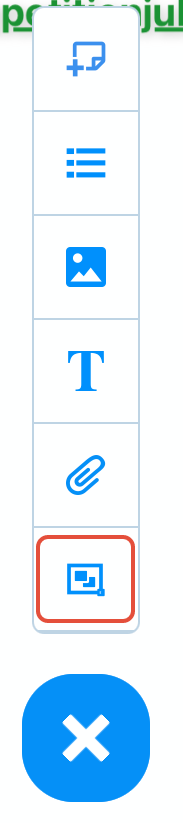
1. Tap on the + icon to open the whiteboard menu.

2. Tap on the section icon.
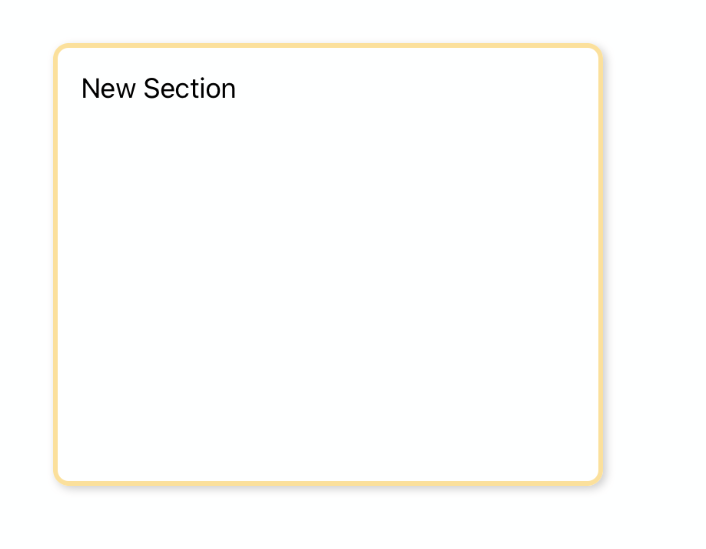
4. A new section will be added to the Whiteboard.
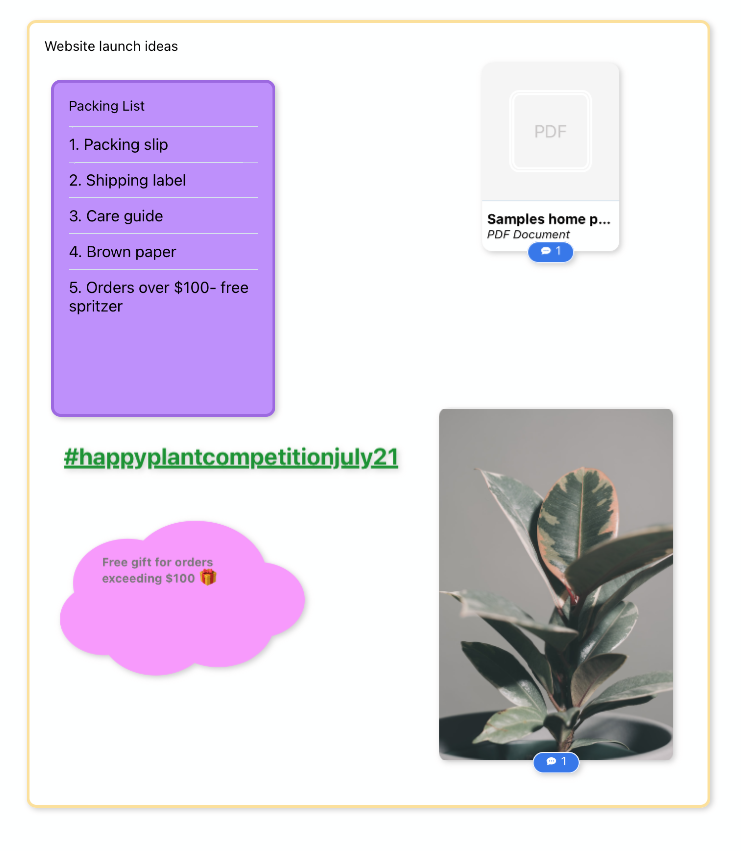
5. To resize a section, tap on it to highlight it blue, then drag the blue arrows in to decrease in size, out to increase.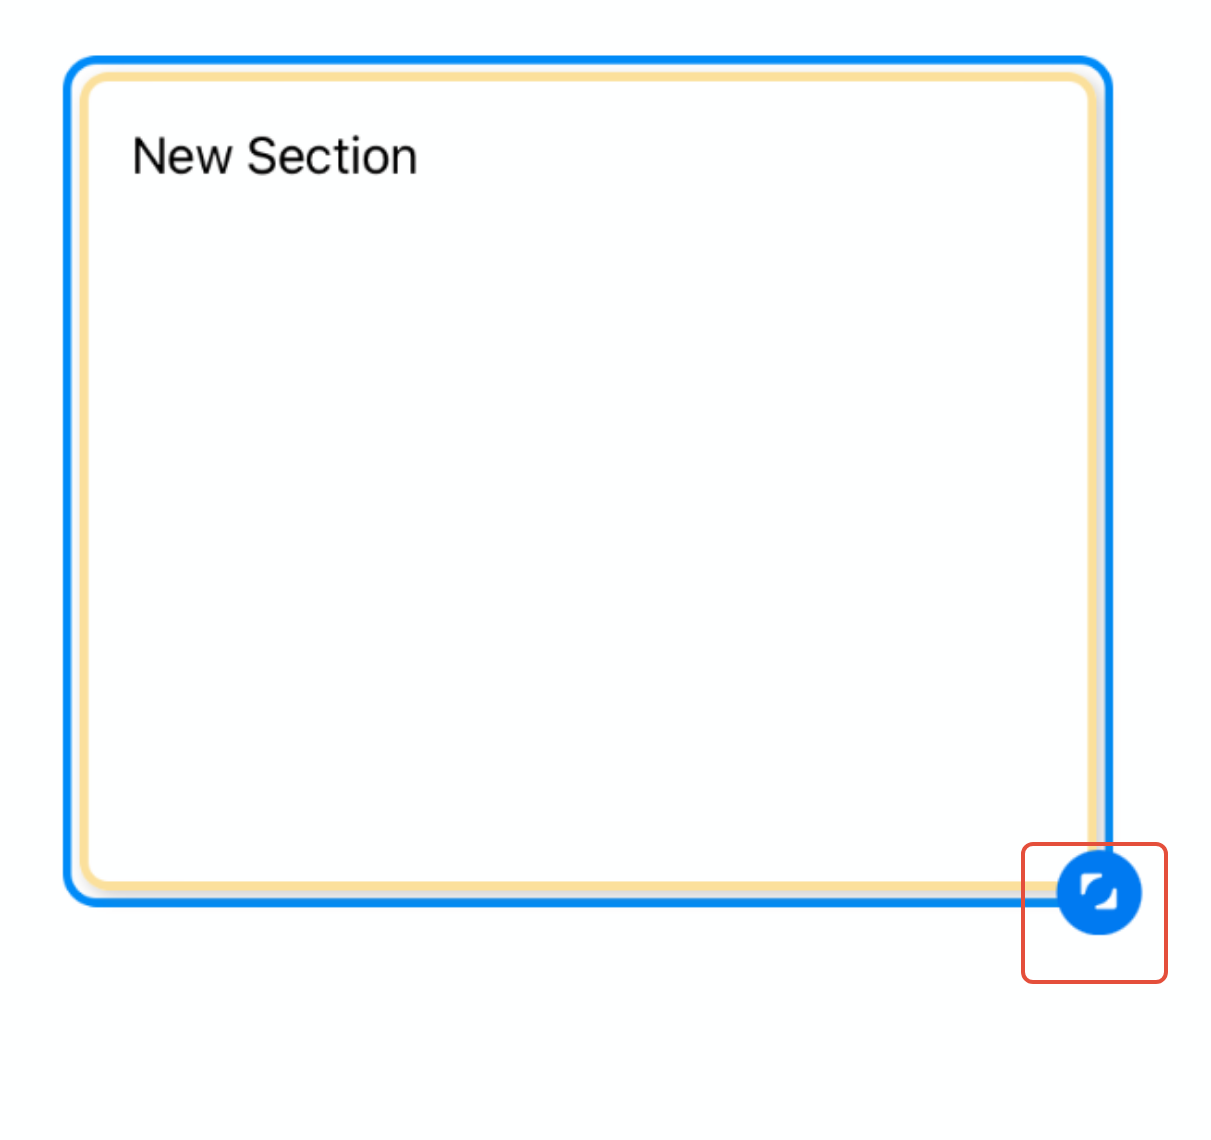
6. To change the name of a section, select it by tapping it, then tap the text icon.
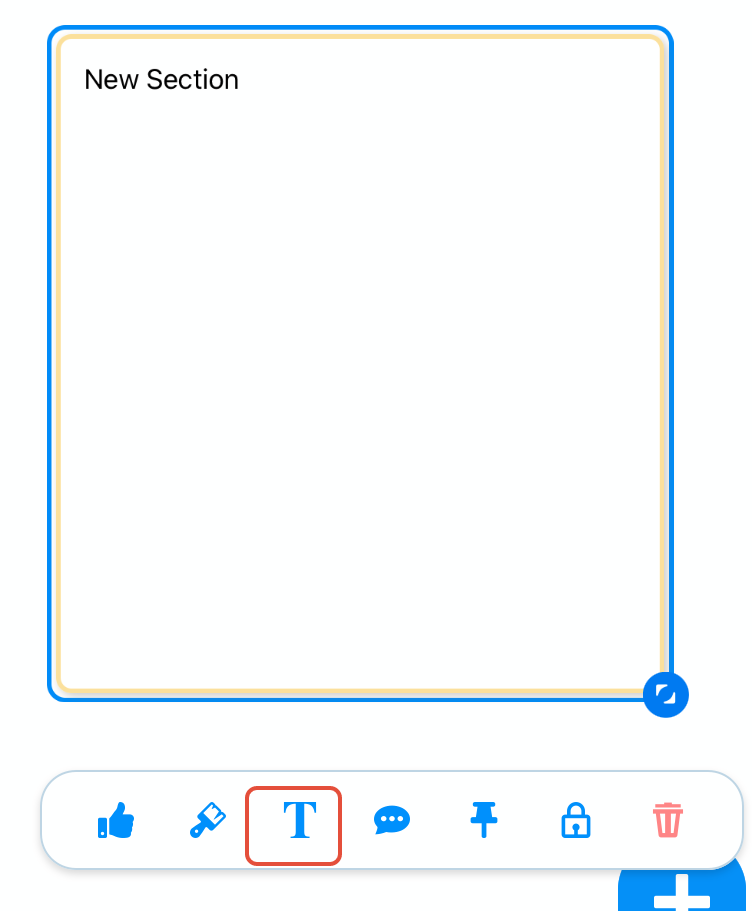
7. You can add a name and description to your section. This will help to describe how you are organising the elements within it.

8. Tap done to update the section. This will return you to the Whiteboard.
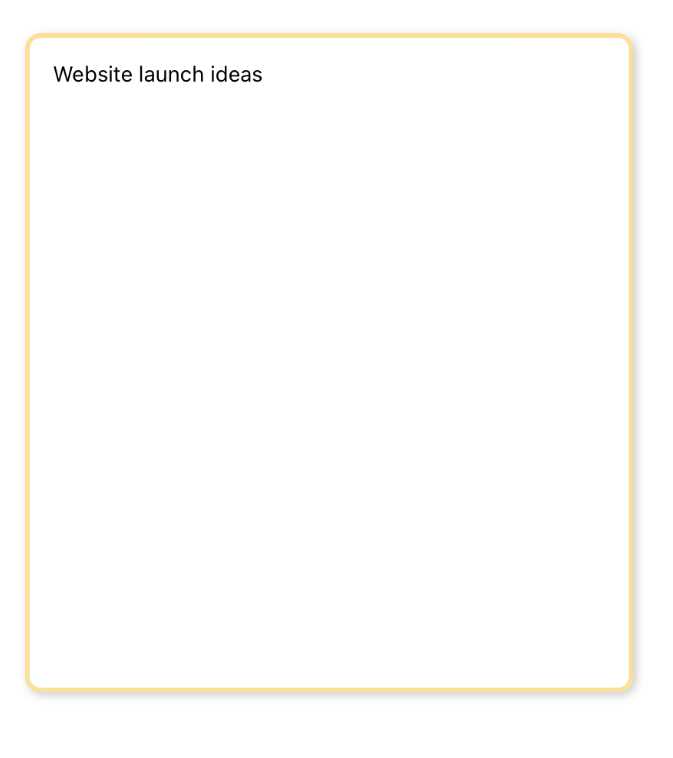
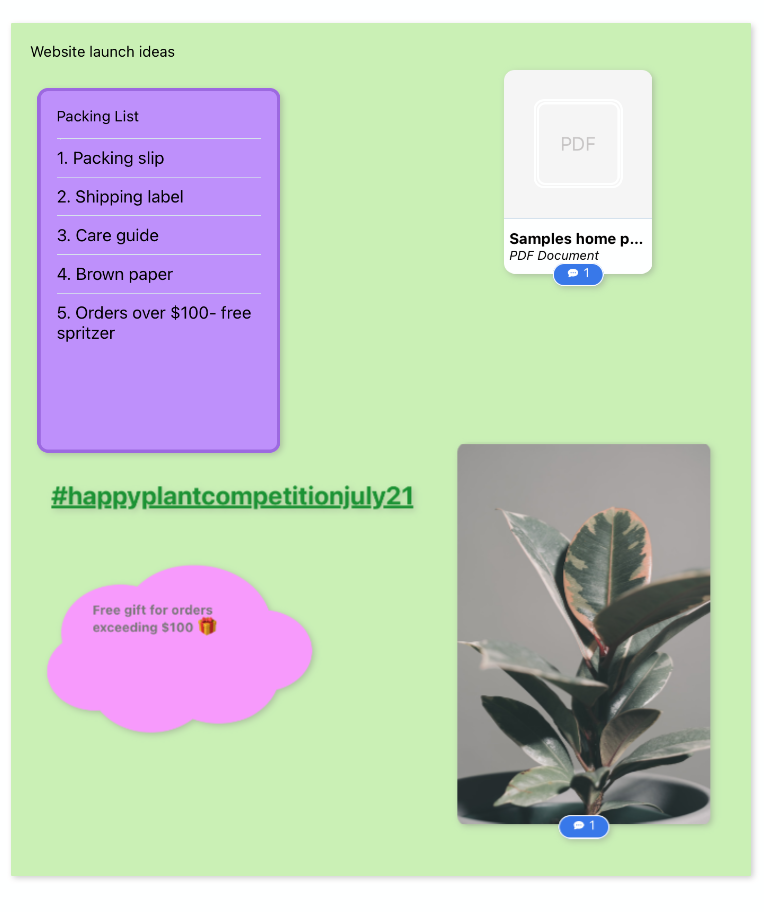
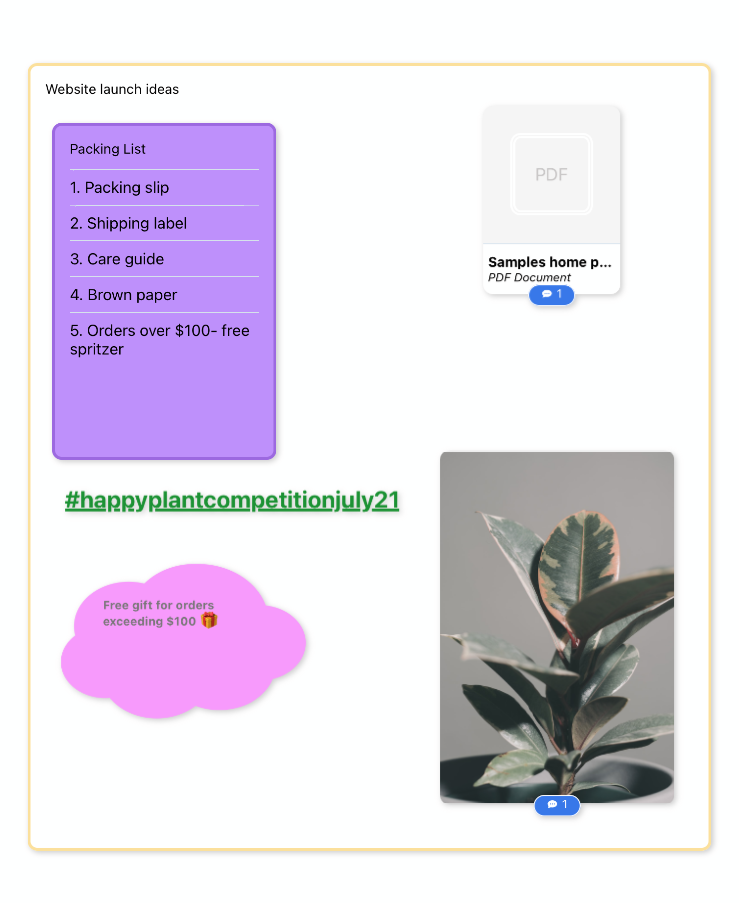
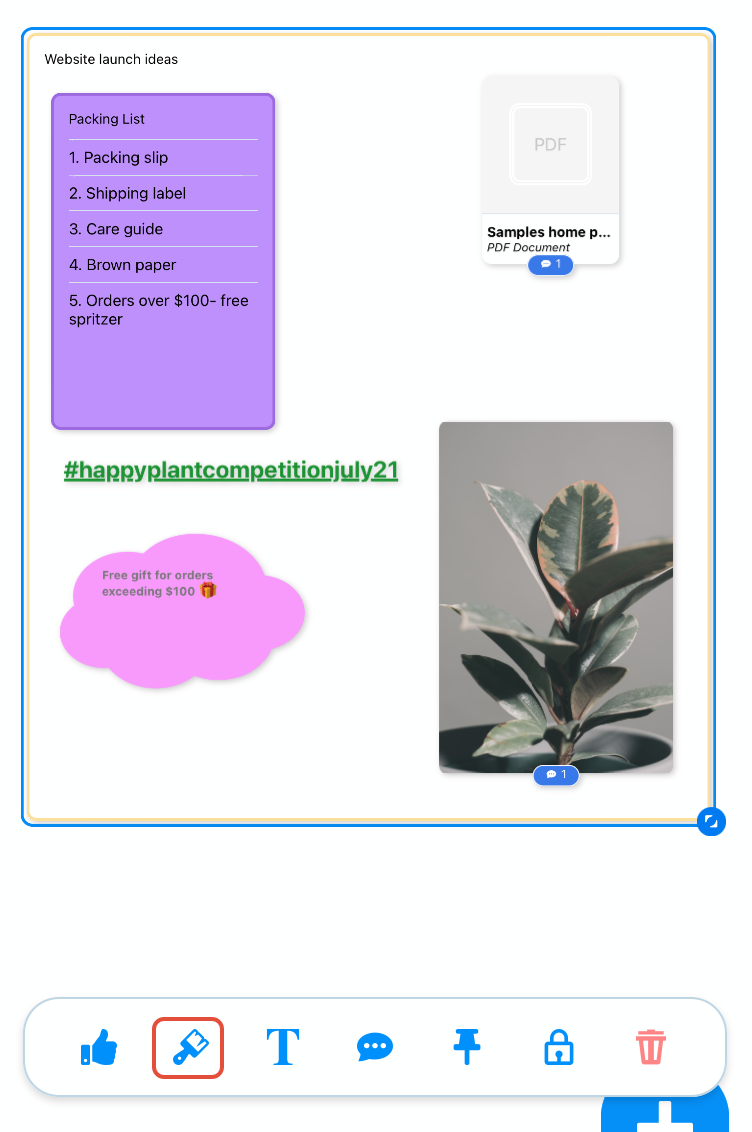
9. To move items to the section, hold down on an element, then drag it into the section.

10. Keep dragging and dropping items to build the section.
11. To change the colour and shape of the section, tap on it, then tap on the paintbrush.
12. There is the option to choose from a curved edge or a straight edge. Here you can choose the colour of the section.
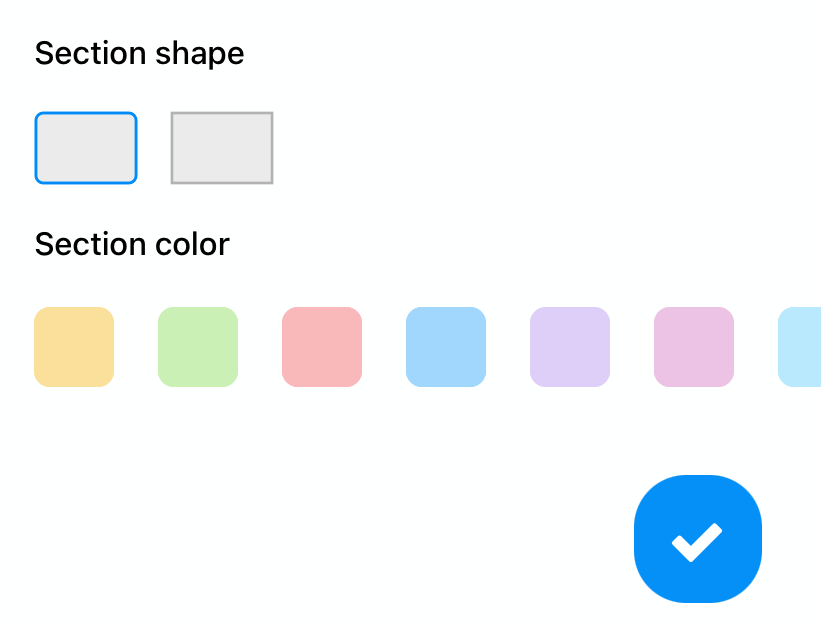
13. Choose the colour you want, then tap on the blue tick to confirm the changes.
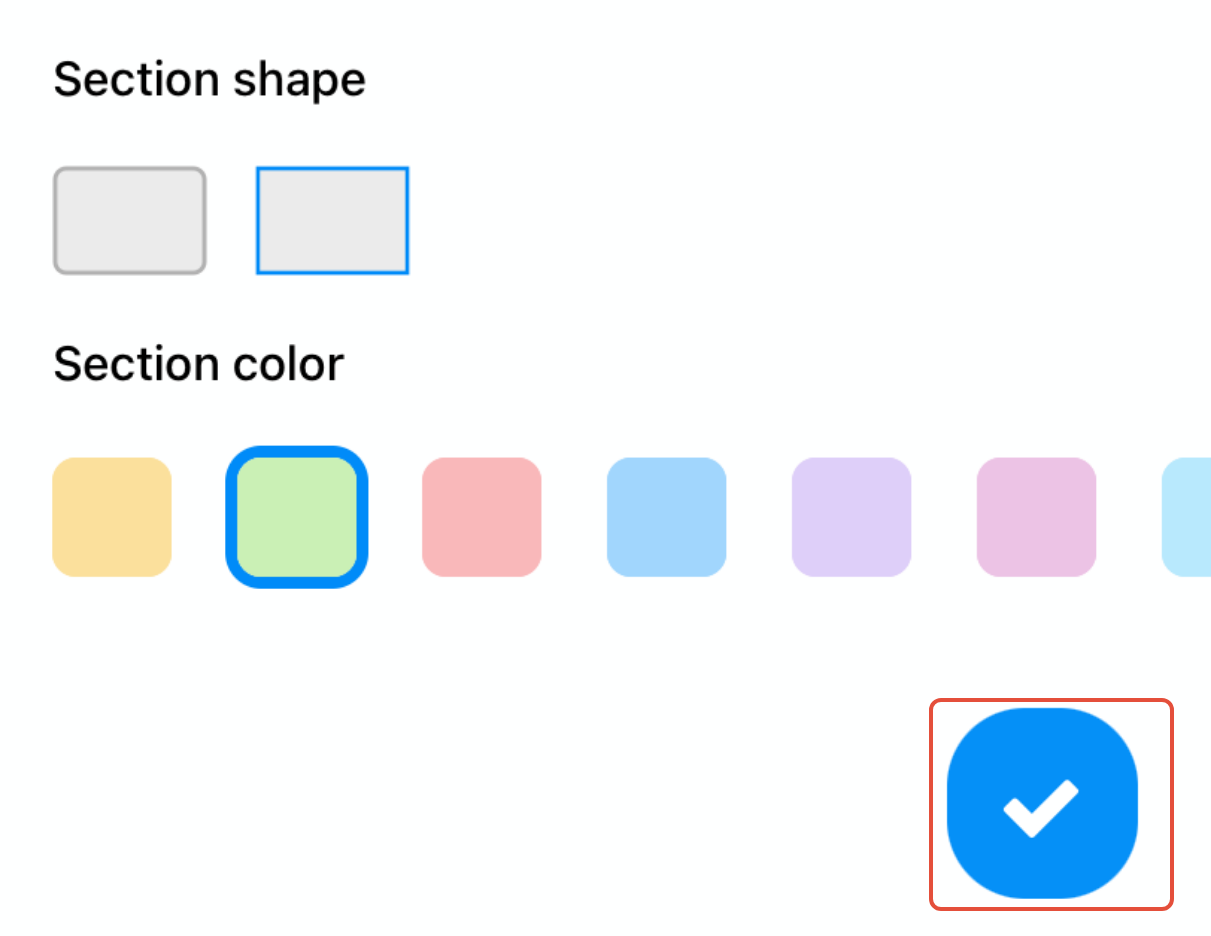
14. The section will now be updated.