An introduction to Document View within Mind Maps:
Document view
1. To open the document view, please first open your Mind Map:

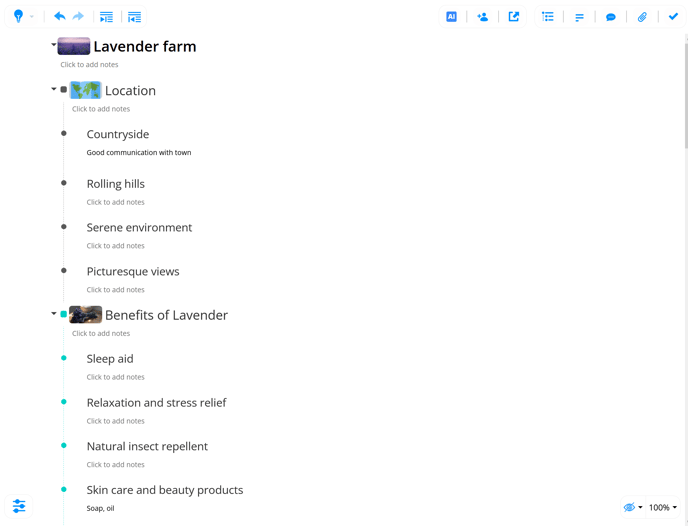
2. In the top menu, next to the mind map name, you have board headers. Click on the document icon to change the board.

3. This will open the document view, where branches and their notes will be shown with additional options.
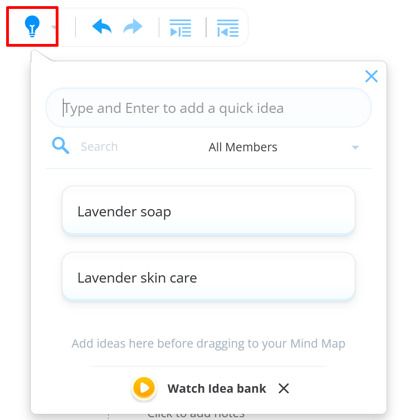
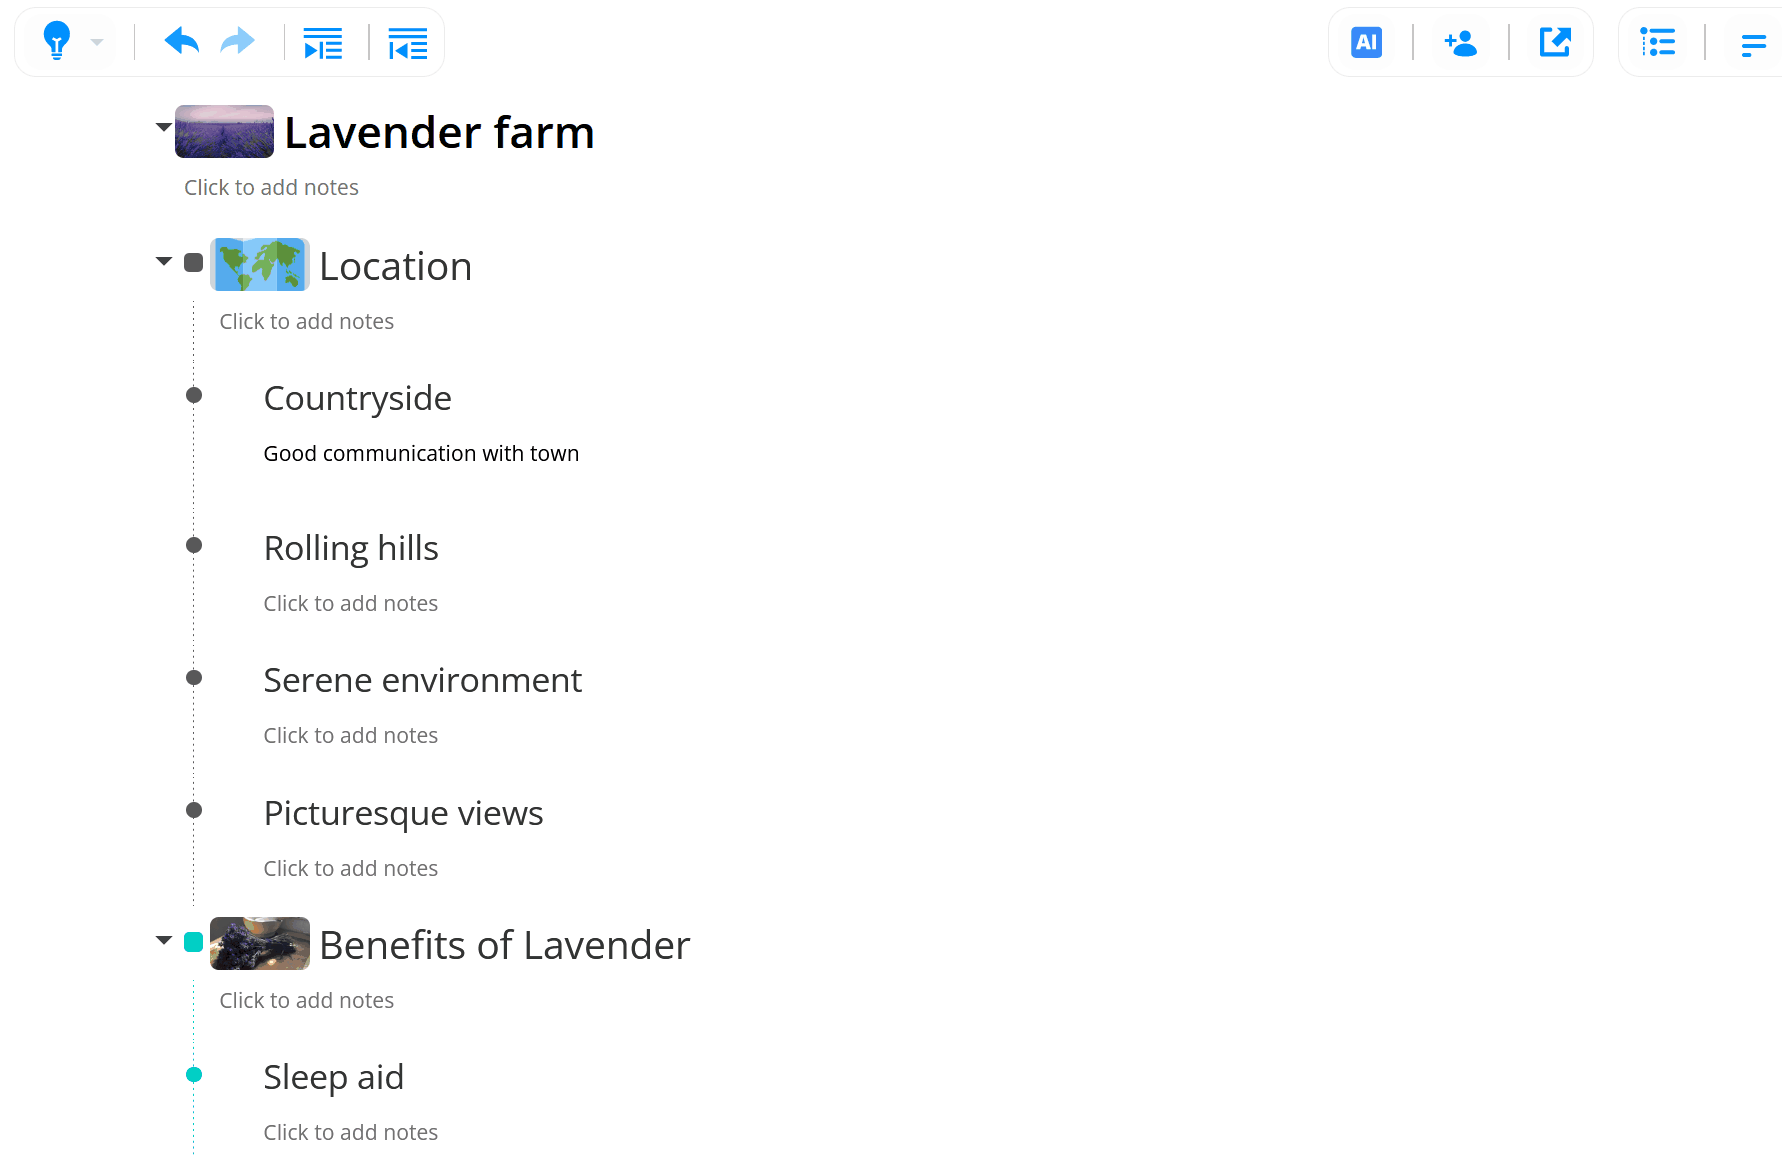
4. In the top left corner, you can access your Idea Bank when selecting the bulb icon to quickly add your ideas.
5. Next to the return button, you can undo/redo the actions by choosing one of the arrow buttons.

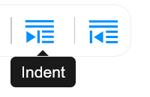
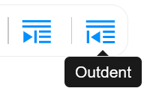
6. To add indent/outdent you can use these buttons.
And
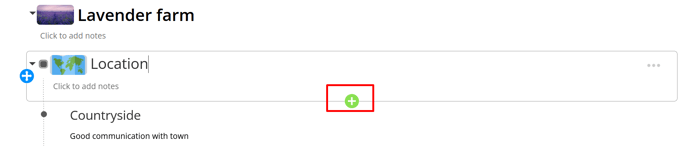
7. To add a new branch, select your branch and click on the green plus icon.
8. You can move branches when using the blue icon next to the branch's name.
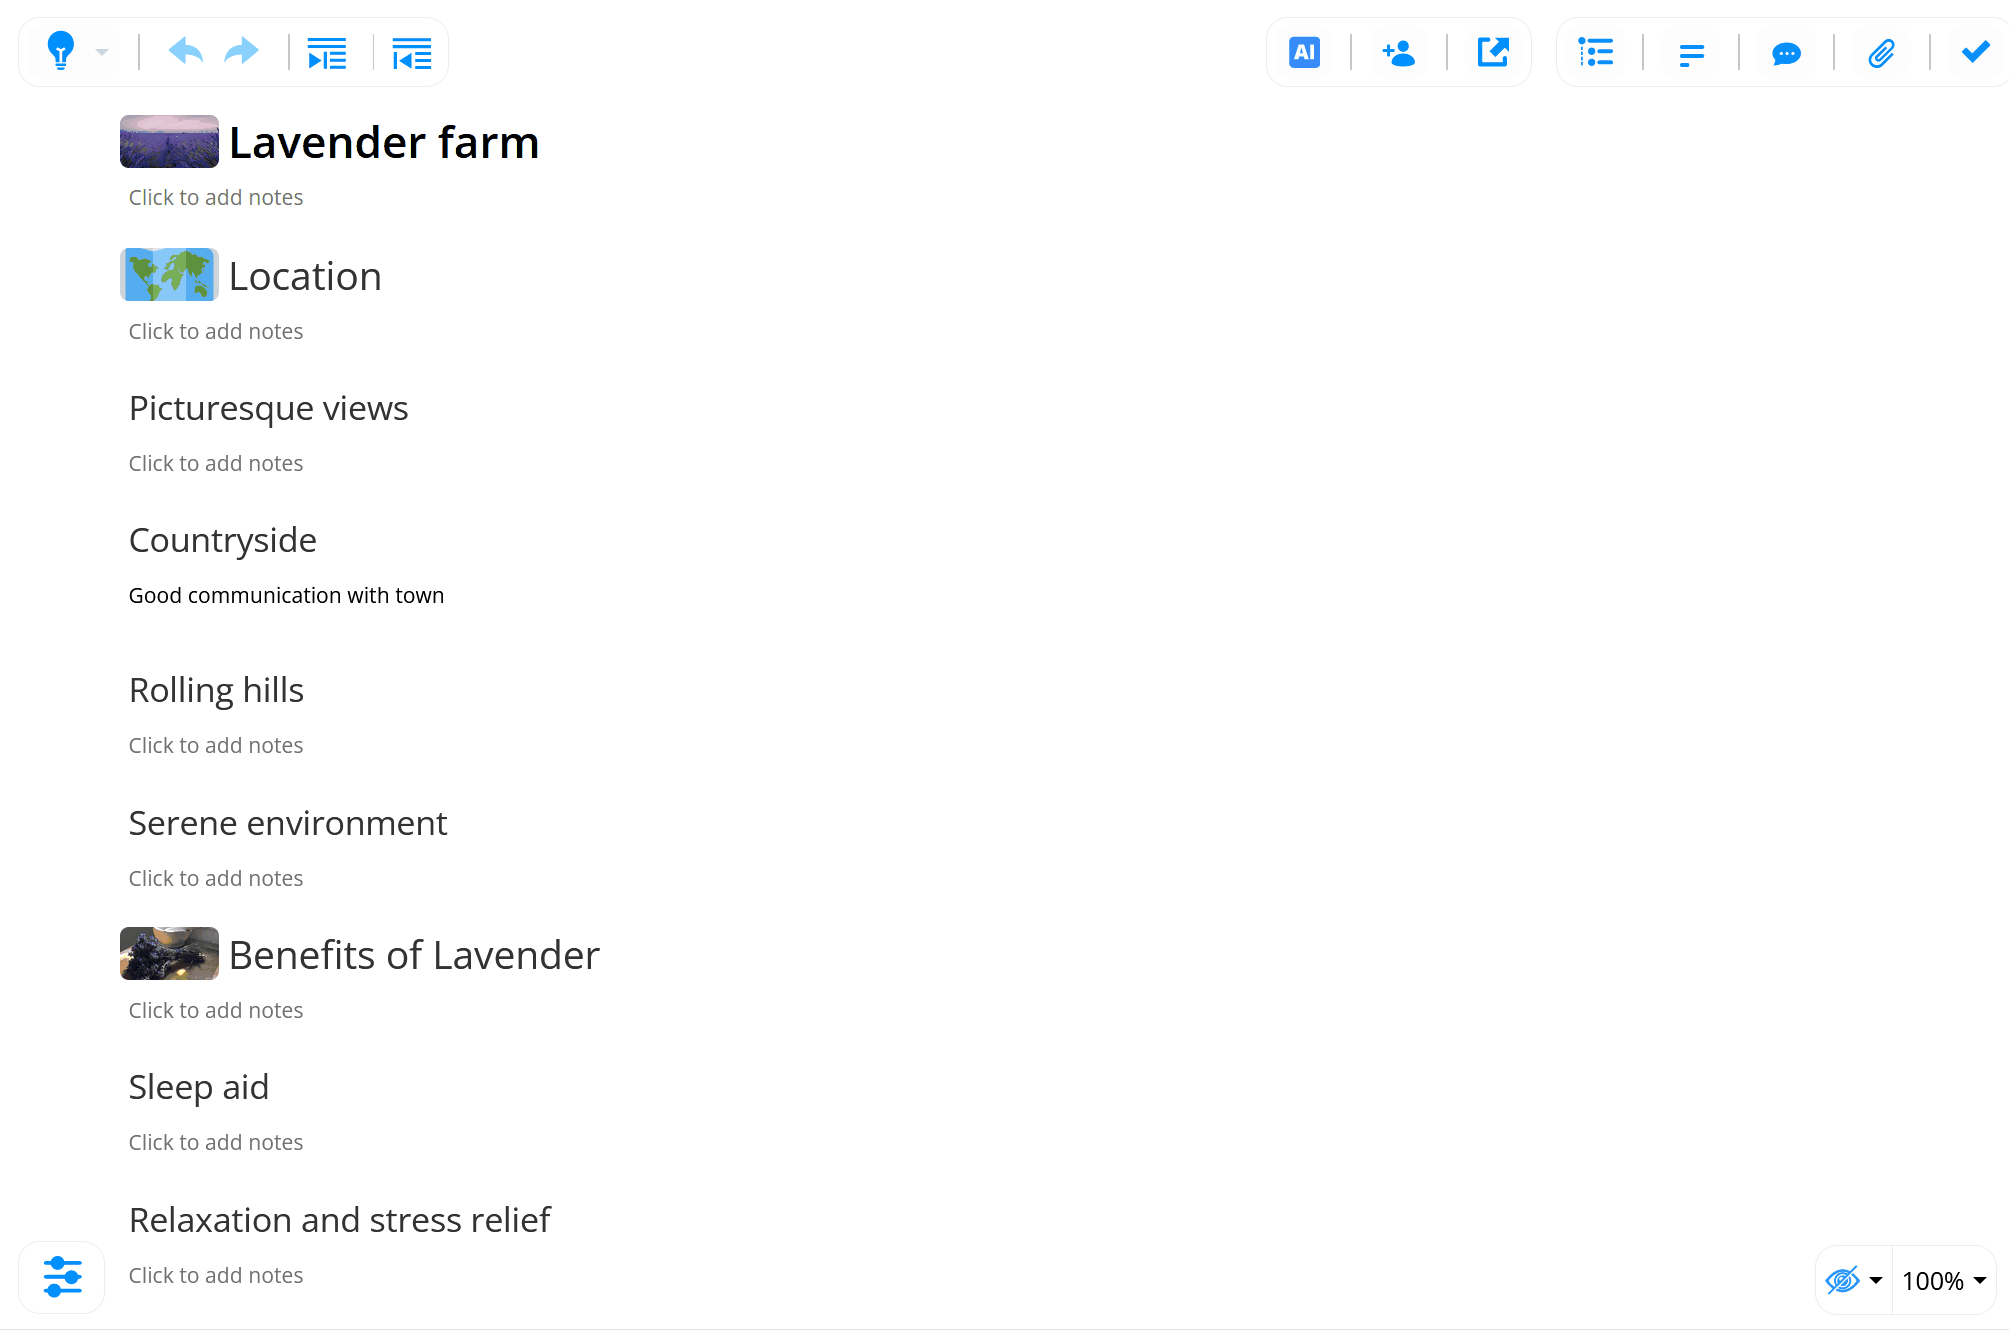
9. You can choose how the document is formatted when clicking on the Show/Hide icon in the bottom left corner. There, you can add/remove formatting options, such as dots, lines, switches, and highlights.
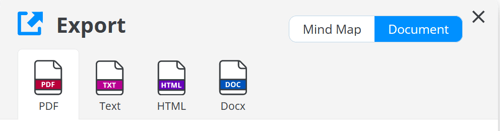
10. You can export the Mind Map as a document when selecting the export icon in the top toolbar.
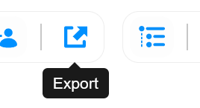
11. There, you can choose the type file to export your mind map.
You can select from PDF, Text, HTML and Docx.
12. To return to the mind map, please use the mind map button in the top menu.
