Formatting Mind Map Branches
AYOA offers different styles of Branches for your Mind Maps
Watch this short video tutorial then check out the detailed steps below!
Changing the colour of the Branch
1. Select and double-click on the branch. You will then see the formatting panel.

2. To change the Branch colour, click on the Line Style button and choose a new colour.

Or click on More Colours to use the colour picker:

3. Exit the menu by clicking the X button and Done or by clicking on the Mind Map board.

Changing the Branch Shape
You can choose from a variety of Branch shapes to highlight specific branches.
1. Select and double-click on the branch to open the formatting options.

2. Click on the Line button and then Line Shape section.

3. Then, choose which Branch style you want by clicking on it.

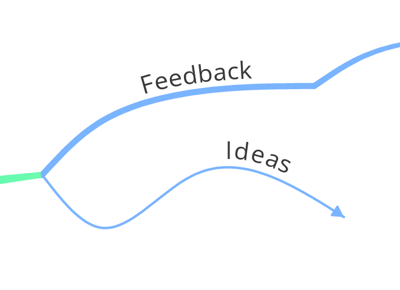
4. When using a different connector shape in Mind Map view, you can use the control points to add curves to the branch.
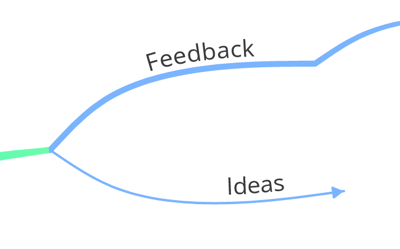
Control Points are active with the Auto-Layout turned off and are available only within the Mind Map view
5. Hover over the branch to view the Control Points.
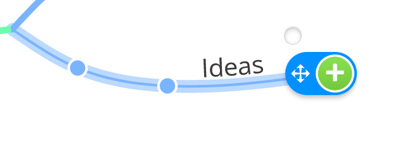
6. Click and drag the Control Points to distort the Branch.
Adding a Box Branch in the Mind Map view
If you want to use Box Branches whilst still having a Mind Map view, you can change Branches using a few options:
- by clicking on the Branch and then using Shift and Tab keyboards
- by grabbing the + icon and holding the Shift button and dragging to the desired location
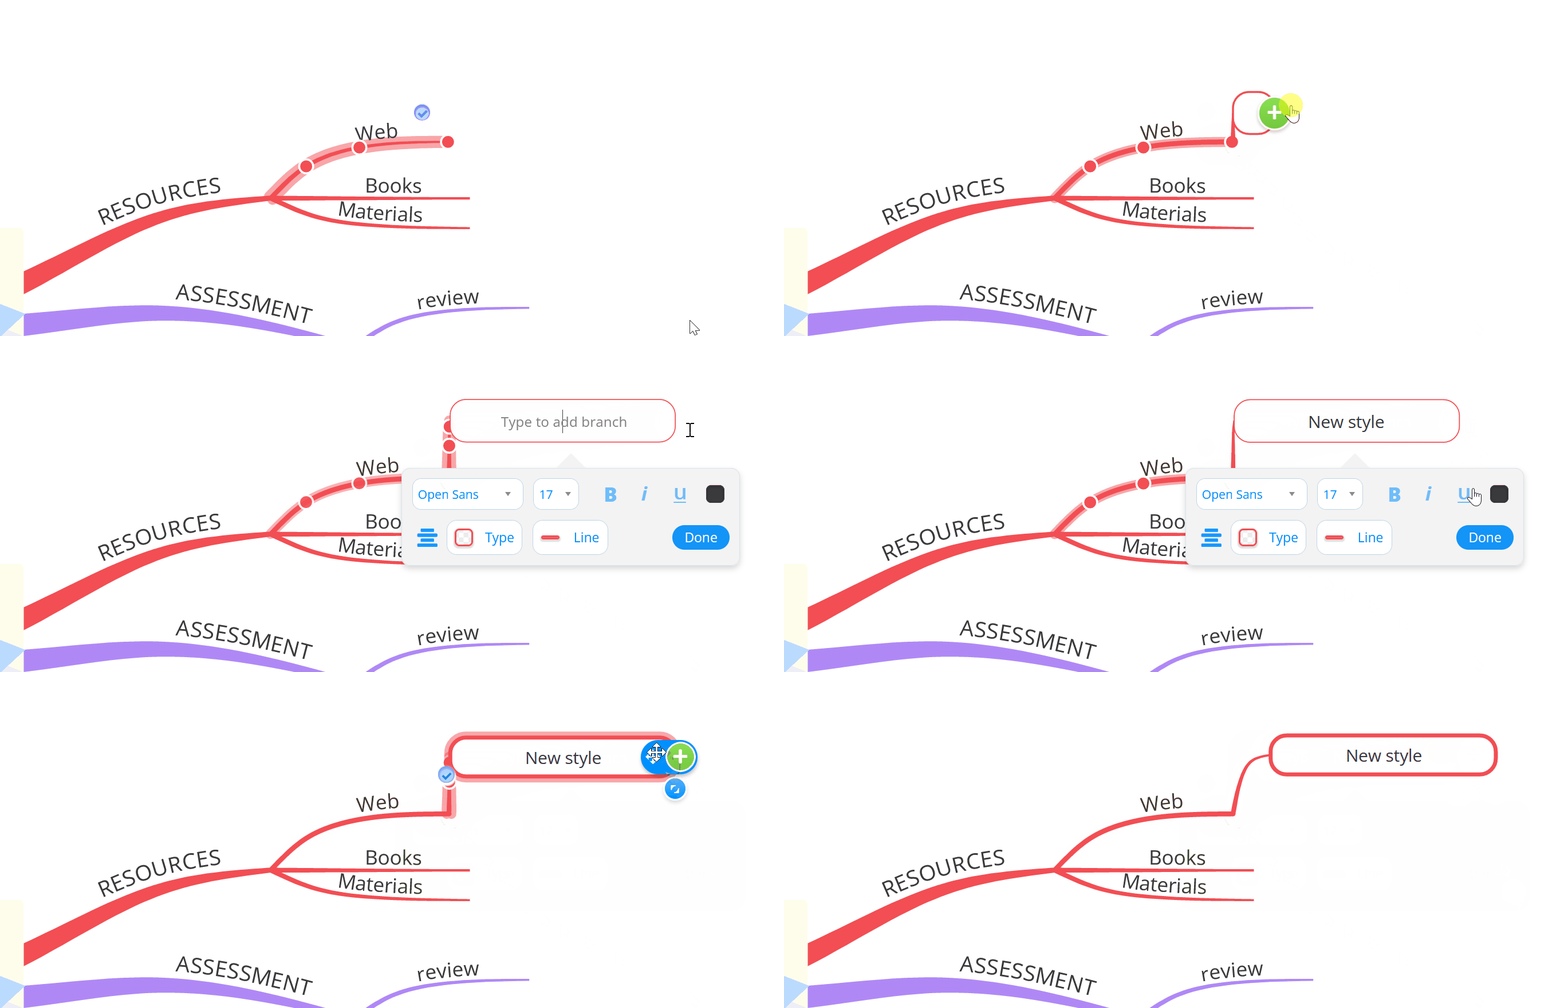
You can also change Box Branch shape styles in the formatting settings!
1. Double-click on the Branch to open the formatting options.
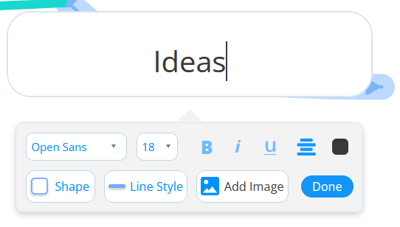
2. Click on the Shape button.

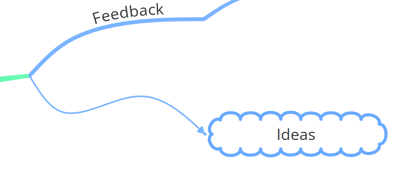
3. Click on your preferred shape and the text will now be in a text box at the end of the Branch.
Not what you're looking for? Jump back to the Help Centre and perform a keyword search using the term 'Branch' for more knowledge articles!
Formatting Mind Map Branches on Mobile
On mobile:
Press the branch box you want to change
Press the paintbrush icon

Press Shape, then 'NO BOX'

and you will achieve the same result:
