There are plenty of options to add creative images to your Mind Map, if you can't find the perfect image why not draw it using the sketch tool?
The sketch tool opens up a simple and easy drawing space where you can sketch out your ideas and then attach that sketch to your branch as an image.
Creating a new sketch
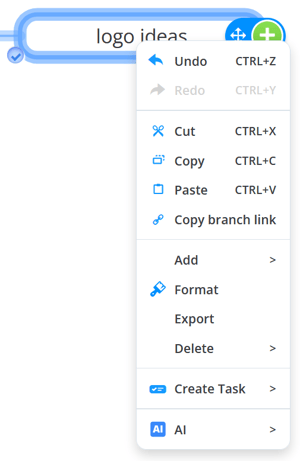
1. Right-click on the branch you would like to add a sketch to open the context menu.
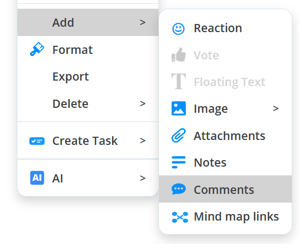
2. Click on Add and then Comments.
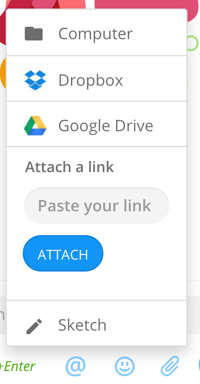
3. At the bottom of the comment window, click the attachment icon.
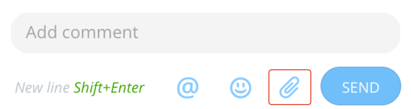
4. Choose Sketch from the menu.
5. This will open up a new canvas to create your sketch.
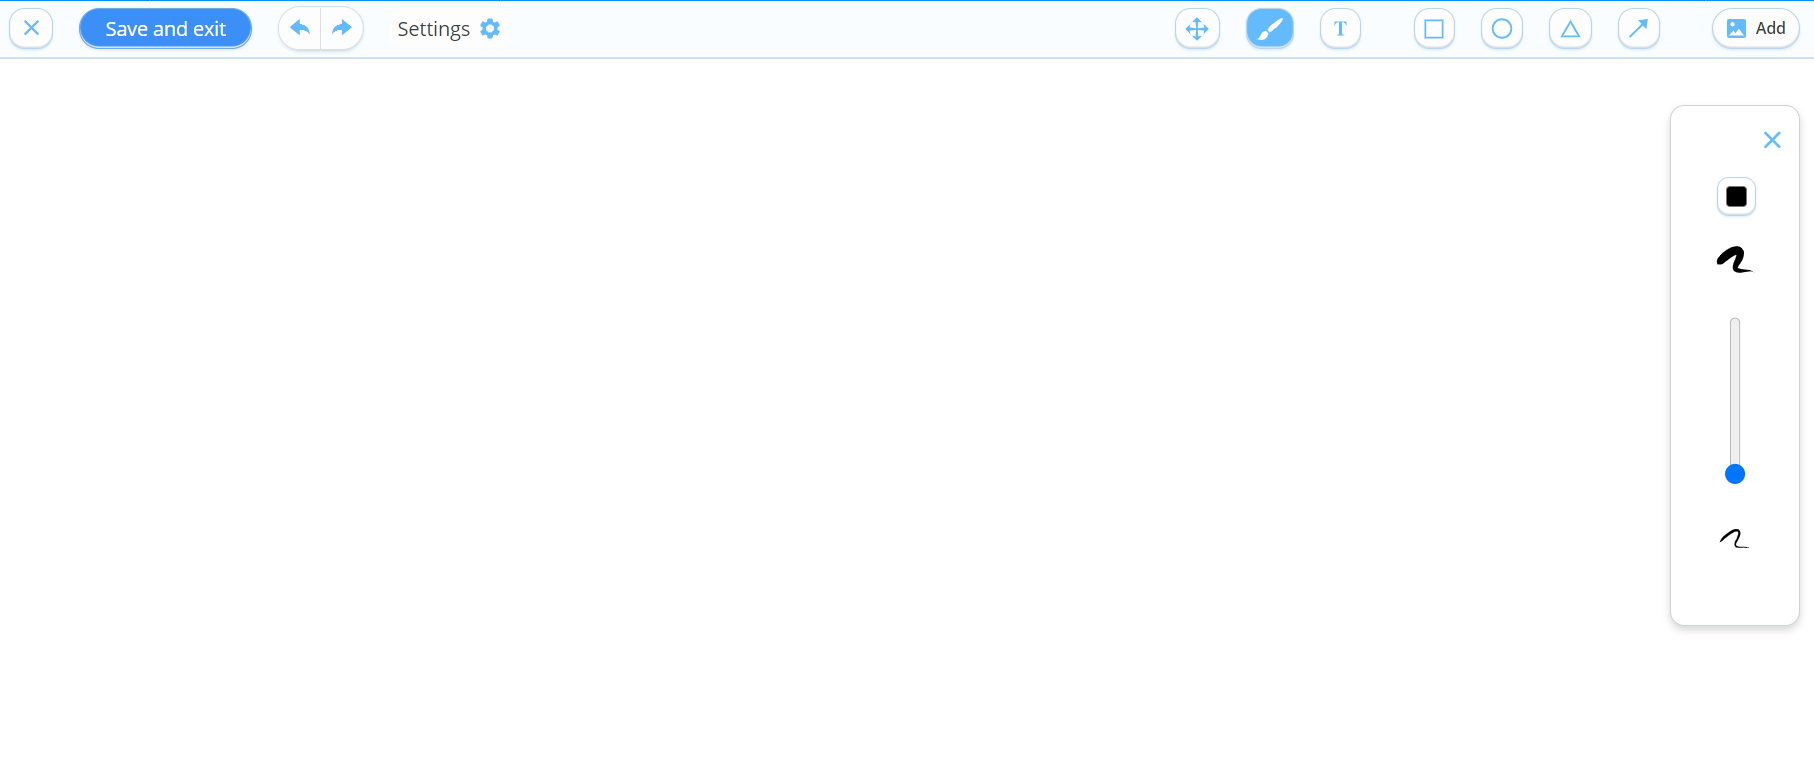
There are a variety of tools available:
Paintbrush
Paintbrush tool can be selected by clicking on the icon below.

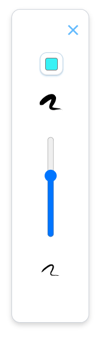
This opens up the paintbrush toolbar.
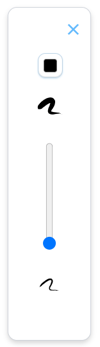
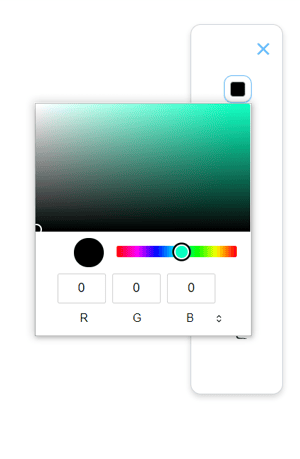
Choose the colour of the paintbrush by clicking on the black box to open the colour picker
You can change the width of paintbrush strokes by dragging the bar up to make it thicker, or down to make it thinner.
To draw on the canvas, simply hold and drag.
Text Tool
You can add text to the sketch by clicking on this icon.

This opens the text toolbox where you can choose the colour, font and size of the text.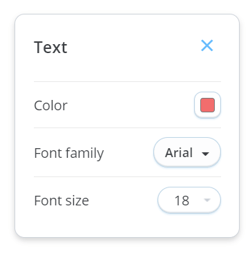
Click anywhere on the canvas to create a text box, type to add the text.
Click on the text to open the bounding box to increase or decrease the size of the text. You can also drag and drop the text around the canvas.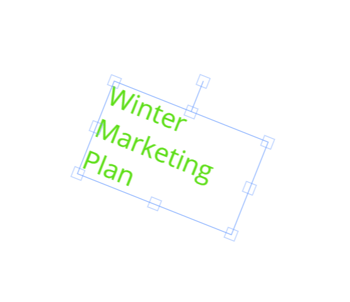
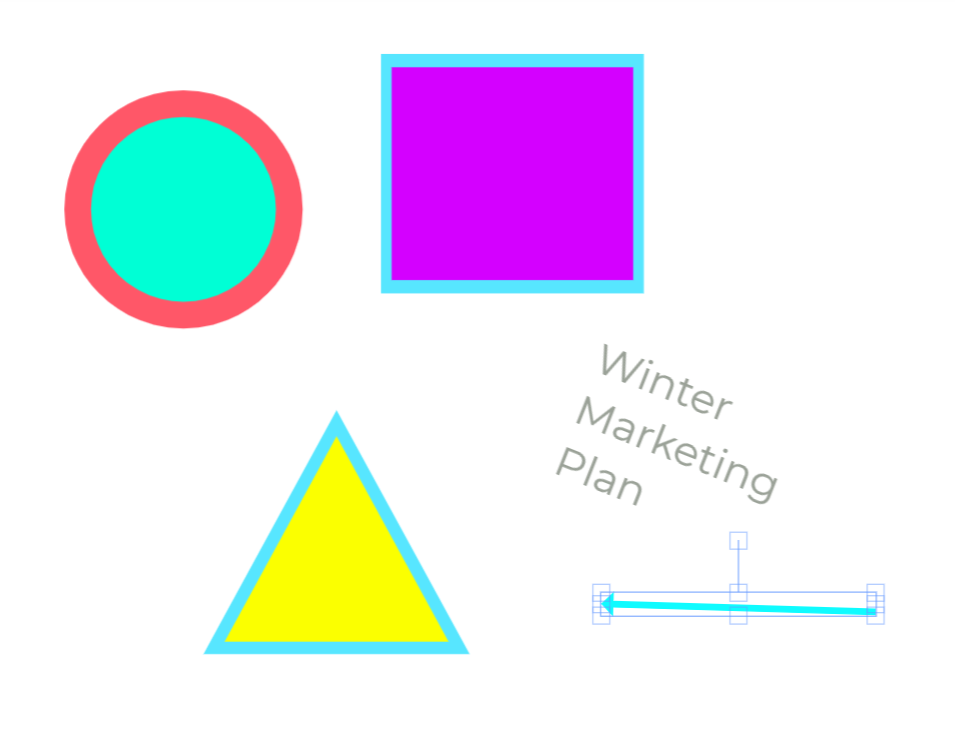
Shapes
There is also the option to add shapes to the canvas.
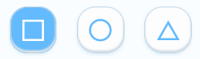
Click on the square, circle or triangle to open up the toolbox for that shape.
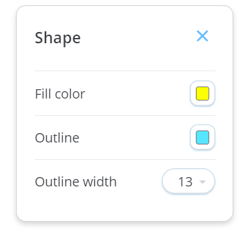
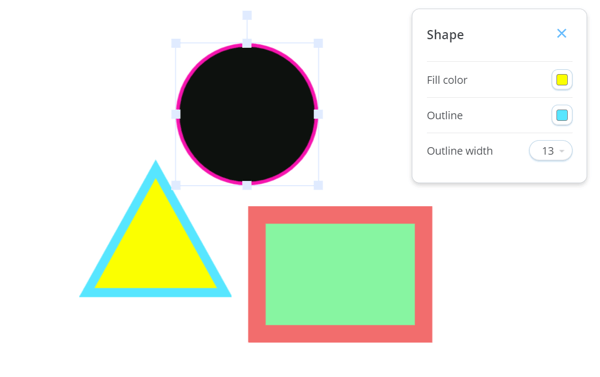
Click and drag on the canvas to draw and create the shape in the size that you want. Use the toolbox to change the colours, outline covers and the width of the outline colour.
Arrows
To draw an arrow use this icon.

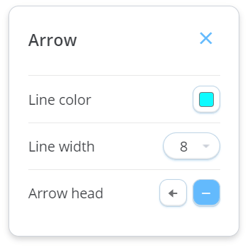
This will open the toolbox.
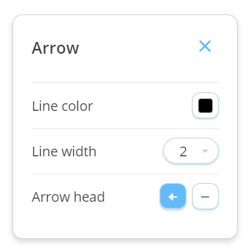
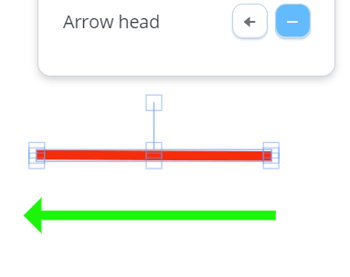
You can choose whether your arrow has a head or not by clicking between the icons below.
Choose the colour, width and style of the arrow.
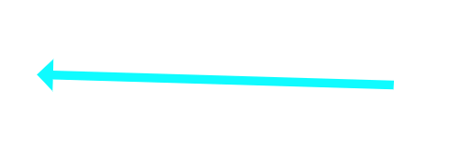
Drag and release to draw the arrow at the size you want.
To edit an element of the sketch, click on it to bring up these extra options.
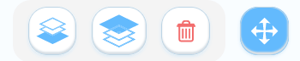
This icon sends the element to the back.

This icon bring the element to the front.

This icon deletes the element.

When this icon is selected, it means you can move the elements around the canvas.

Using these different options, you can re-arrange your shapes and drawings.
The layer them to create interesting compositions.

If you need to undo or redo a mistake you can do this using these icons.
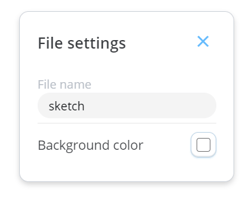
To add a background colour, click on settings.
![]()
In the settings, click on the box next to Background colour.
Choose the colour.
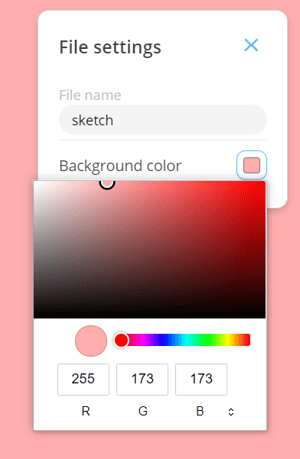
This applies a background colour.

To upload an image file from your device to the canvas click Add.
When you are ready to save the image, click Save and Exit.
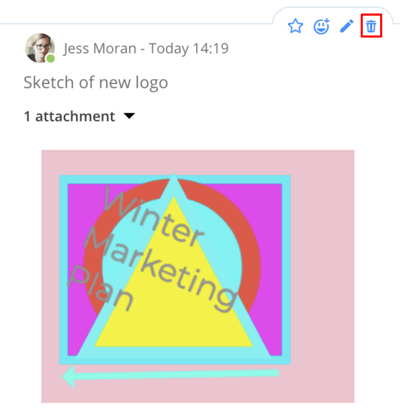
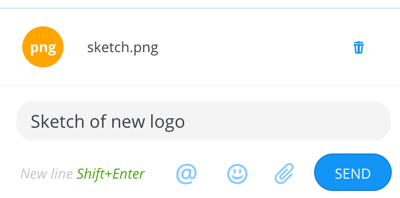
The sketch will be added as PNG attachment, to save it to the branch, enter a description and click Send.
The sketch will now be added to the comment list as an attachment.
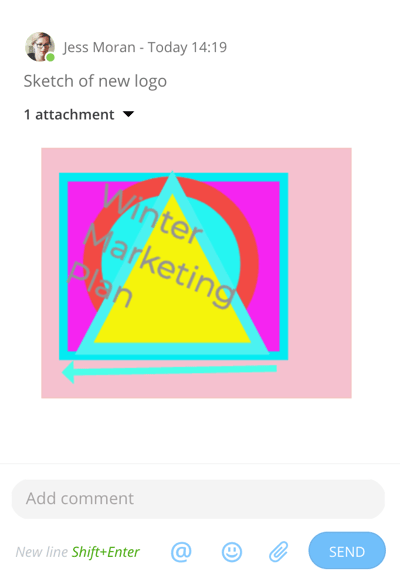
Click on the trash can icon to delete the image from the branch.