Nobody else will be able to view your planner and you will not be able to view anybody else’s. If you have a miscellaneous Task that doesn’t quite fit into a Task Board that you’re a part of, you can use the planner to create your own tasks that stand outside of your Task Boards.
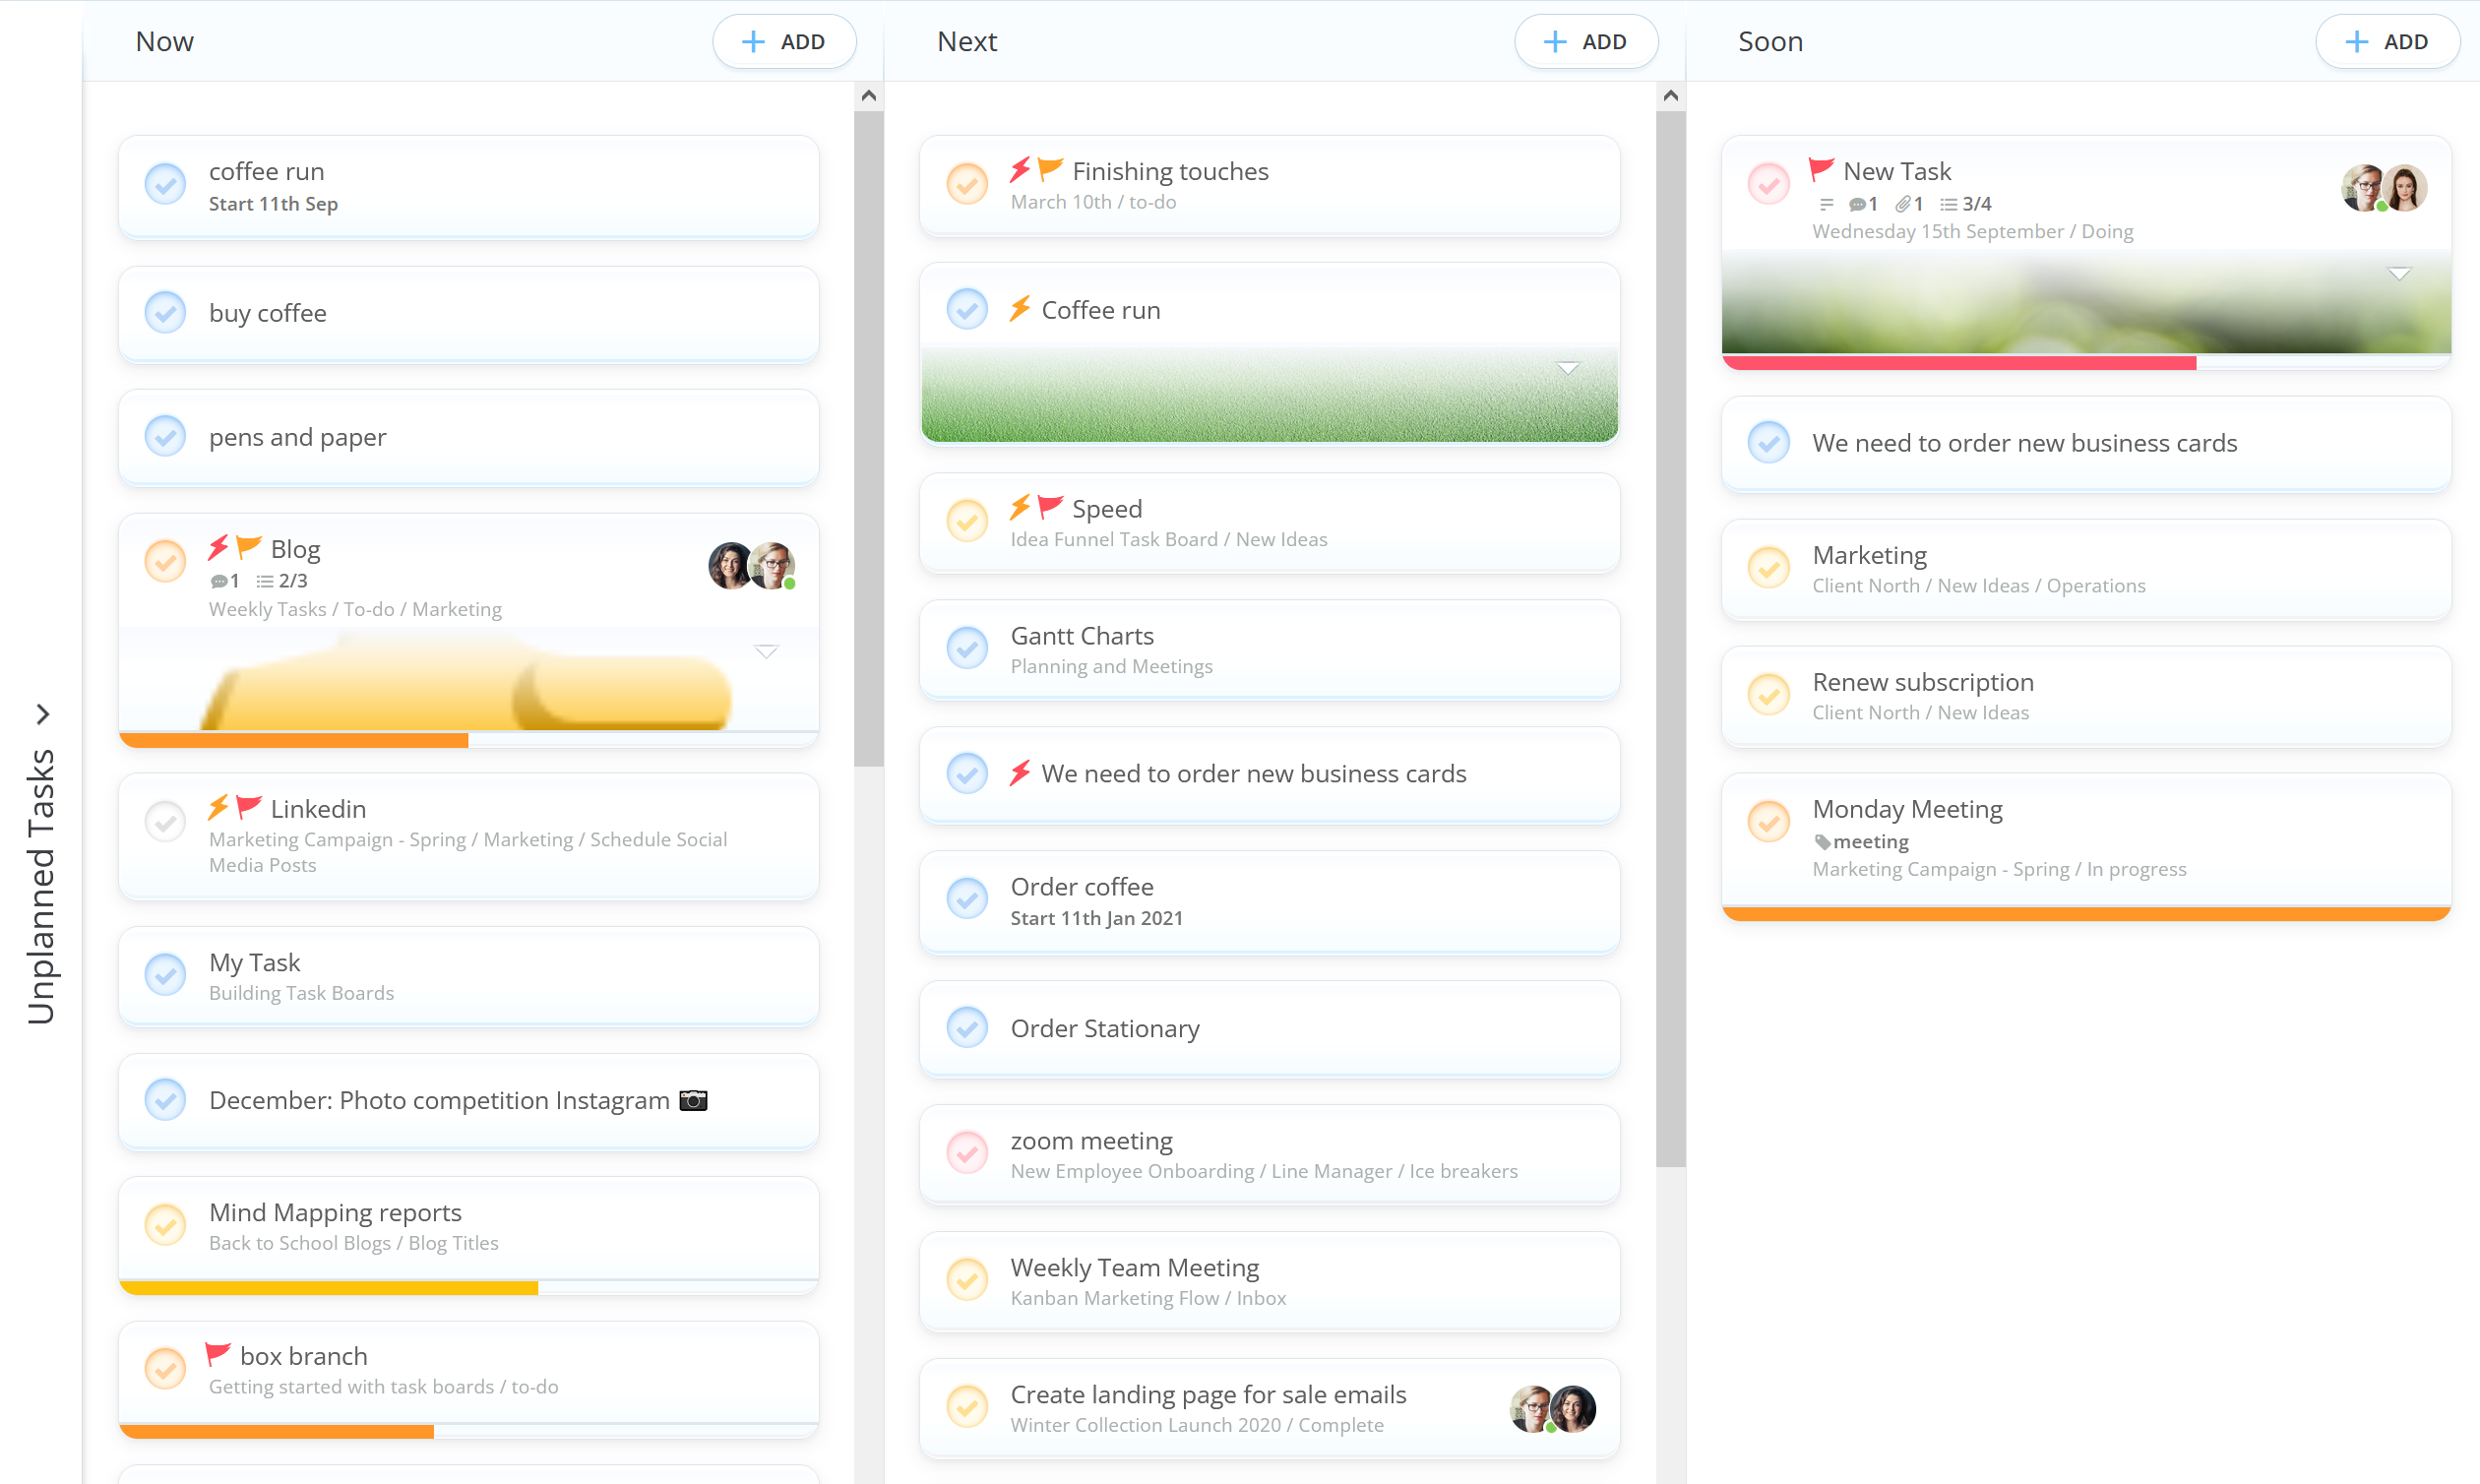
Scheduling your Tasks in My Planner
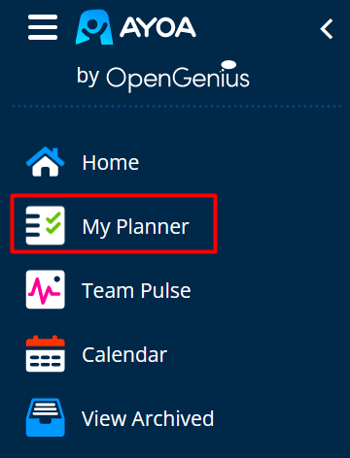
1. My Planner will display all Tasks that are assigned to you. To view your Planner, first navigate to the main menu by clicking the 3-line icon on the toolbar.

2. In the menu, click on My Planner.
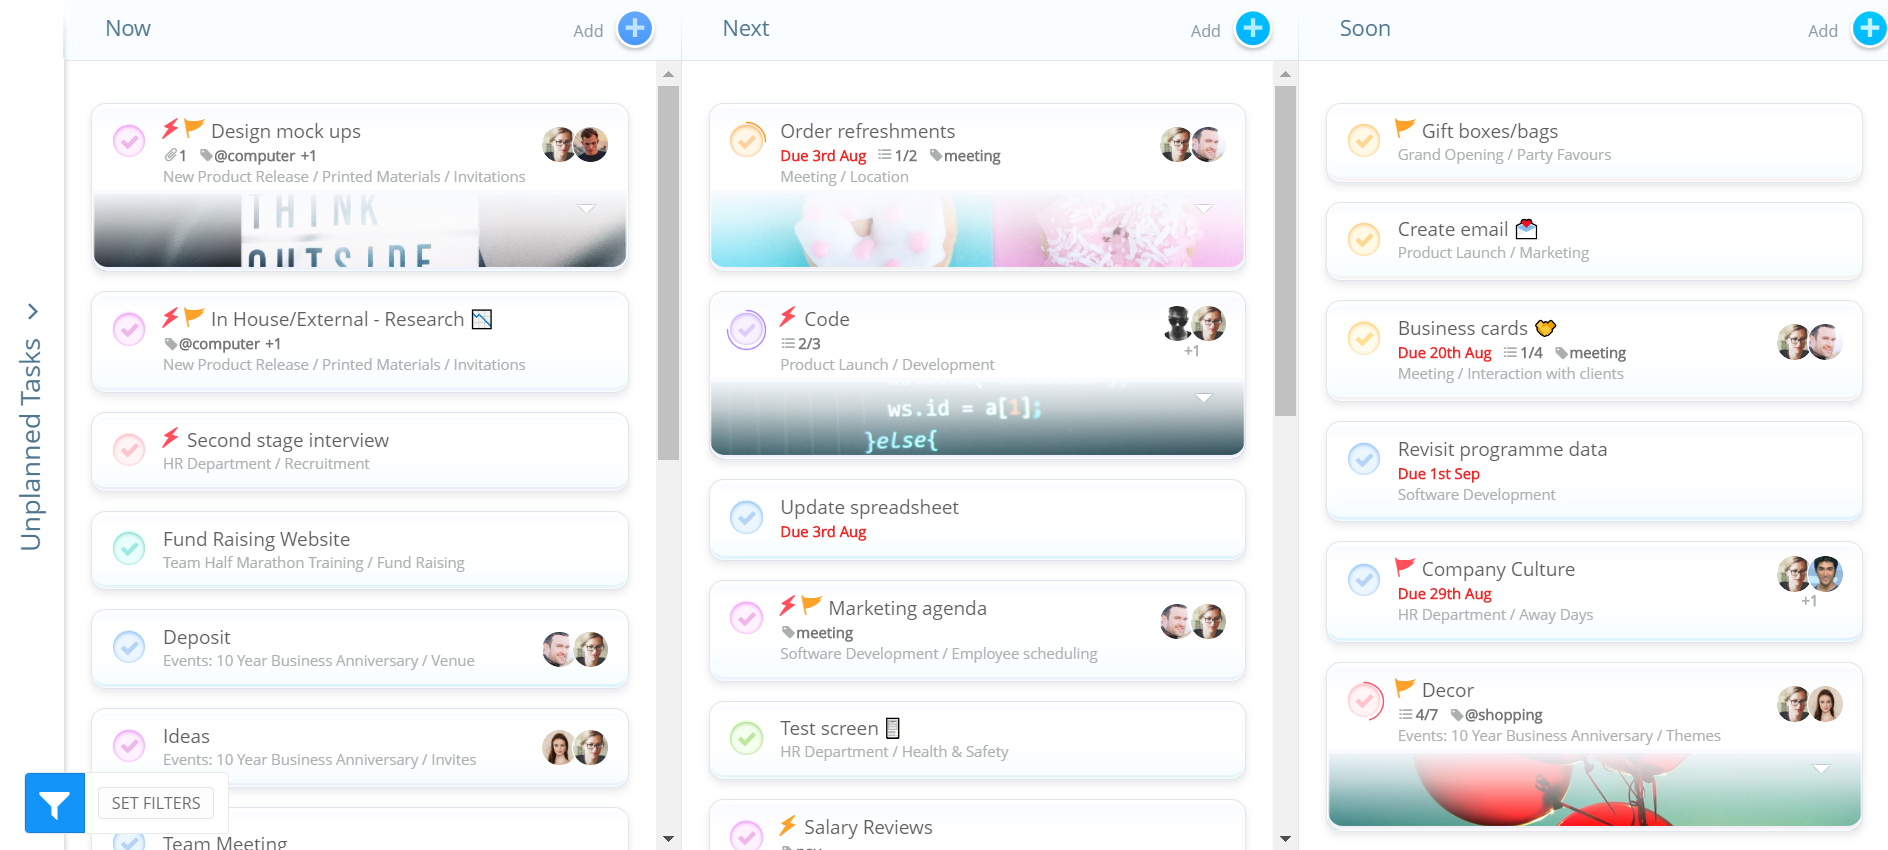
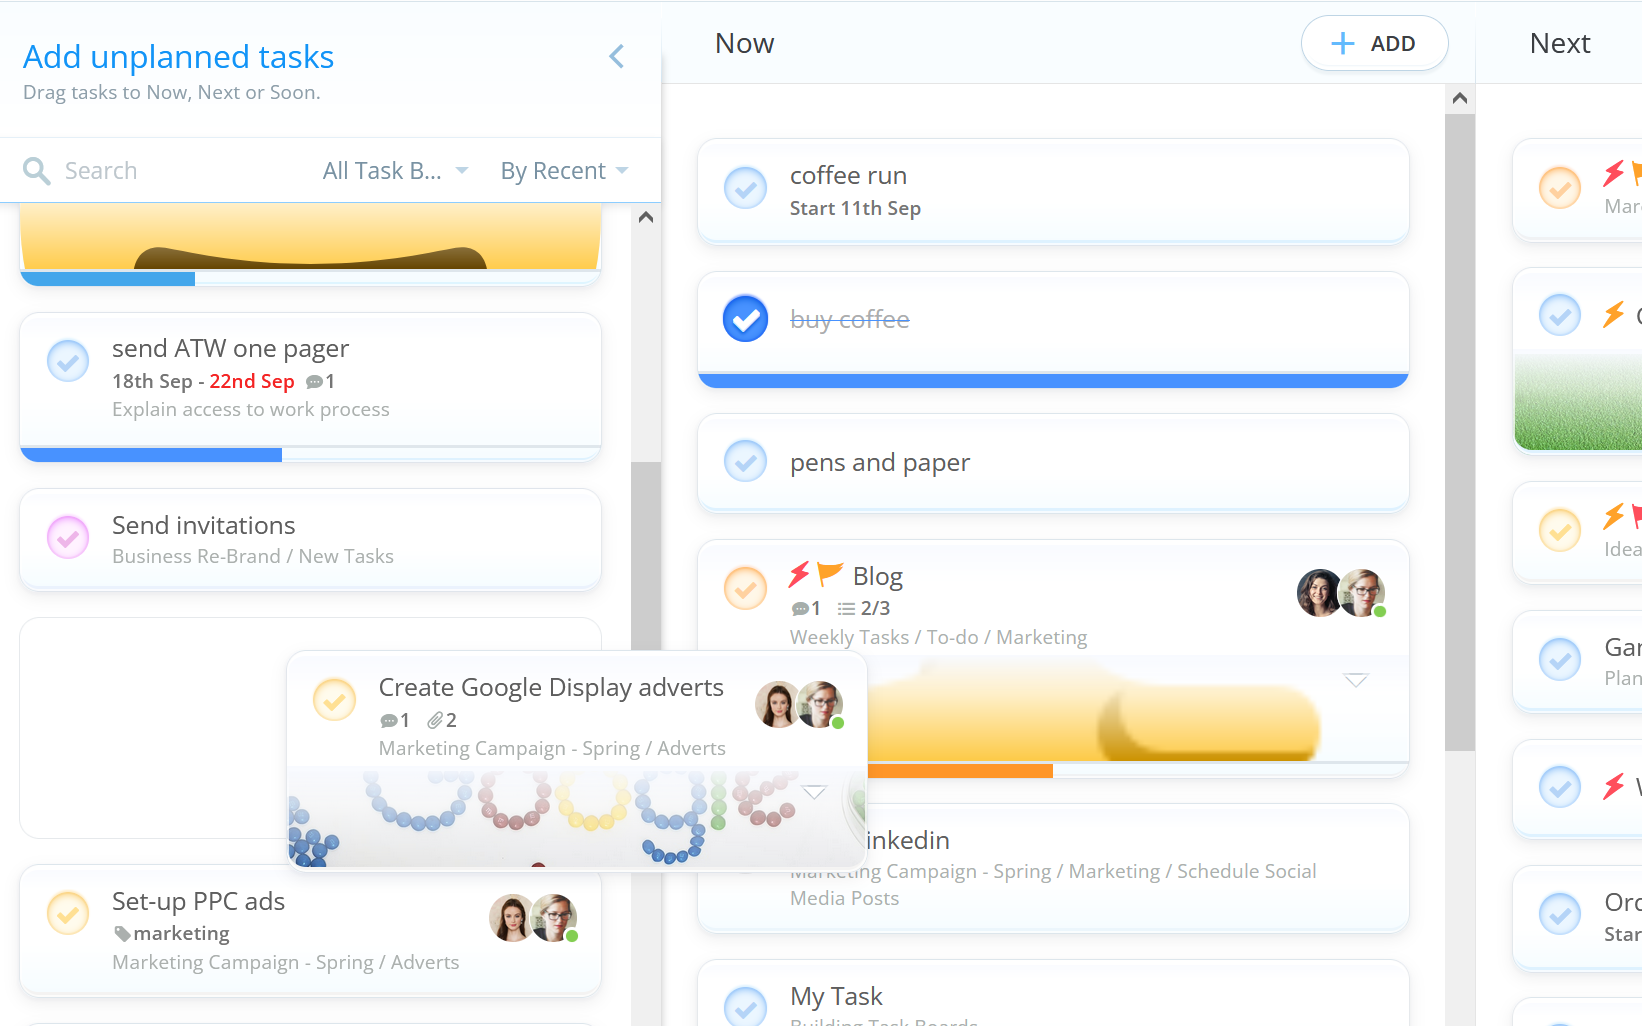
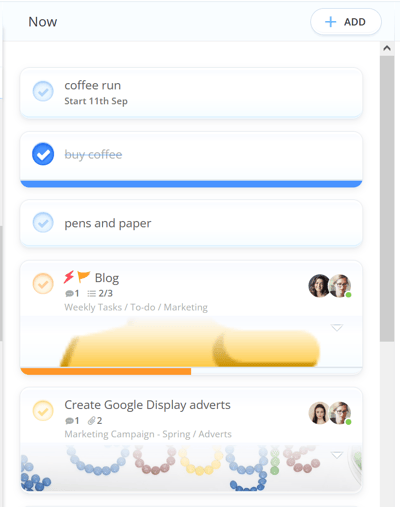
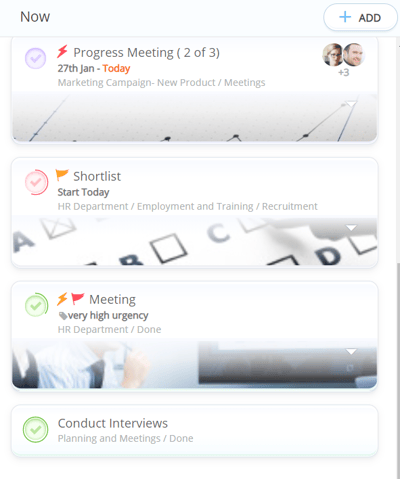
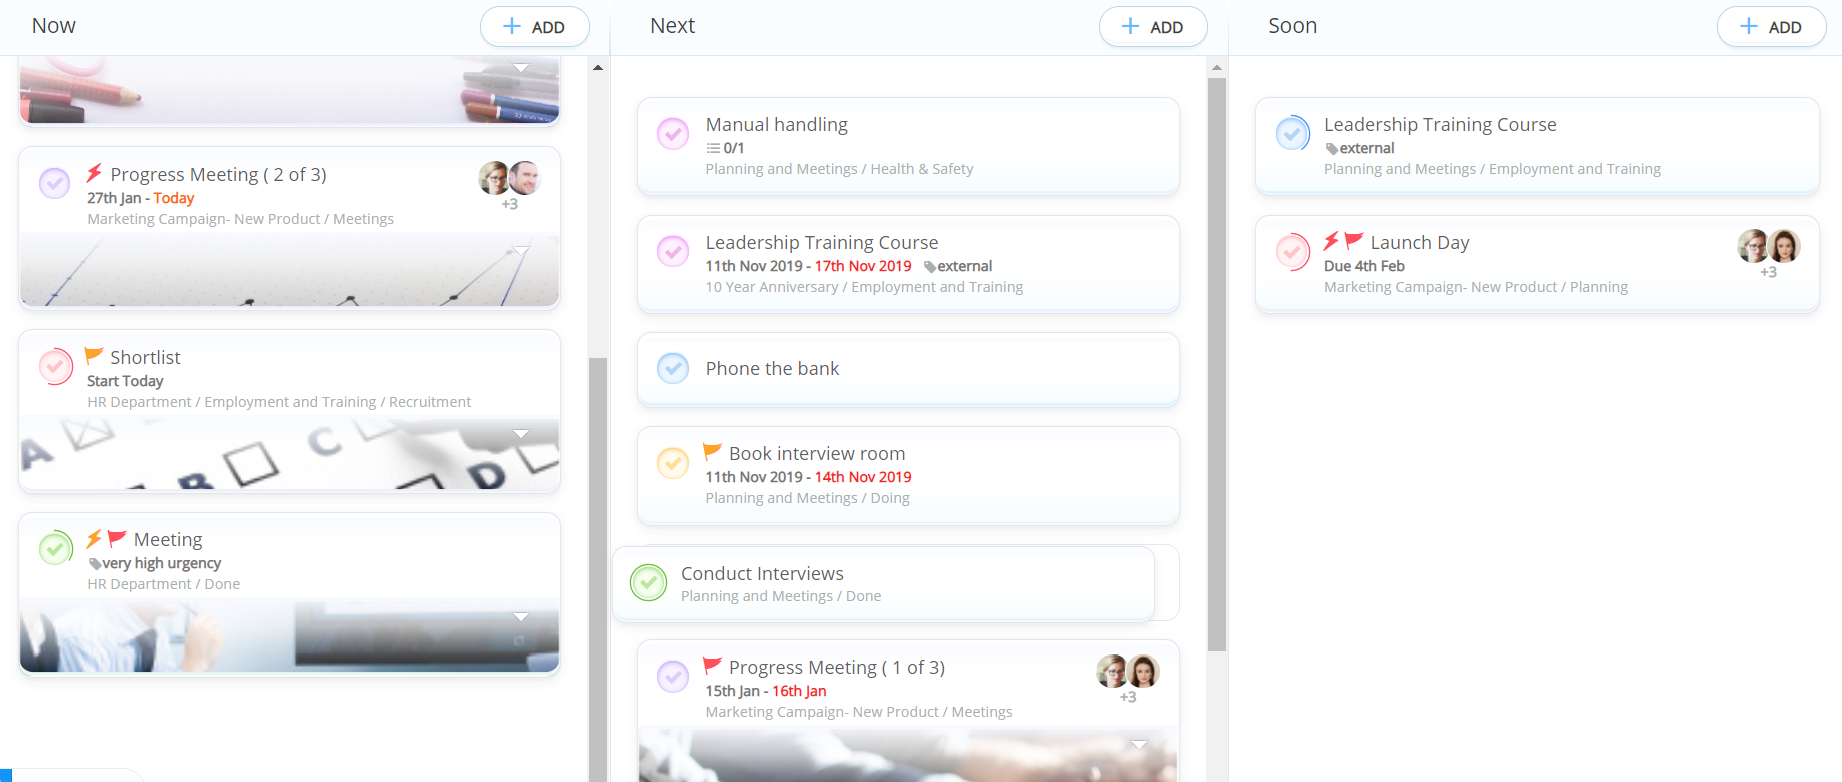
3. Your Planner will be displayed with Now, Next and Soon columns.
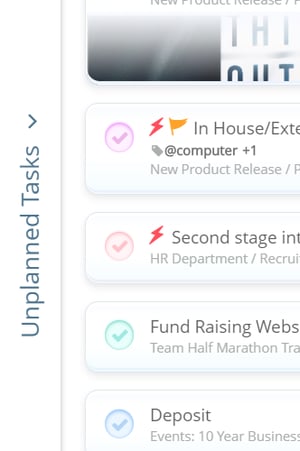
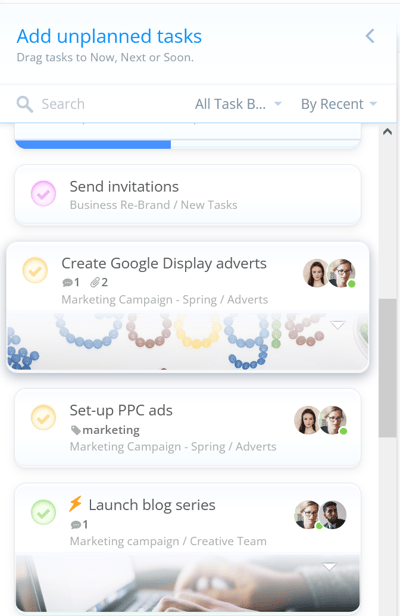
4. To schedule your assigned tasks into your chosen category, simply click Unplanned Tasks situated at the left-hand side of the screen.
5. Tasks that have been assigned to you across all of your Task Boards will be placed in the Unplanned section.
6. To schedule these tasks, simply drag and drop tasks from the Unplanned section into your preferred board.
7. Your Tasks will then be scheduled.
Scheduling Tasks in the Planner from within the Task sidebar
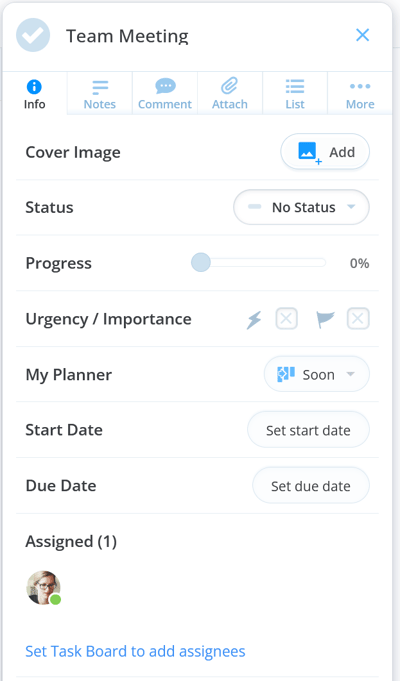
1. You're able to schedule Tasks directly from the Task sidebar. To do this, simply click on the Task that you wish to schedule.
2. The Task sidebar will then open. To schedule a Task, simply click on Unplanned then choose either Now, Next or Soon from the drop-down menu.
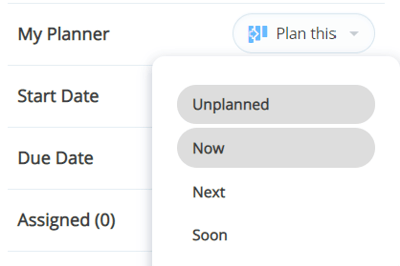
3. Once selected, a blue indicator will appear around the outside of the Task circle.
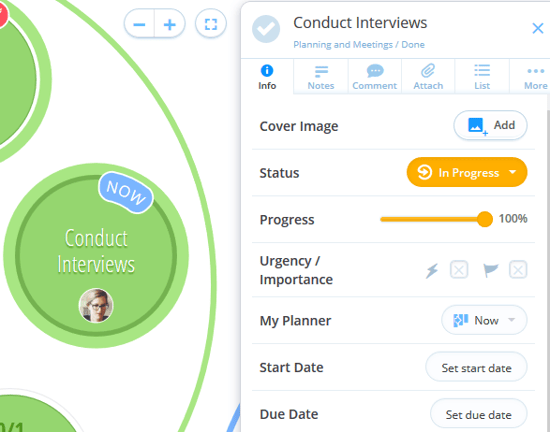
4. Your Task will then appear in its newly assigned board in the Planner.
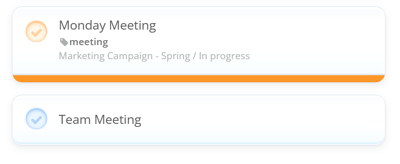
5. To reschedule your Task, simply drag and drop it into its preferred column.
Creating Tasks in the Planner
1. You can use your planner to create miscellaneous Tasks that don't require a Task Board. To create a Task in your Planner, start by opening your planner.
2. Once there, double-click in the column that you would like to add your Task to. A box will then appear.
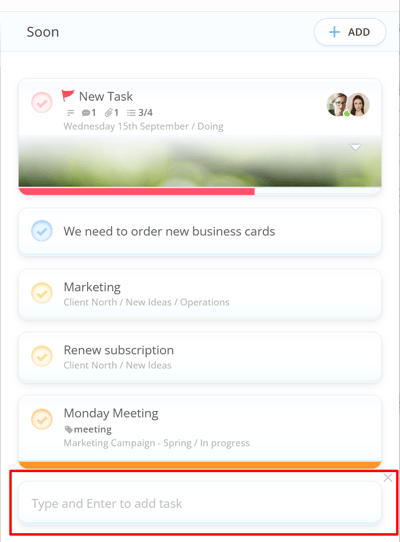
3. Type your Task name, then hit Enter. Your Task will now be added to that column. This Task does not need to be placed inside a Task Board. If a Task Board is not set, this Task will only be visible to you and can be found in your Planner.
4. If you would like to assign your Task to a Task Board, click on the Task to open the Task sidebar, then click Set Task Board to add assignees.