.png?height=120&name=Ayoa%20small%20(1).png)
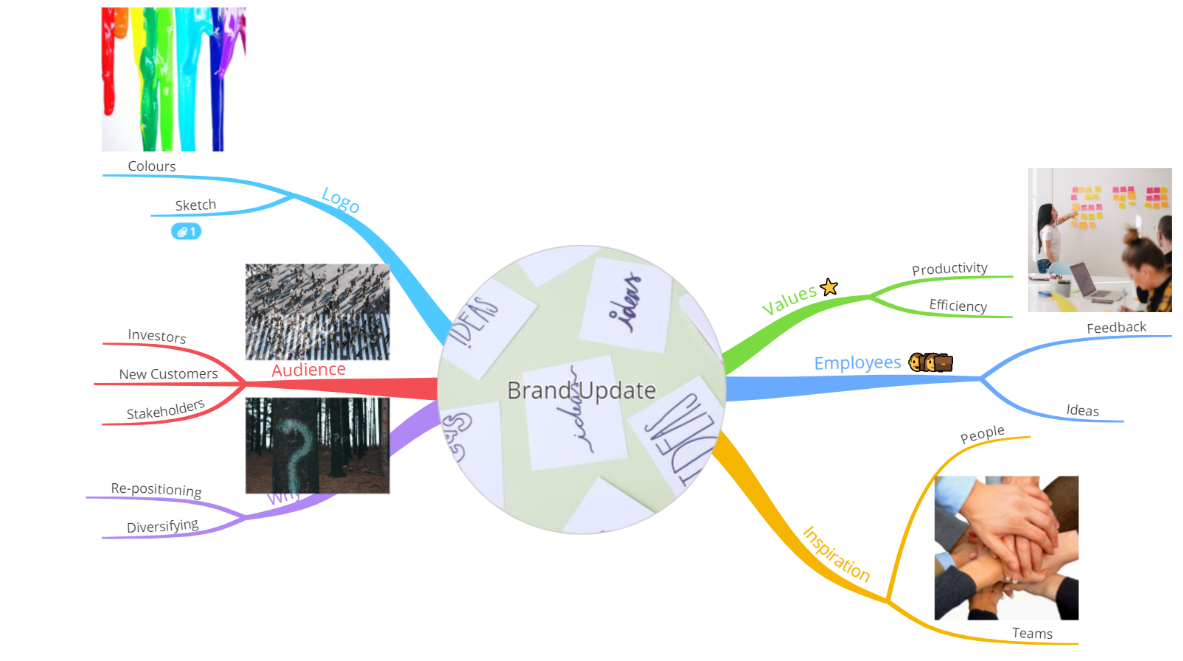
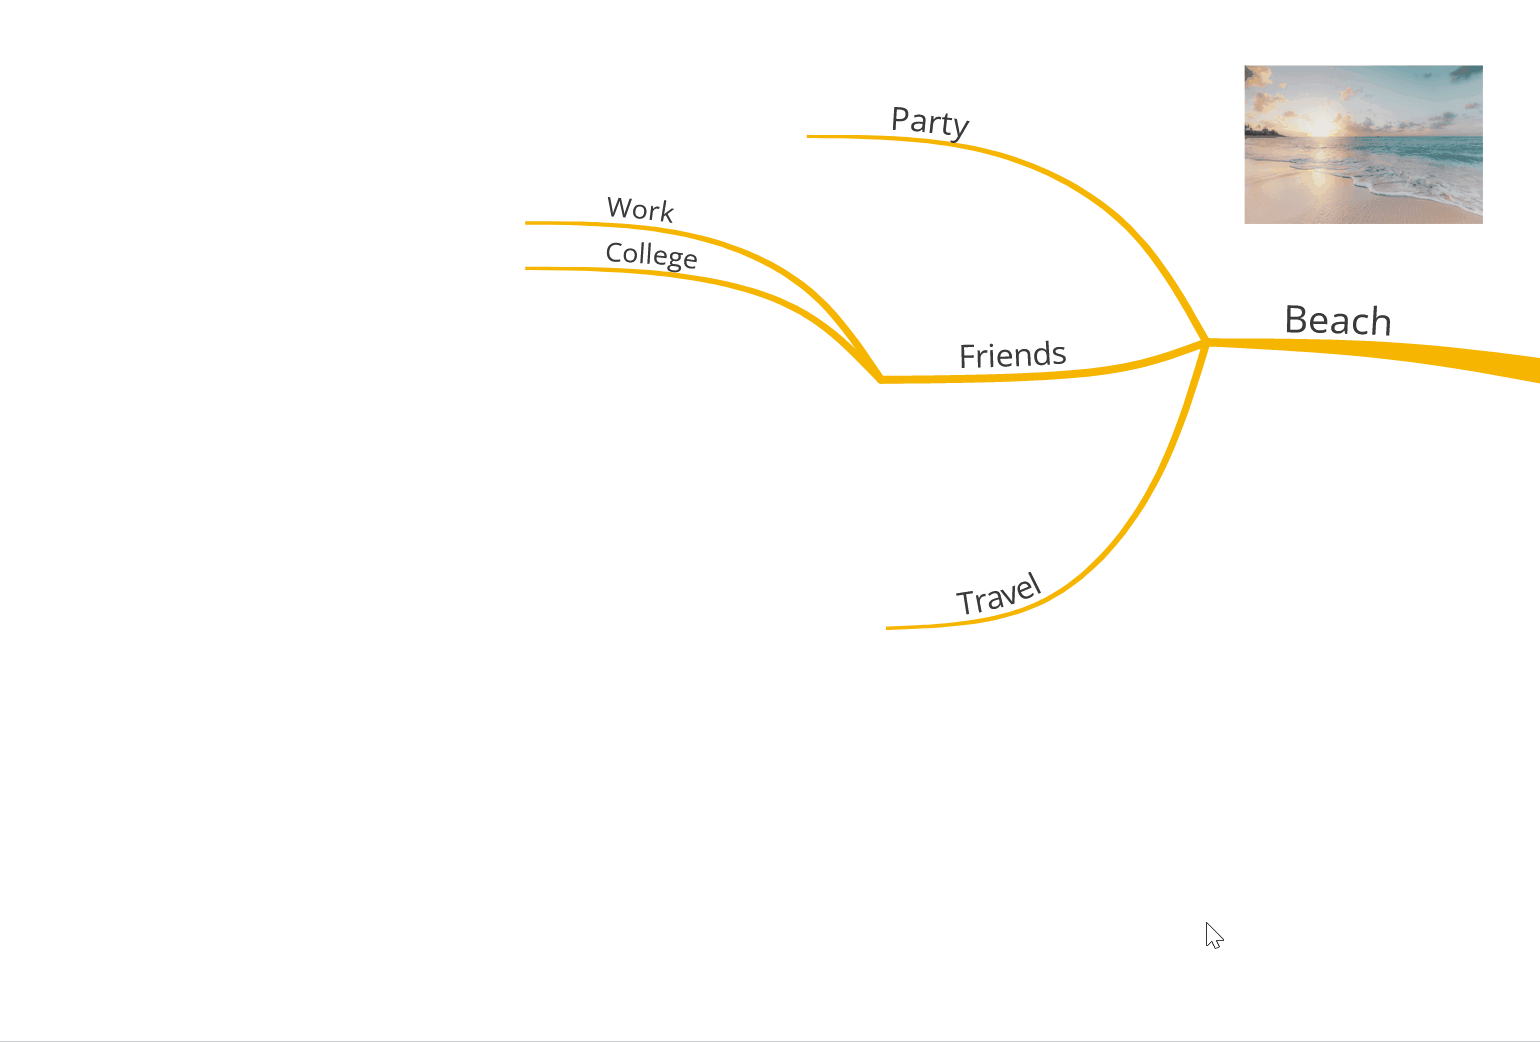
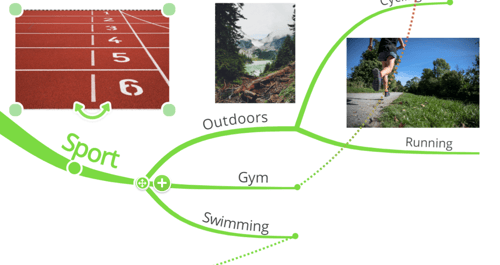
Create your maps in the classic Mind Map view. Draw radiating, curved branches associated with the traditional mind map, and there'll be no limits to your creative thinking.
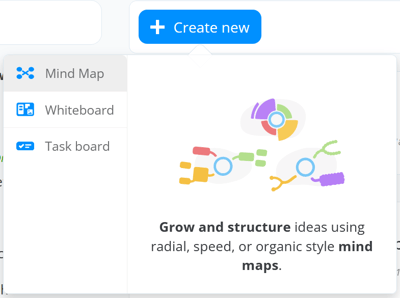
Creating a new Mind Map
1. Go to the Home page and click +Create new, then choose Mind Map.
2. Within the Blank mind map, next to the name box, open the drop-down menu and select Mind Map.
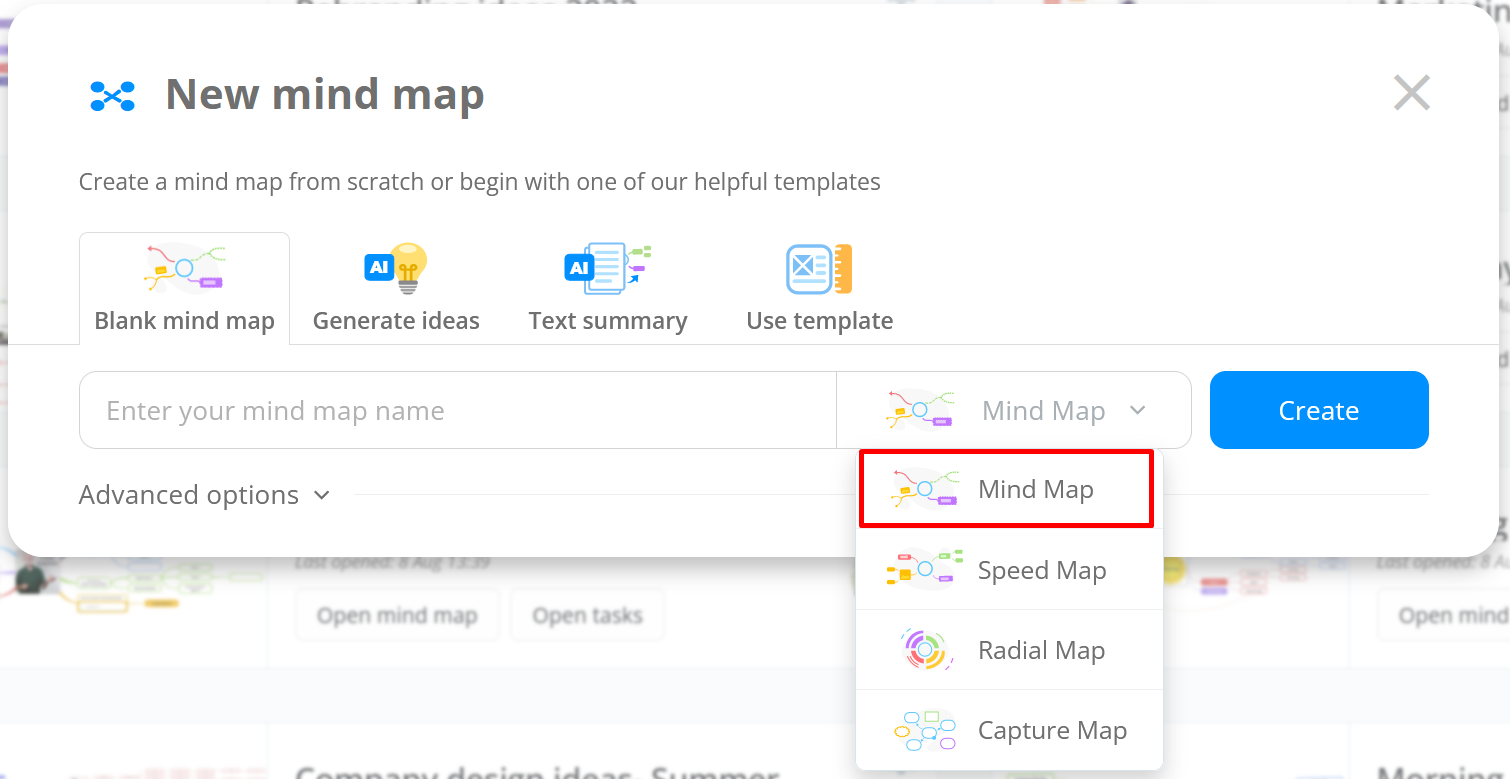
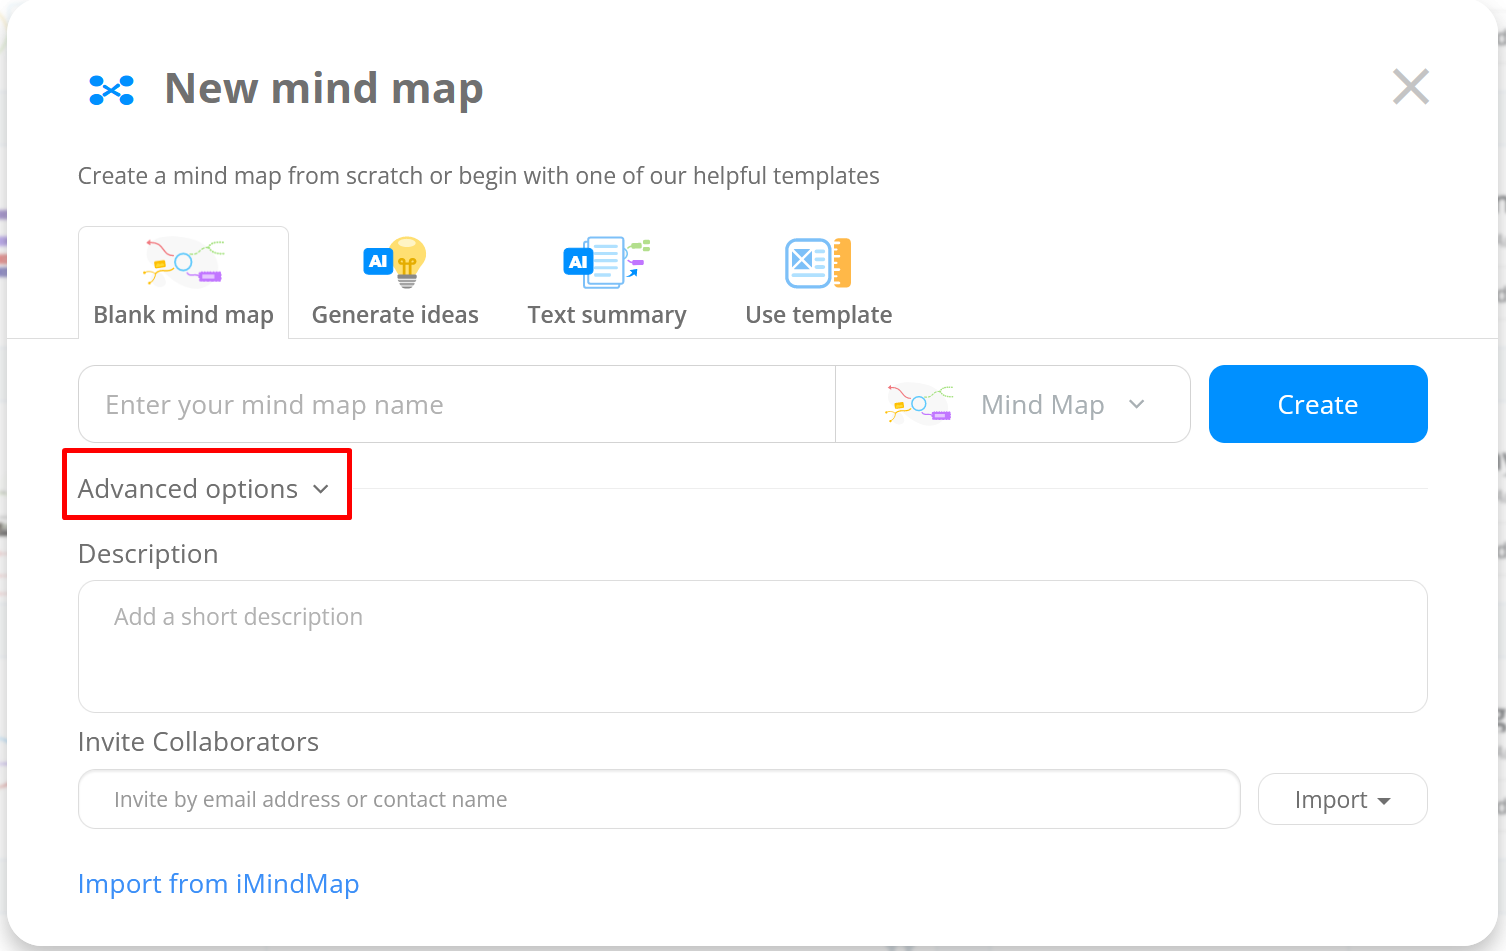
3. Name your mind map and under the Advanced Options, at the bottom of the window, you can add a map description and any people you wish to collaborate with. Once that is done, click Create.
To Add Mind Map Branches to Your Map:
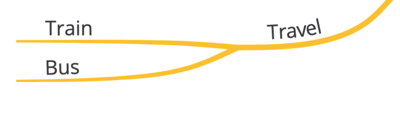
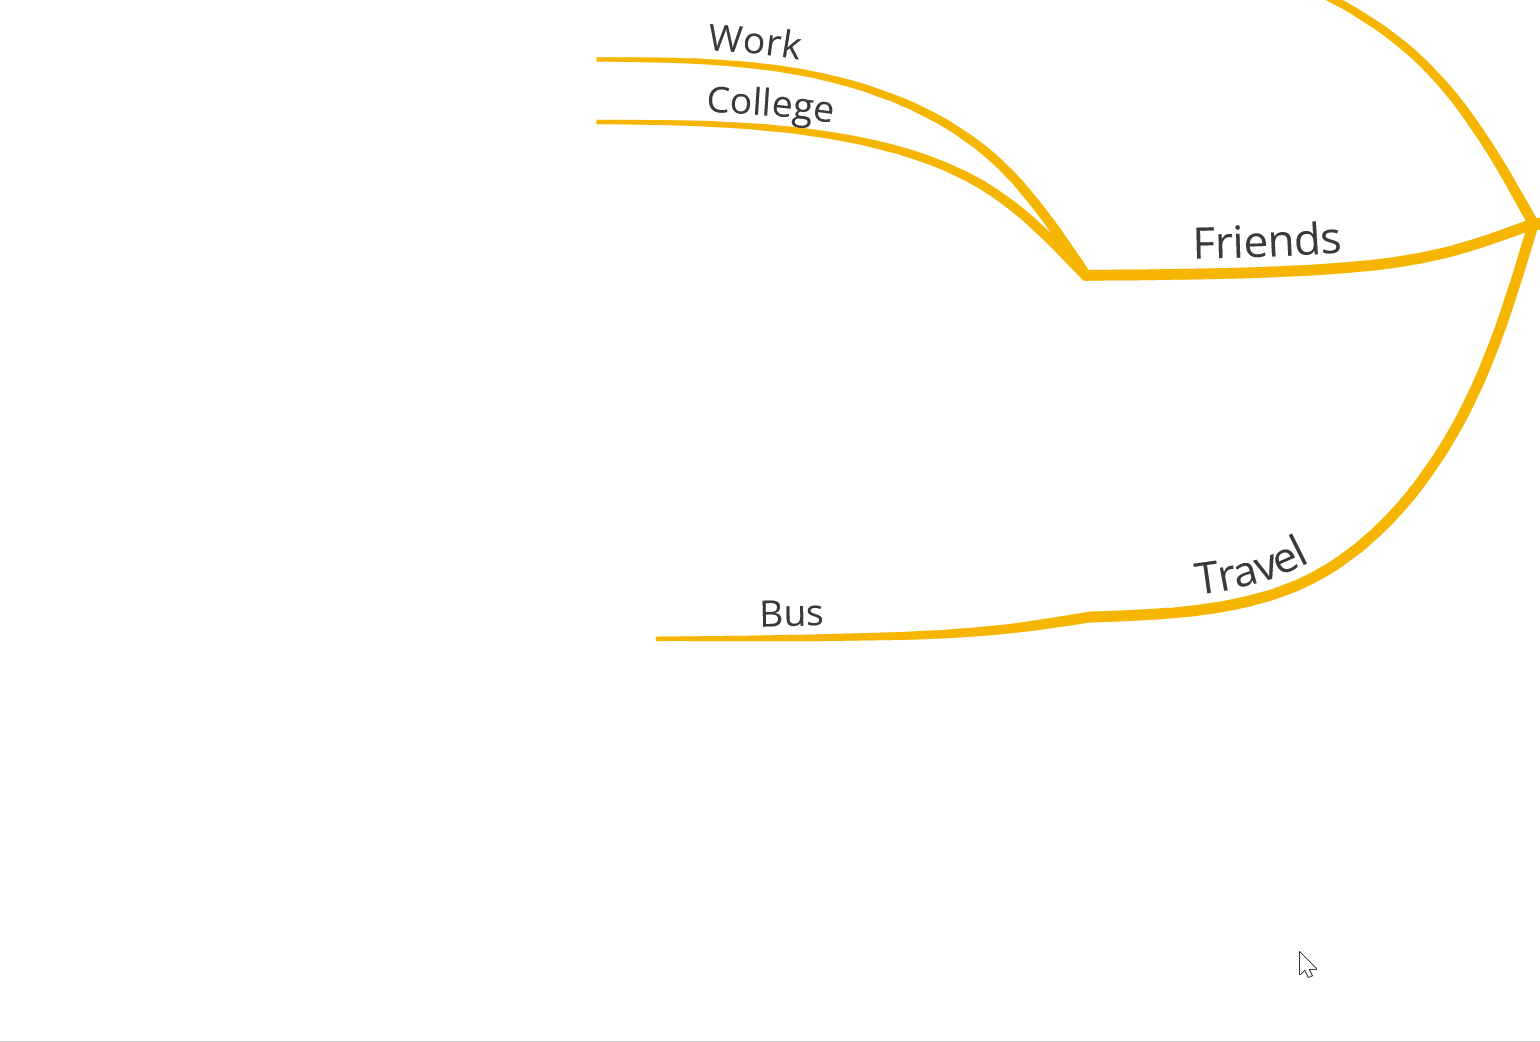
Using the Mind Map view will allow you to create free form branches in the traditional style.
1. The best way to experience true mind mapping is to click on the the green + icon and drag to position. The Mind Map view branches can be placed anywhere on the top and start from any point on the central idea.
To add branches quickly, use our handy shortcut. Use your keyboard arrow keys to move around the branches and hit Tab to create a new branch.
To quickly add additional child branches connected to the same parent branch, simply use the Enter key. To add a new layer of child branches, use the tab key.
2. When your branch has appeared, type away and hit Enter or Done.
3. To edit the text, double-click on the text to bring up the text editor. The text will be automatically highlighted to allow you to make changes to the style. The text must be highlighted before changes will take effect. Please note that text alignment and carriage returns can only be applied to box branches.

4. The text editor options are at the top of the format menu and will allow you to change the style, size and colour of the text.

5. Click back on the canvas to close the menu and view your changes.

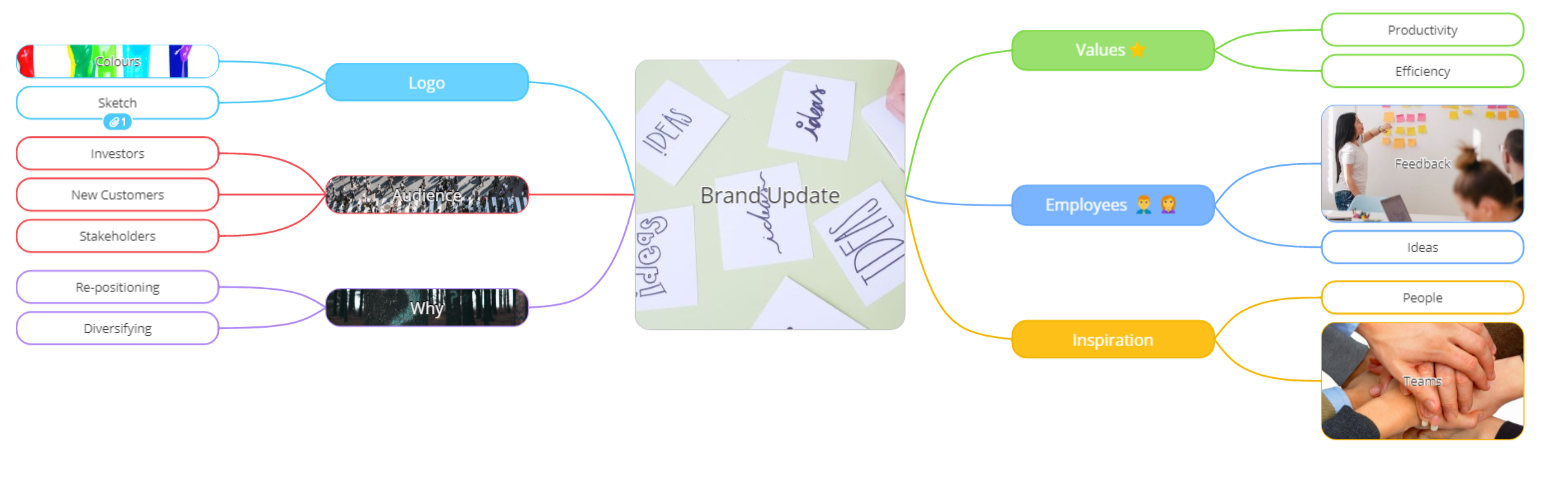
Adding a Box Branch
1.To add a box branch, drag the + green button at the edge of the parent branch while holding Shift. A box branch contains the text in a box rather than along the branch.
2. A new box branch will appear. Type in your branch text and use the desired formatting options. Press Shift and Enter on the keyboard to add a line break when using box branches.
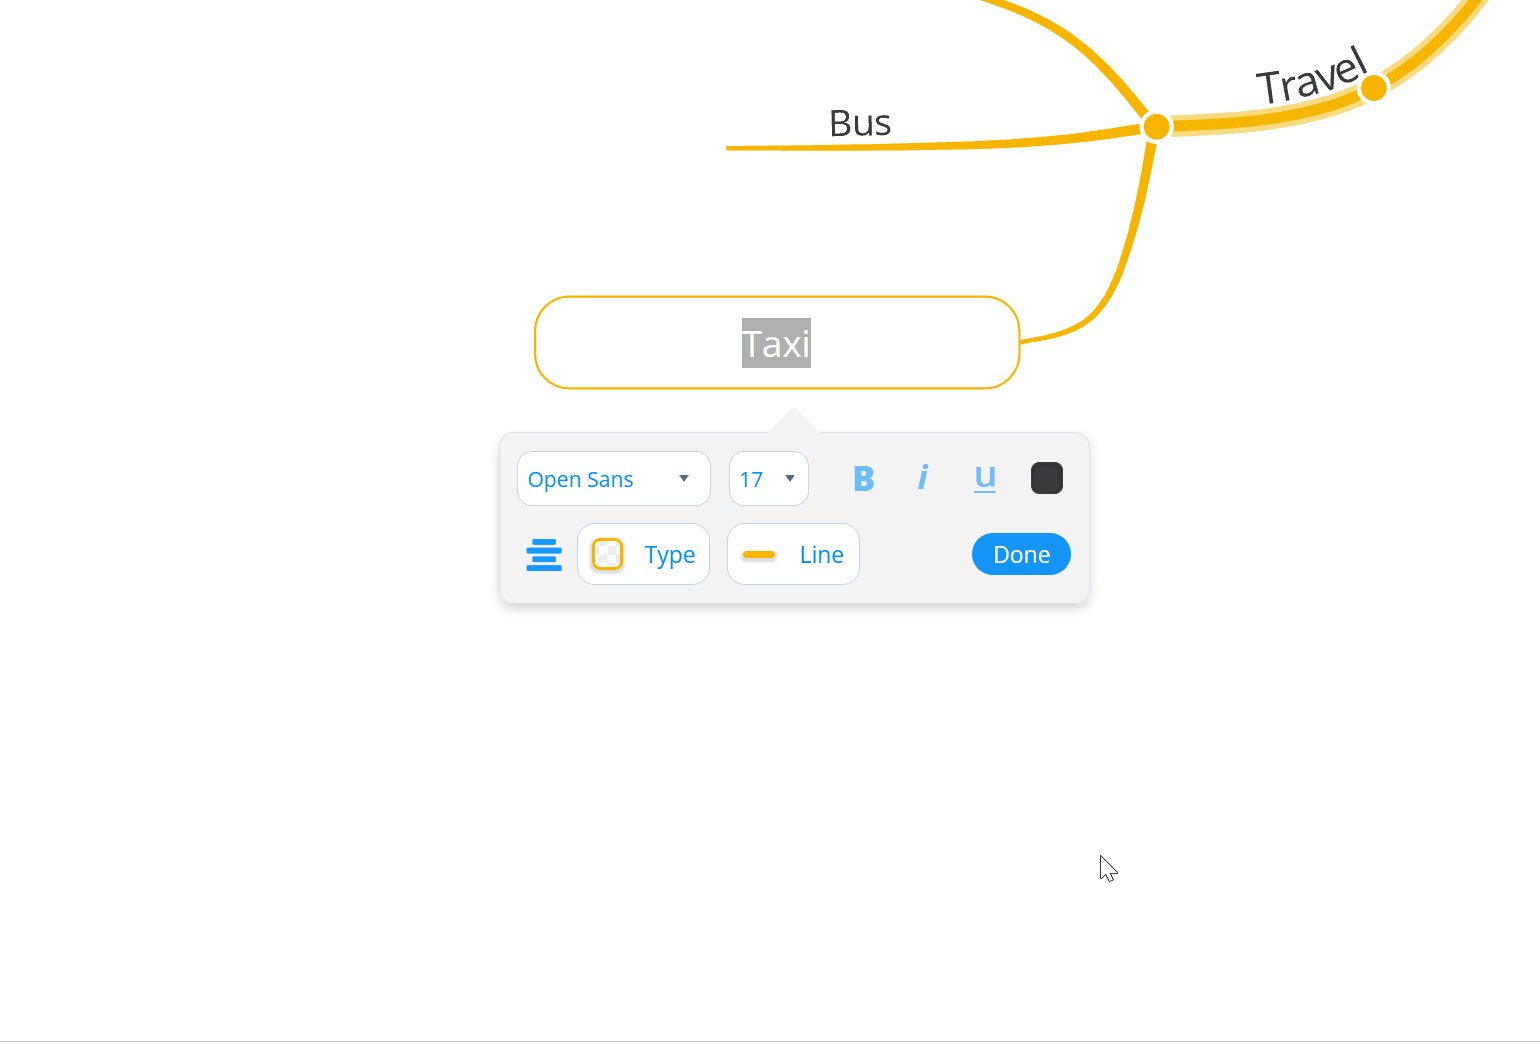
3. Hit Enter or Done to complete your branch.

Changing the Curve of Your Mind Map View Branches
Once added to your map, you can manipulate the branch shape to exaggerate the curves.
1. Hover over a branch to activate the control points.
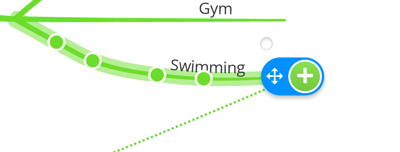
2. Click and hold down on the control point to move and distort the branch.
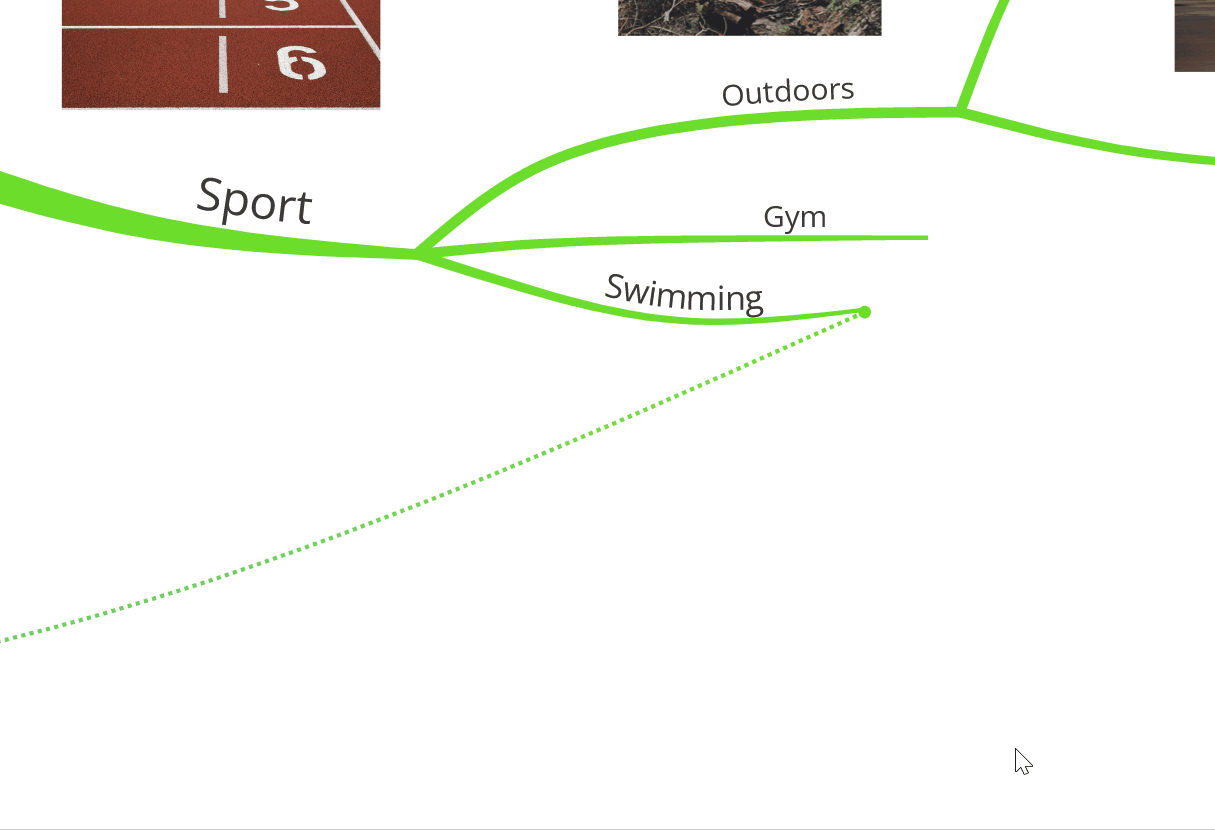
3. To add additional control points to the branch, hold down Shift, and click on a space on the branch. To remove control points hold Shift and click on an existing control point.

4. The more control points you add, the more curves you can add to a branch.
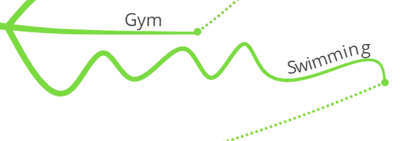
5. If you would like to remove all the curves you have added, go to Settings in the bottom left corner and in the Display Options tab, click Clean Up.
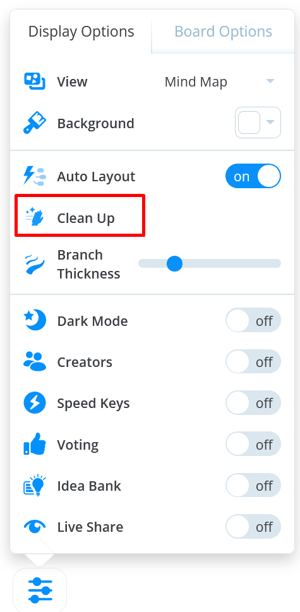
6. This will automatically tidy up all your branches, creating equal space, and removing changes made using control points. Please note, once Clean Up has been used it cannot be undone. The Clean Up tool is only available in the Mind Map view as in Speed maps box branches are automatically arranged.
Changing an existing Speed Map to the Mind Map view
If you would like to change an existing Speed Map ( box branch) view to a Mind Map view, you can do this at any time in the map settings.
1. Open your Speed Map.
2. Open the Settings icon located in the bottom left corner.

3. Click on the Display Options tab and then Speed Map next to the View section. You will have the drop-down window where you can choose Mind Map view.

4. The map will now be changed to a Mind Map view. The branches will now be curvy, images will be removed from the box branches and added to the canvas. You will now be able to move the branches around the central idea and manipulate the branches curves using the control points.