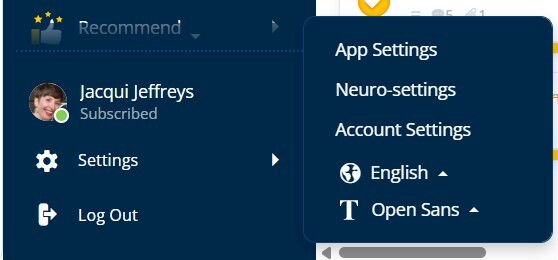
1. Your tag list can be managed from within your account settings. Click on the main menu in
the top left-hand side of the AYOA toolbar to open

2. Navigate to Account Settings.
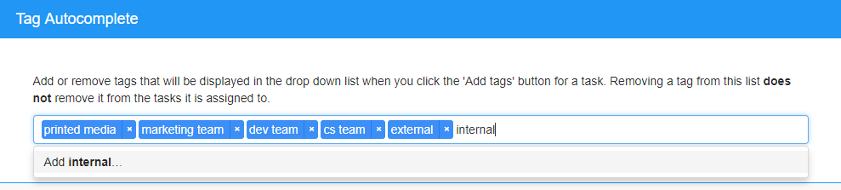
3. Click on Tags located under AYOA Settings.

4. You will be presented with the option to remove any existing tags or add new ones. To add a new tag, simply type your chosen tag name into the box, as seen below.
Adding tags to a Task
1. Select the Task you would like to add a tag to
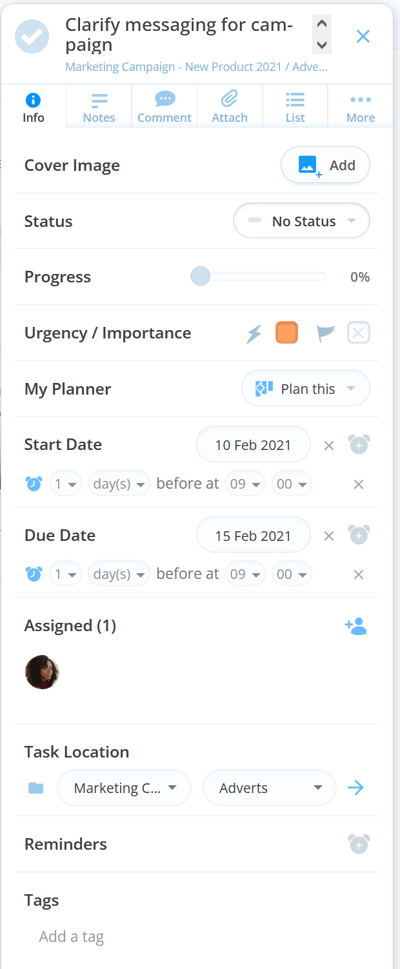
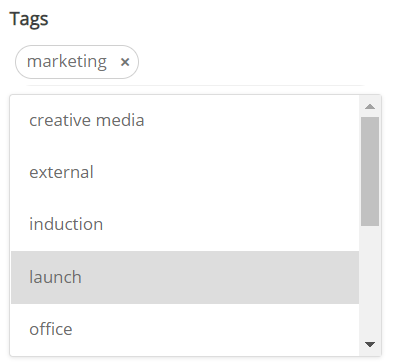
2. Scroll down inside the Task details (ensure you are looking at the info tab) and select Tags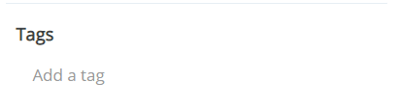
3. Select your preferred tag from those available, or add a new tag using the Add Tag icon.
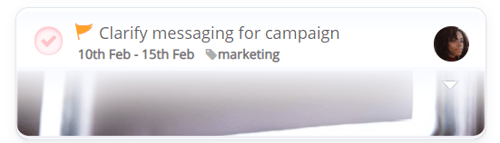
4. Once tagged, Tasks will display these in any Task Board to provide an instant overview of how Tasks have been classified - boosting your organisational power!