Task visibility and permissions (iOS and Android)
With Task Board member permissions you're able to control what others can see and edit in your Project
There are four levels of permissions that can be applied:
1. Admin
2. Default
3. Assigned Tasks
4. Read-Only
Details on each permission level can be found below: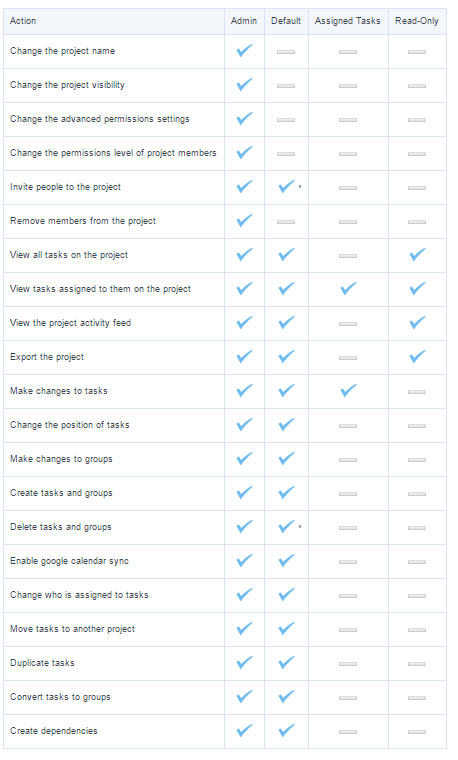
Setting Permissions
1. When creating a new Task Board, you have the choice to add members.
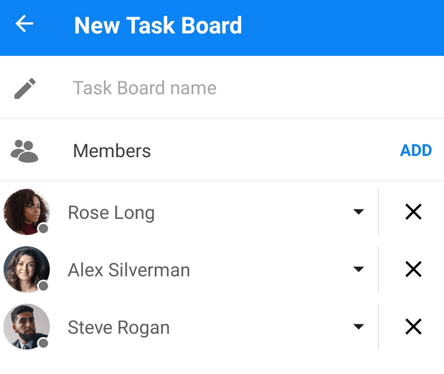
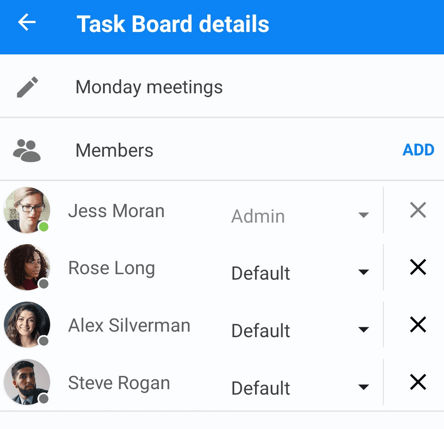
2. Once your members have been chosen, you are able to manage member permissions by tapping on the drop down menu next to the member's name, as displayed below.

3. Edit a member's permission settings by tapping on the drop down menu. You will then be given the choice to choose from: Admin, Default, Assigned Tasks and Read Only.
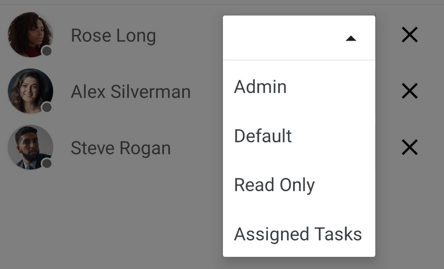
4. Once you are ready to apply the Task Board member permissions, tap Create button to complete the process.
Changing permissions of existing Task Board members:
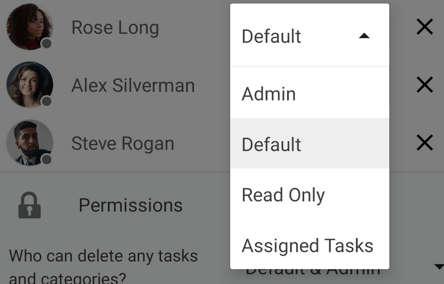
1. As a Task Board progresses and requirements change, you may decide that you want to edit the permission capabilities of an existing project member. Tap the 3 dots in the top right-hand corner then tap Task Board Details in the drop-down menu to edit permission capabilities.
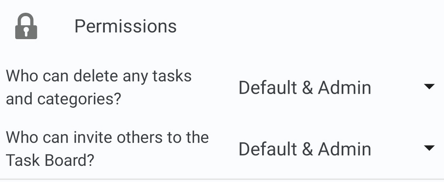
2. Once there, you'll also see the permission settings for all members or individual members, allowing you to choose who can delete tasks and groups that they didn't create, and who can invite new members to a Task Board.
3. You can change the permissions for all the team members under the permissions options using the drop-down menus. These options will show if you are the Task Board owner. Tap on the drop down menus to choose who needs which permissions to delete tasks and categories, and who can invite team members.
4. To manage individual member's permissions, tap on the permissions menu next to their name.

5. This will bring up the other permission options tap on your preferred option to update it. Any changes made will only apply to that team member, the permissions of other team members will not be affected.
