.png?height=120&name=Ayoa%20small%20(1).png)
Once you've mapped out your ideas either individually or as a team, you can start to organize them into a plan of action. Within the mind maps, you can create tasks from your branches and start updating them without leaving the mind map.
This article is for the legacy Task Bar, a feature available only in older mind maps. Switch over to the new and improved Tasks in mind maps functionality by enabling it in Board Options. Please note, this change is irreversible.
Please note- Task boards and the task bar are not included in the Ayoa Mind Mapping plan, you will need an Ayoa Ultimate plan to create tasks from a mind map.
Changing to the new Tasks in Mind Maps Style and Speed views
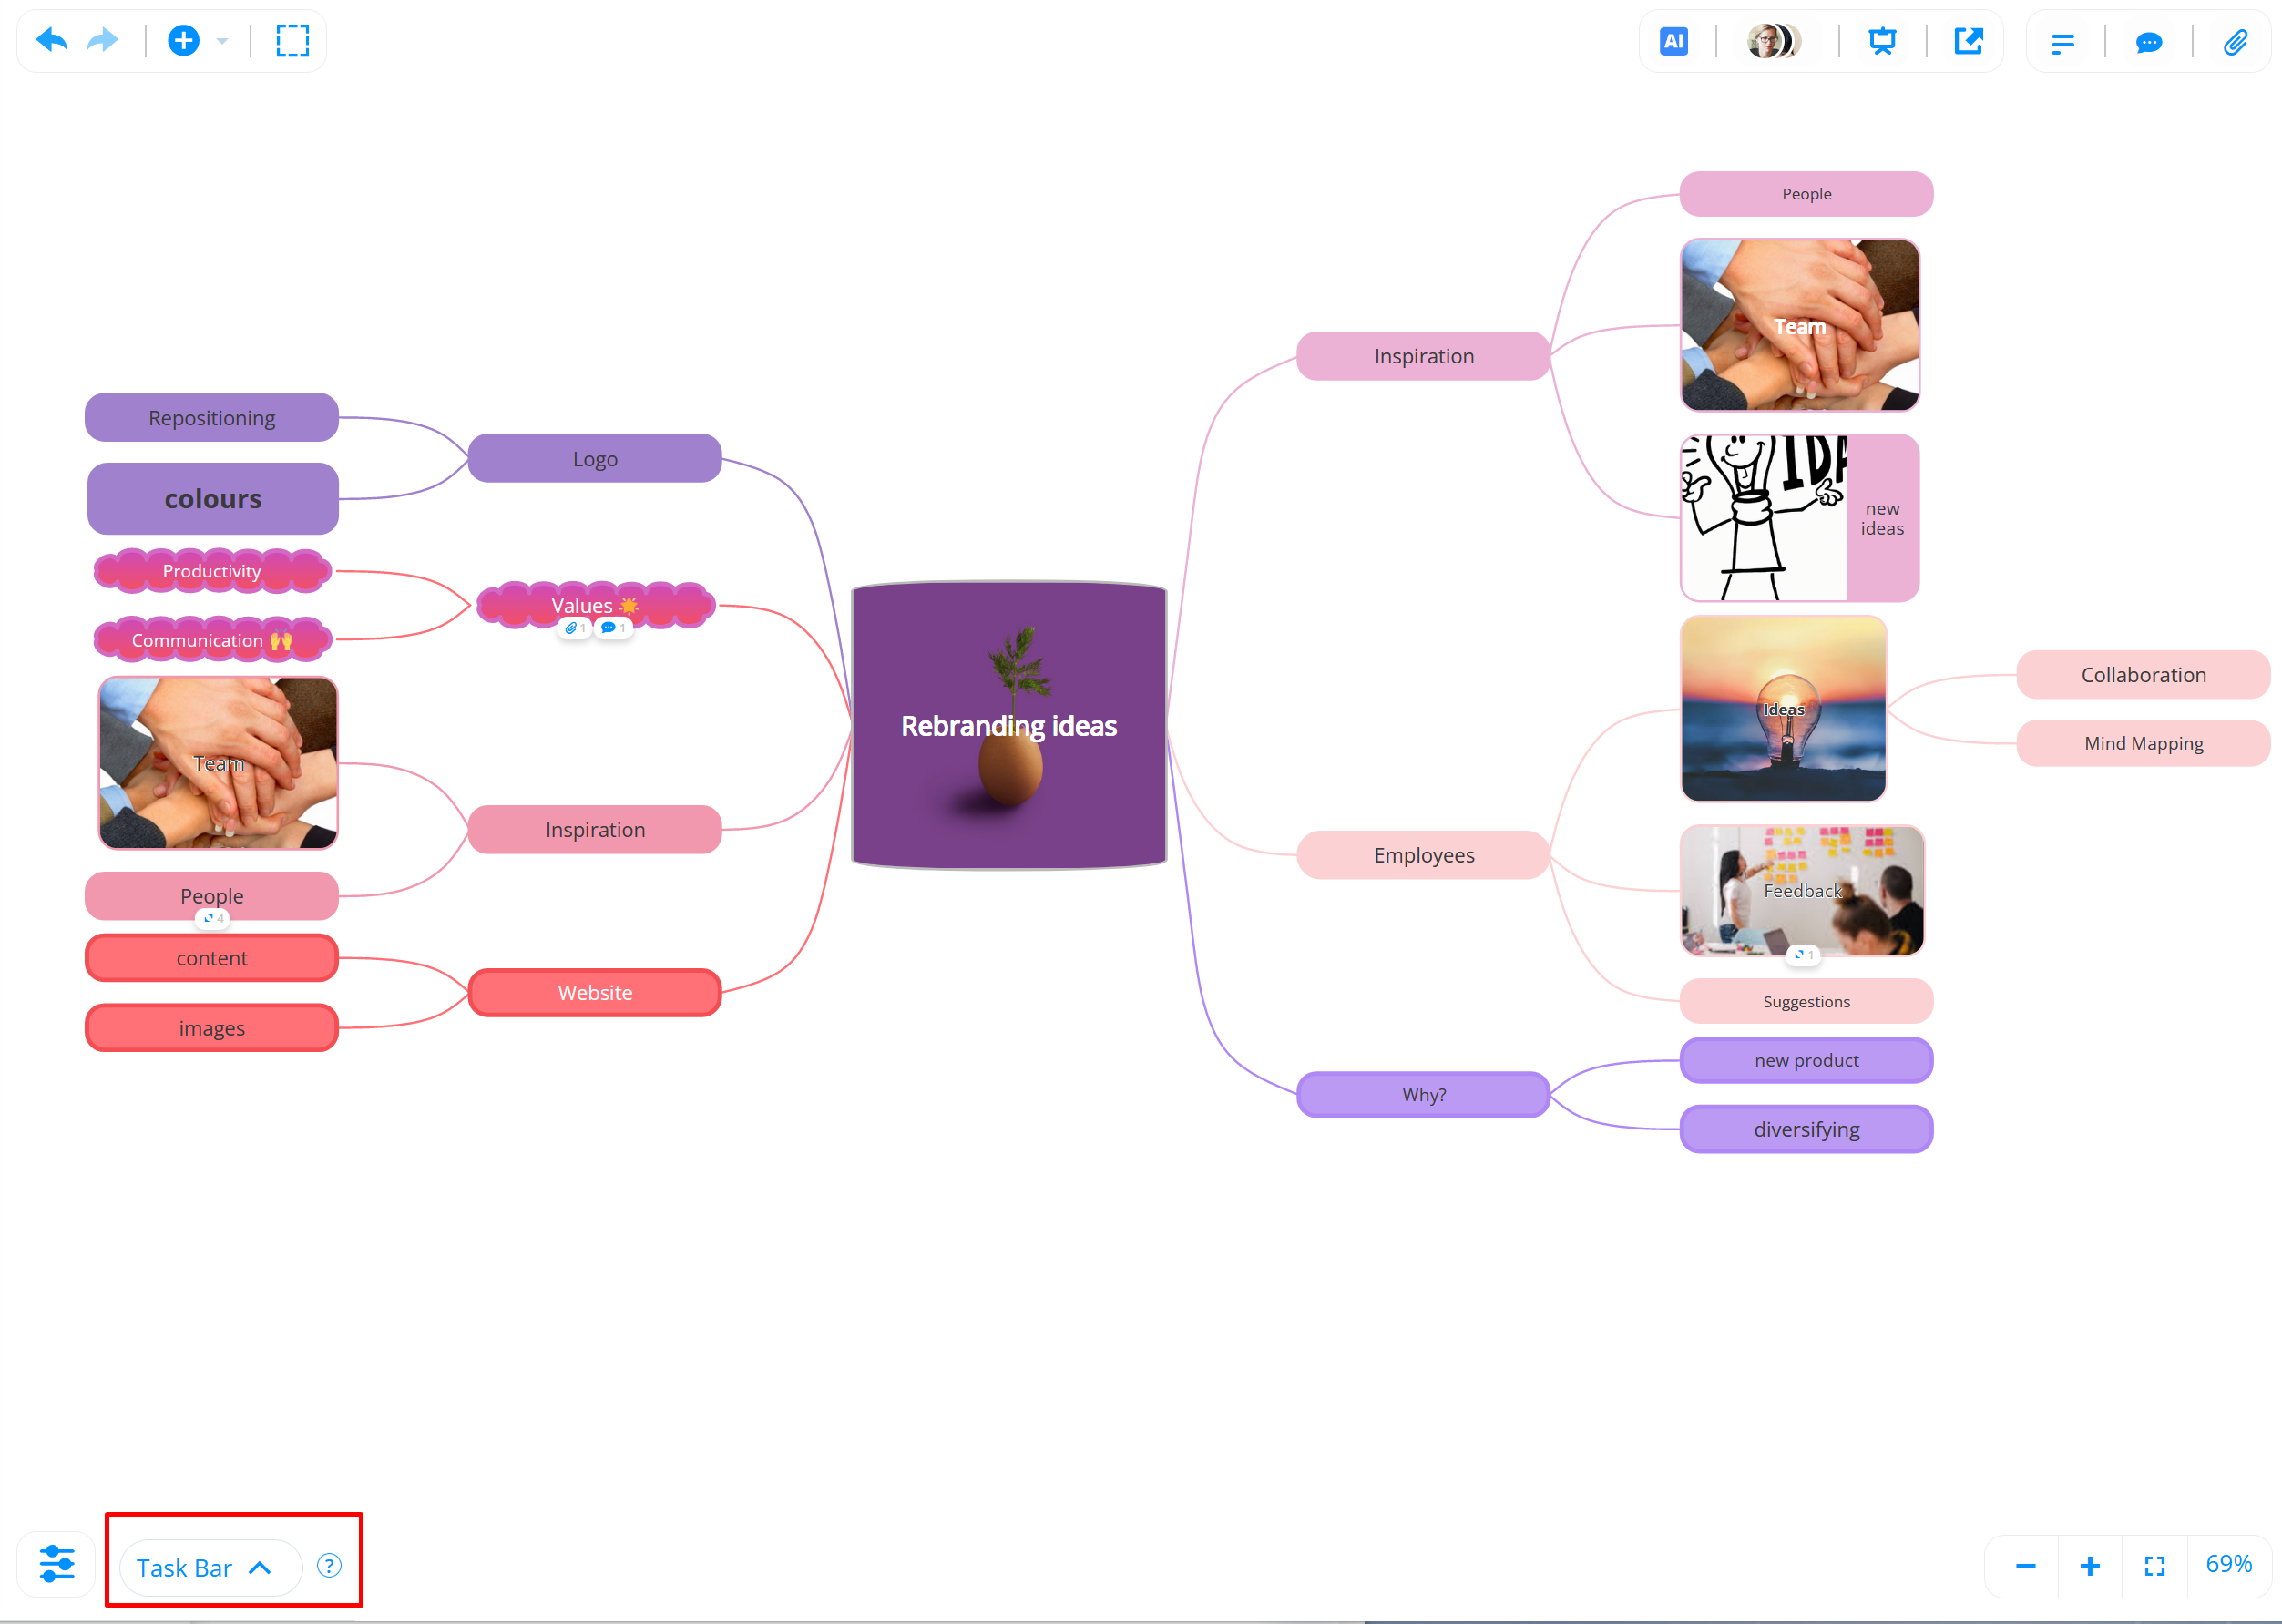
1. If the branch was sent as a task previously, you will see the Task Bar option in the bottom left corner.
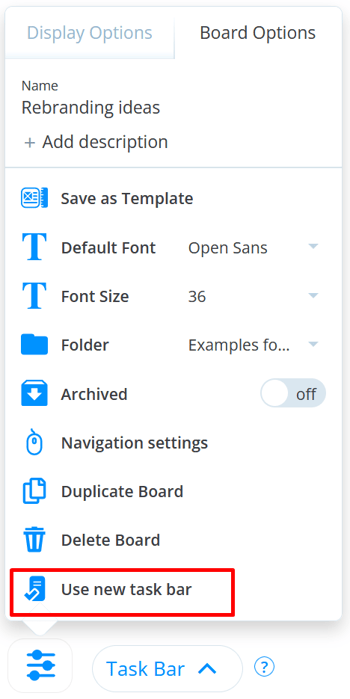
2. To change from that legacy option to the new Tasks in mind maps, please click the Settings icon in the bottom left corner and go to the Board Options tab. Then select Use the new task bar.
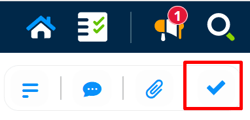
3. The mind map will be then updated and in the top right corner of the map, there will be a new Tasks button.
Please click Tasks in Mind Maps for step by step guide.
Creating a new task board through the mind map
1. Open the mind map.
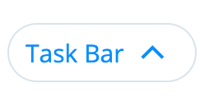
2. In the bottom left-hand corner, click on Task Bar. This will open the task bar.
3. Click on Attach Task Board.

4. Click Create New task board.

5. Name your task board, add a description, and invite anyone you wish to collaborate with. 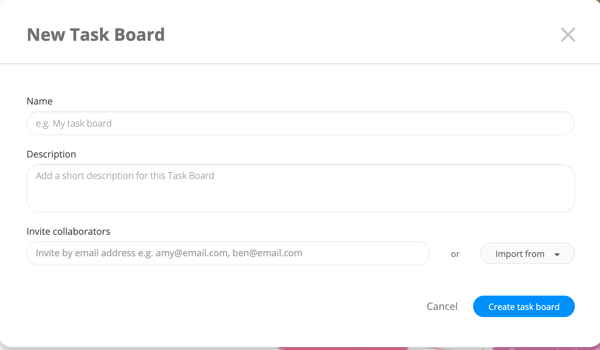
6. The task board will now have been created and is added to the task bar.

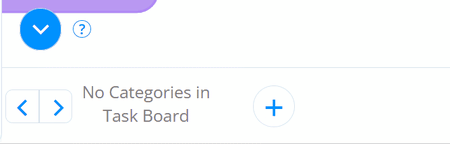
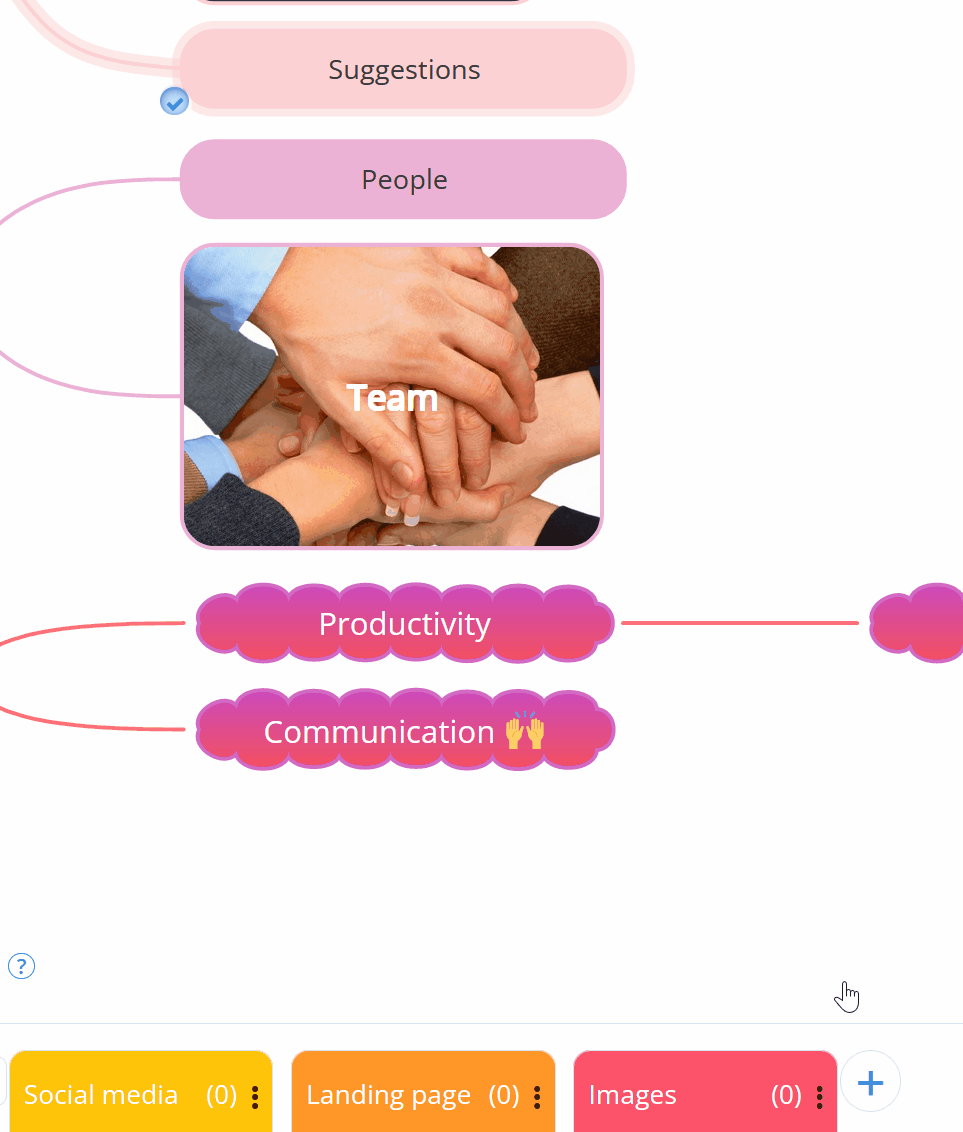
7. Before you start adding branches, you will need to create a category. Click on the + next to No categories in Task Board. Type the name of the category and hit enter to add it to the task board.
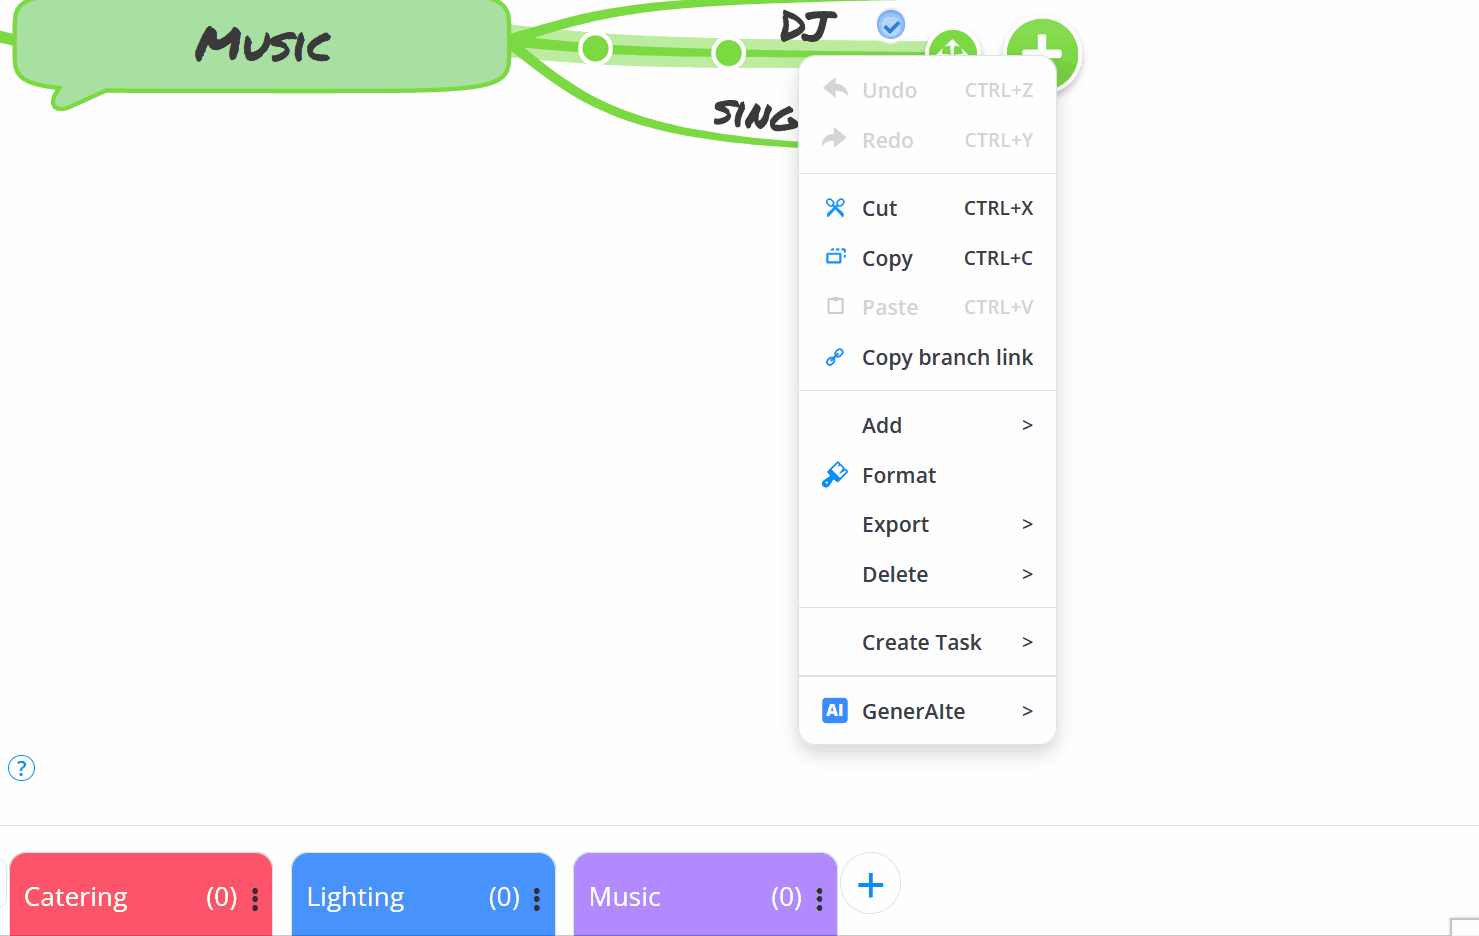
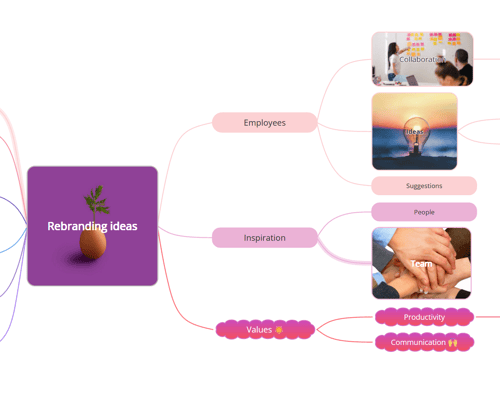
8. Right-click on the branch to open the context menu.
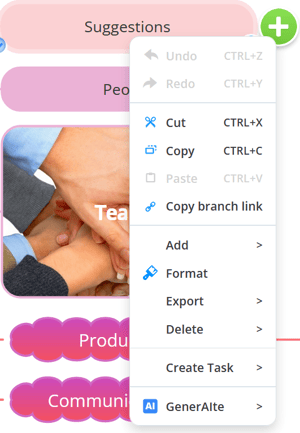
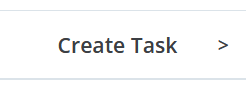
9. Choose the Create Task option.
10. You will now see the list of categories that you have created.
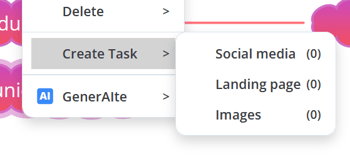
11. Click on a category to create a new task from that branch. The task will now show in the category on the task bar.
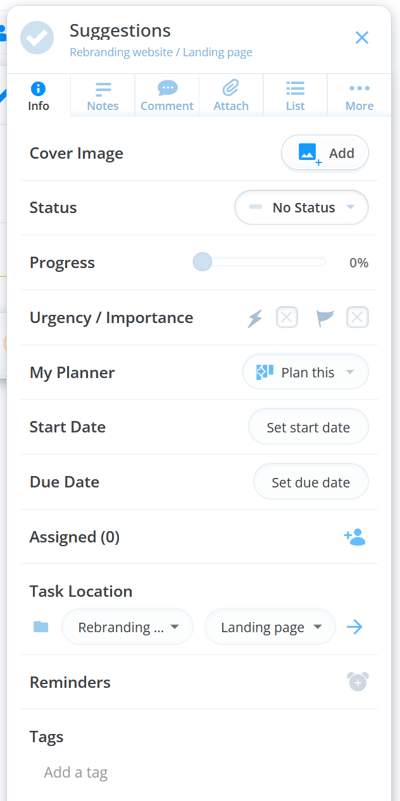
12. Click on the task to open the side panel. You will now be able to add task details.
Using the Task Bar to add branches to existing task boards
1. Open the task bar.
2. Click on Attach Task Board.

3. Scroll or search for the task board you want to use.
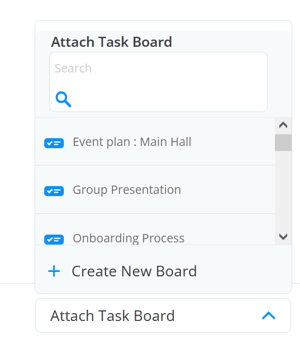
4. Click on the task board to open it on the task bar.

5. Right-click on the branch to open the context menu.

6. Click on the Create Task to see the categories.
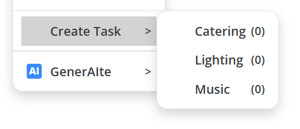
7. Click on the category to create a task from the branch.