-1.svg)
You can now develop ideas and get things done side-by-side in one easy-to-use view
Adding tasks to your Mind Map
1. Select a Mind Map to which you would like to add a Task.
The newly created maps have the Tasks already shown in the top Header menu.
With any previously created maps, you would need to switch this option in the Board Options.
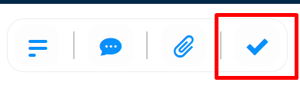
2. In the top menu, click on the Tasks option.
3. The Task Panel will be opened, where you will have the option to add and view tasks in the side panel.

4. When in the side panel, you can click on the task board icon to create an in-built task board dedicated to the given mind map.

5. Using the plus icon, you can add a task or category.

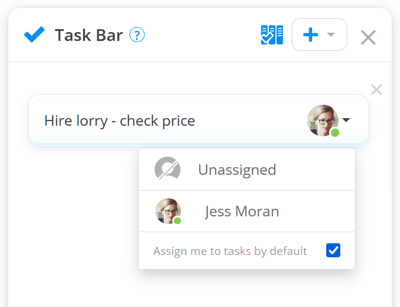
6. When choosing Add Task, you will have a pop-up window where you can name the task and select the assignee.
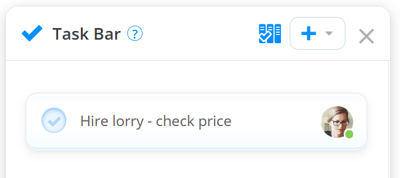
7. Once the task is created, it will be shown in the Task Bar.
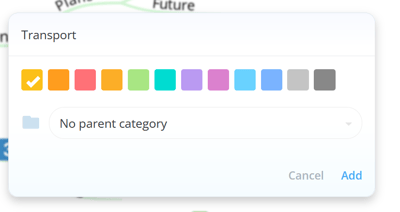
8. When choosing Add Category, a pop-up window will appear where you can name the category and select the colour.
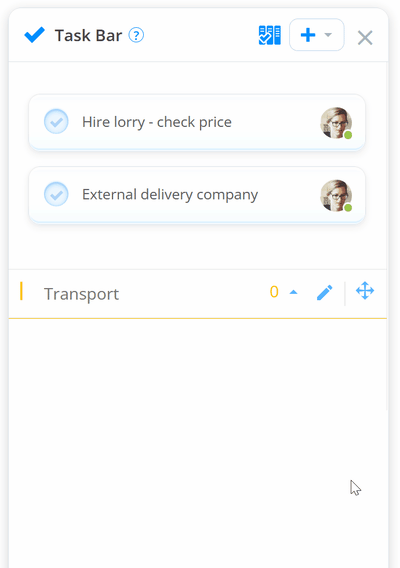
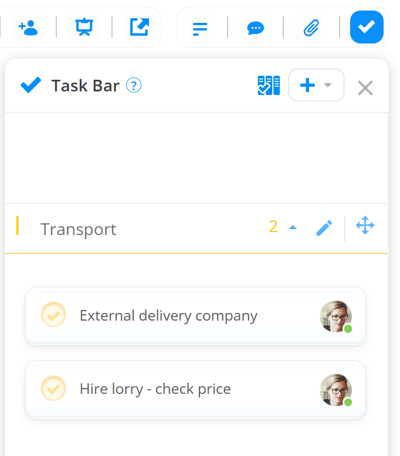
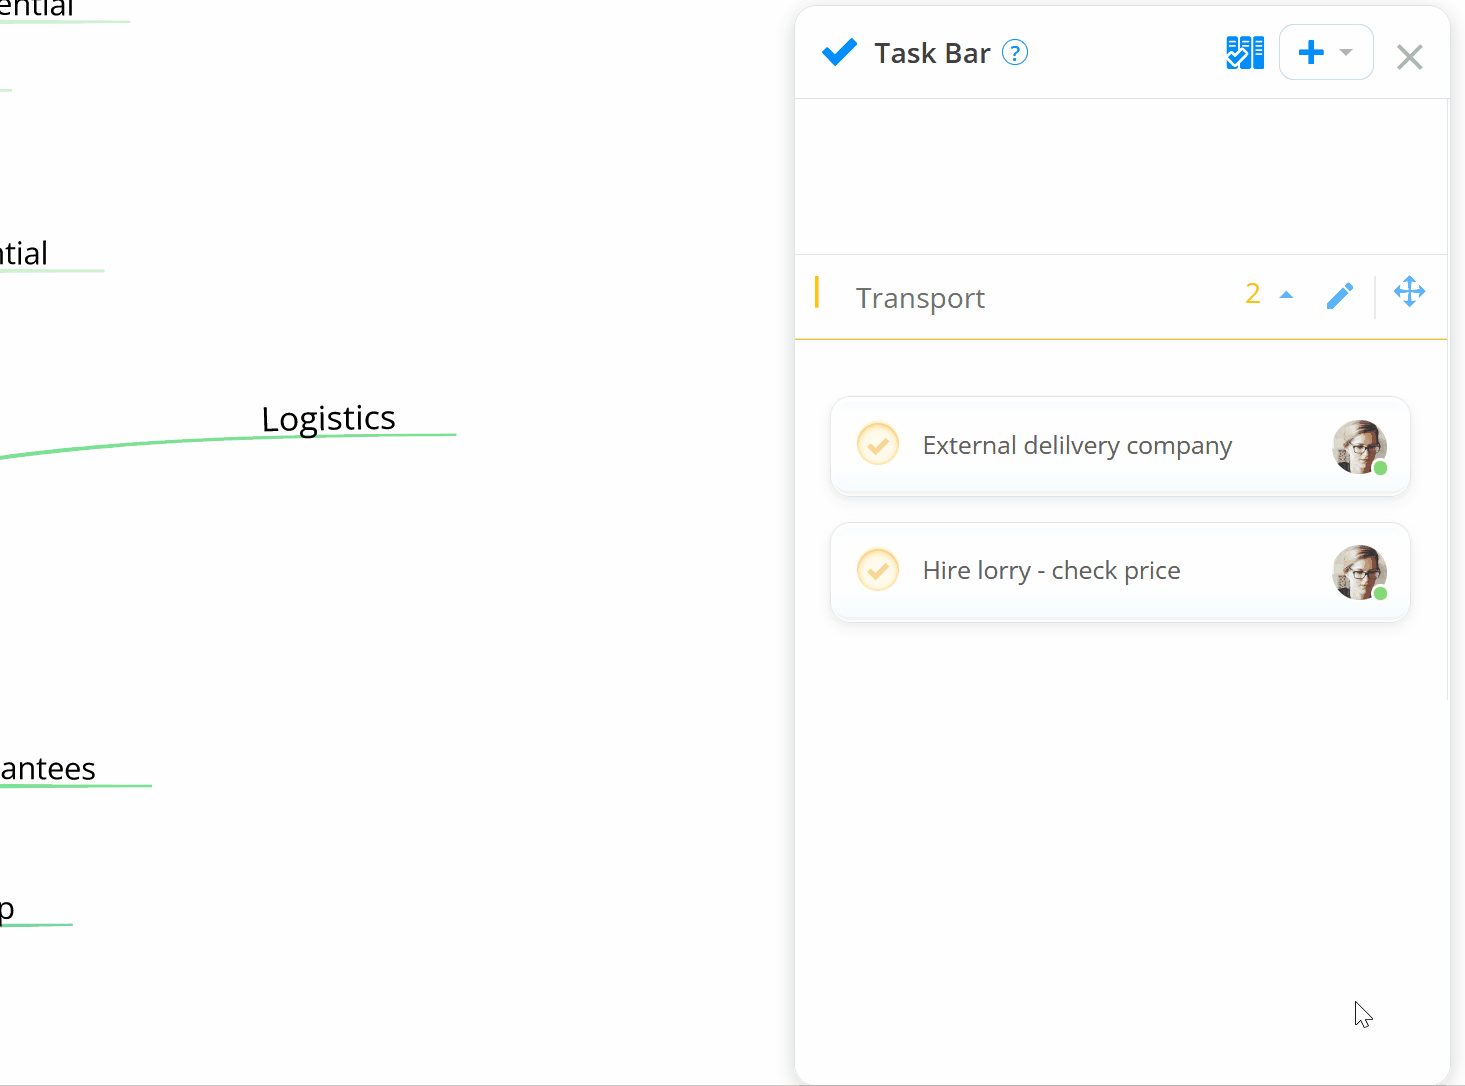
9. Once the category is created it will be shown in the Task Bar and you can move your tasks here to organise them.
Adding a task to the branch
1. Open the Task Bar by clicking on the Tasks button in the top menu.
2. Grab the task and drop it on the chosen branch.
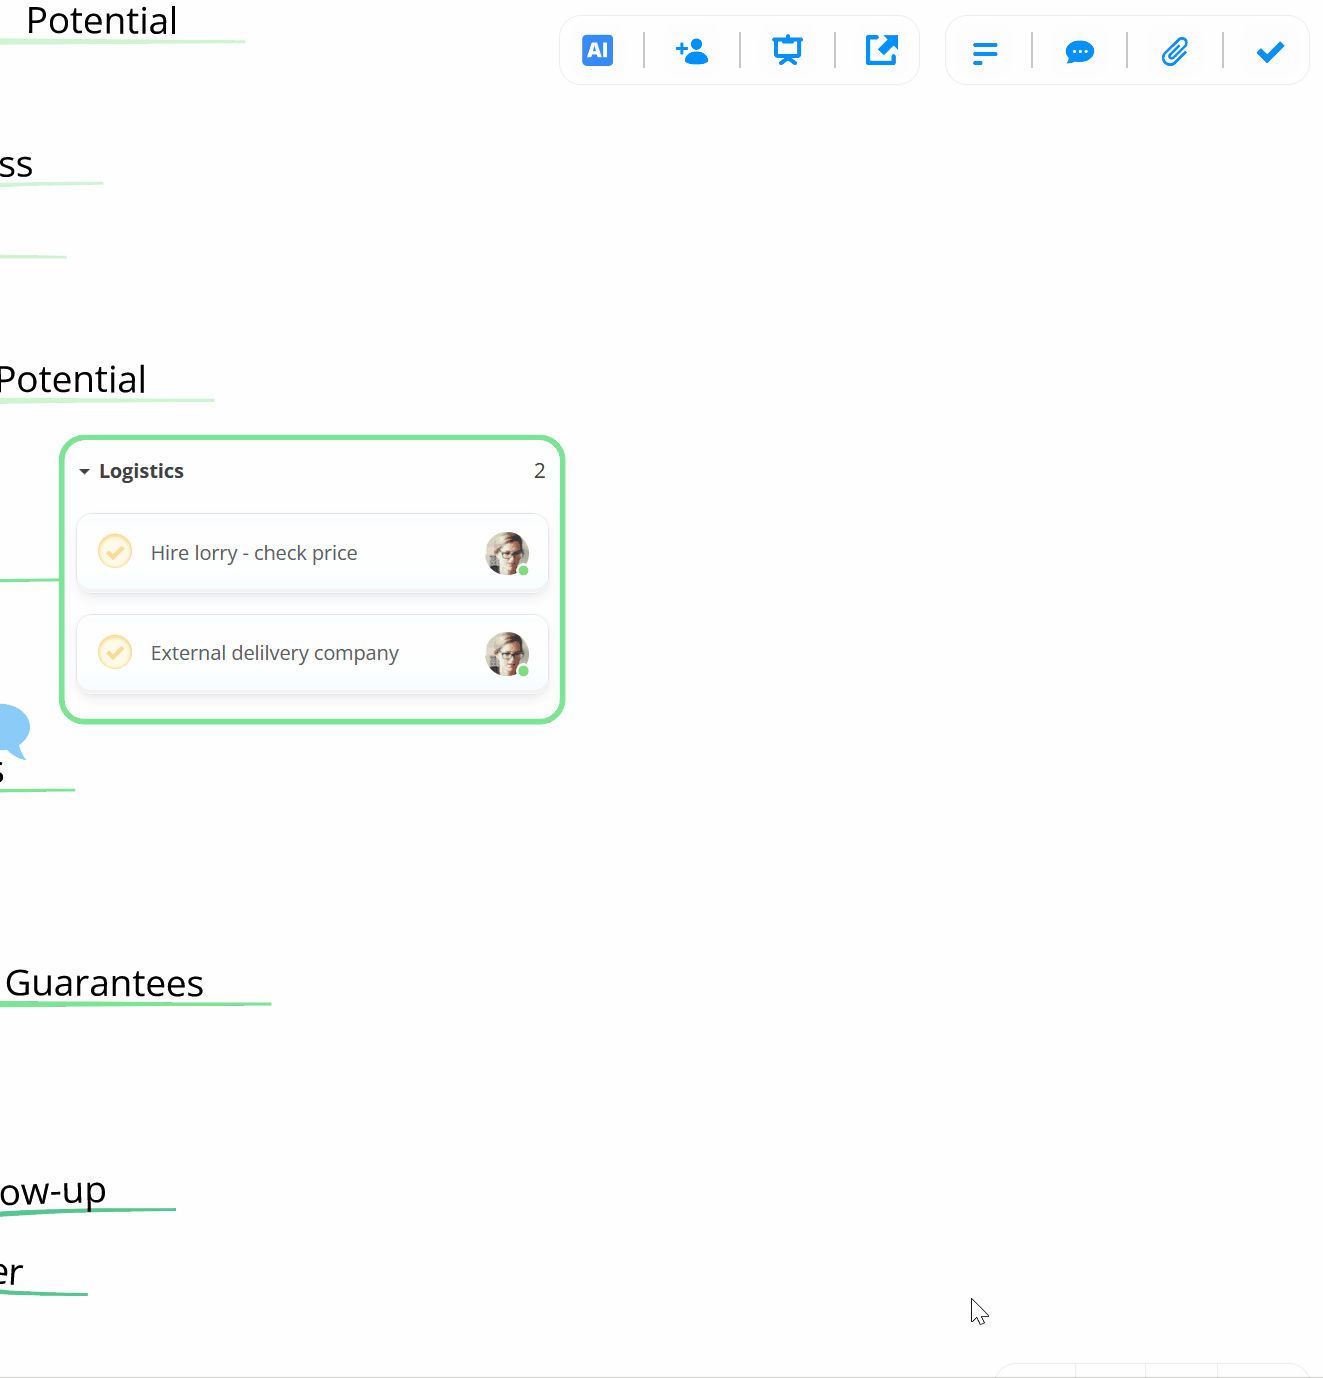
Once the task is added to the branch, it will be shown both on the branch and in the Task side panel.
3. To remove the task from the branch, simply grab the task and drop it in the Task Bar.

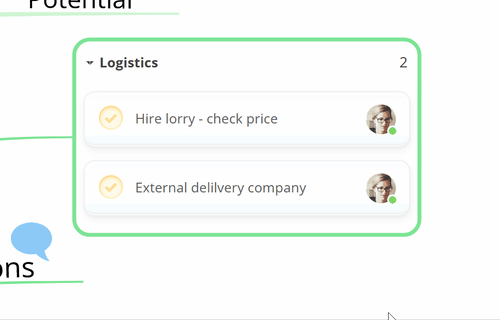
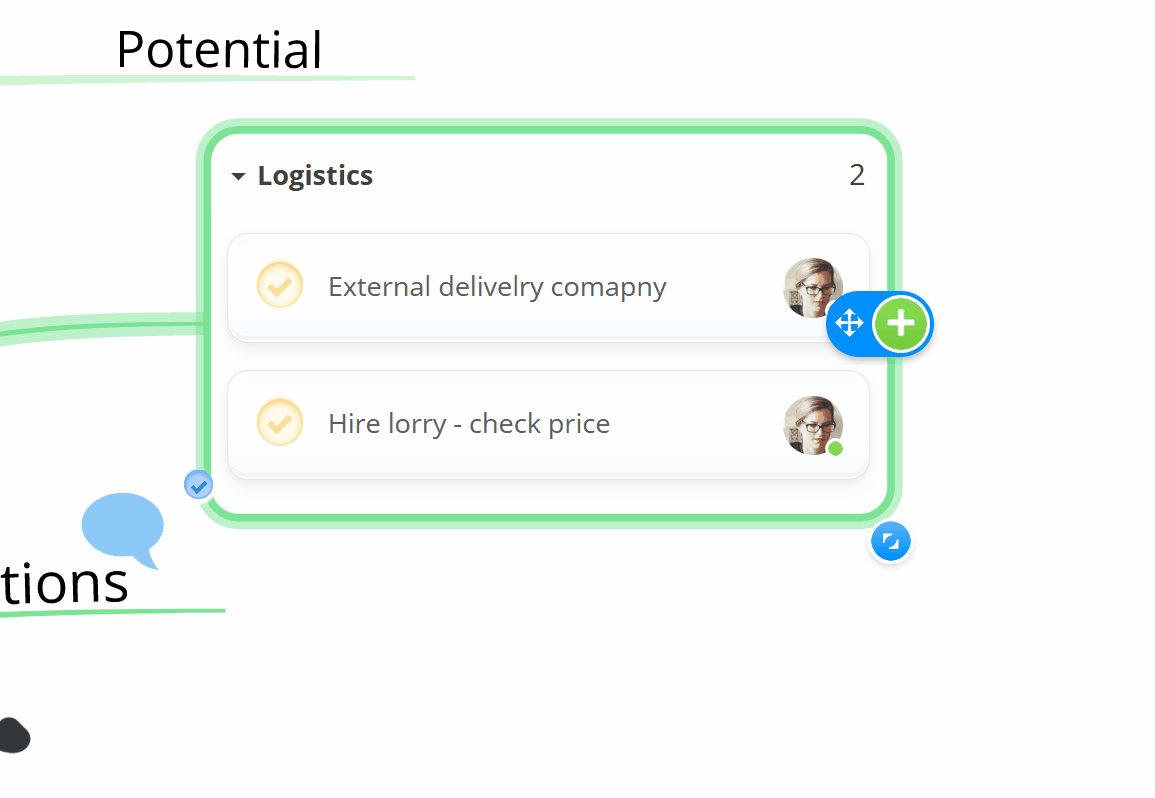
Managing tasks on branches.
1. You can collapse and expand tasks on your branch by clicking on the arrow next to the branch name.
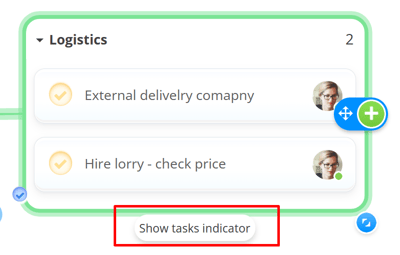
2. You can also collapse tasks completely, so they would be presented only as tick icons. To do this, hover over the box branch with the task and click on the Show tasks indicator.
3. All tasks will be then hidden. To bring them back, click on the tick icon on the branch and then the option Click to show inline.
4. To make changes to the task, click on the task, and the task info will be opened in the side panel.
Accessing the task board connected to the Mind Map
1. To go to the task board connected to the Mind Map, click on the task button in the top menu and choose the task board icon.

Or click on the tick icon in the top menu.

2. This will open the task board view. To return, click on the mind map icon in the top menu.
