Learn how to format your box branches in different styles and colours
To Format your Box Branches in a Mind Map:
1. Double-click on the chosen box branch to open the formatting option menu. Once the editor is open you can edit the shape, size, color, and the connector of your branches.

2. Each section allows you to control different aspects of the branch.
- The Shape section will allow you to edit the shape, size and color of the text box.

- The Line Style section will let you change the color of the branch connecting the text box.

- When choosing a color you can choose from the main swatch.
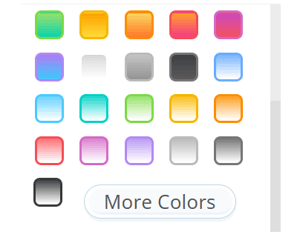
-Or click on More Colors to open the colour picker.
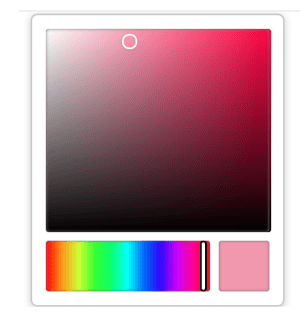
3. Once selected, these changes will apply to your branch.

Re-size Box Branches
You can increase or decrease the size of the boxes, perfect for if you want to quickly display more text.
1. Click on the branch to select.
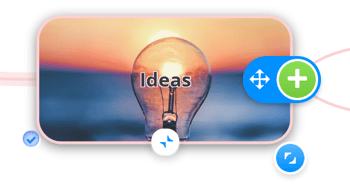
2. Click on this blue icon.

3. Drag the blue icon in or out, up or down to increase or decrease the size of the box.

4. Simply release the mouse when done.

Apply formatting to all Child Branches
1. If you are editing a parent branch, you can choose to add the formatting to it’s following child branches. Open the format menu by by double-clicking on the branch.
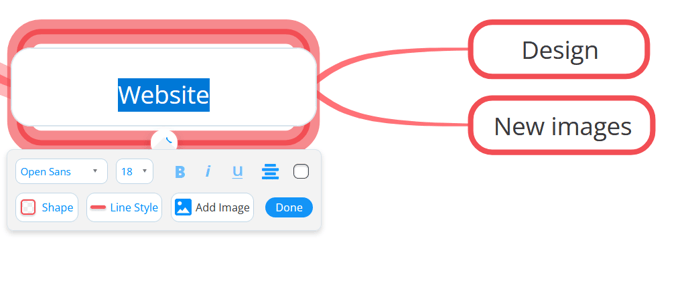
2. At the bottom of the menu click Apply style to children.

3. The child branches will then change to reflect the formatting of the parent branch.

Formatting Multiple Branches at Once
1. To format multiple branches at once, you can use the multi-select button or hold the Cmd/Ctrl key and click on the branches with your mouse. You will see a blue circle with a tick appear on each branch that you have selected. For further information on the multi-select feature, go to Multi-Select.

2. Once all your branches are selected, the blue multi-select toolbar will appear on your screen. Select the paintbrush icon to bring down the formatting menu.

3. Select the styles/changes you would like and see them instantly applied to your chosen branches.
