.png?height=120&name=Ayoa%20small%20(1).png)
Learn how to create a new mind map in Ayoa and choose your central idea, the starting point of any Mind Map
To create a New Mind Map:
1. Go to the Home page and click +Create new

2. When choosing the Blank mind map, you will have a blank canvas which you can fill with your ideas as branches:

Once you create a mind map, you can select the following styles
- The Mind Map style allows for more creative maps in a hand-drawn style using branches and box branches.
- The Radial Map shows your branches in adjustable segments.
- The Capture Map gives you freedom and flexibility to capture your ideas that free flow.
3. You can also select the AI assistant using the Generate ideas tab that creates branches for you on the given subject with ideas and explanations.
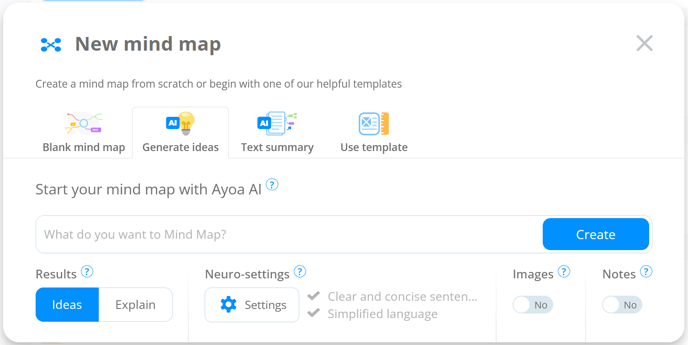
4. With the AI assistant, you can also convert text to a mind map, where AI summarise and organise the map for you by selecting the Text summary tab.
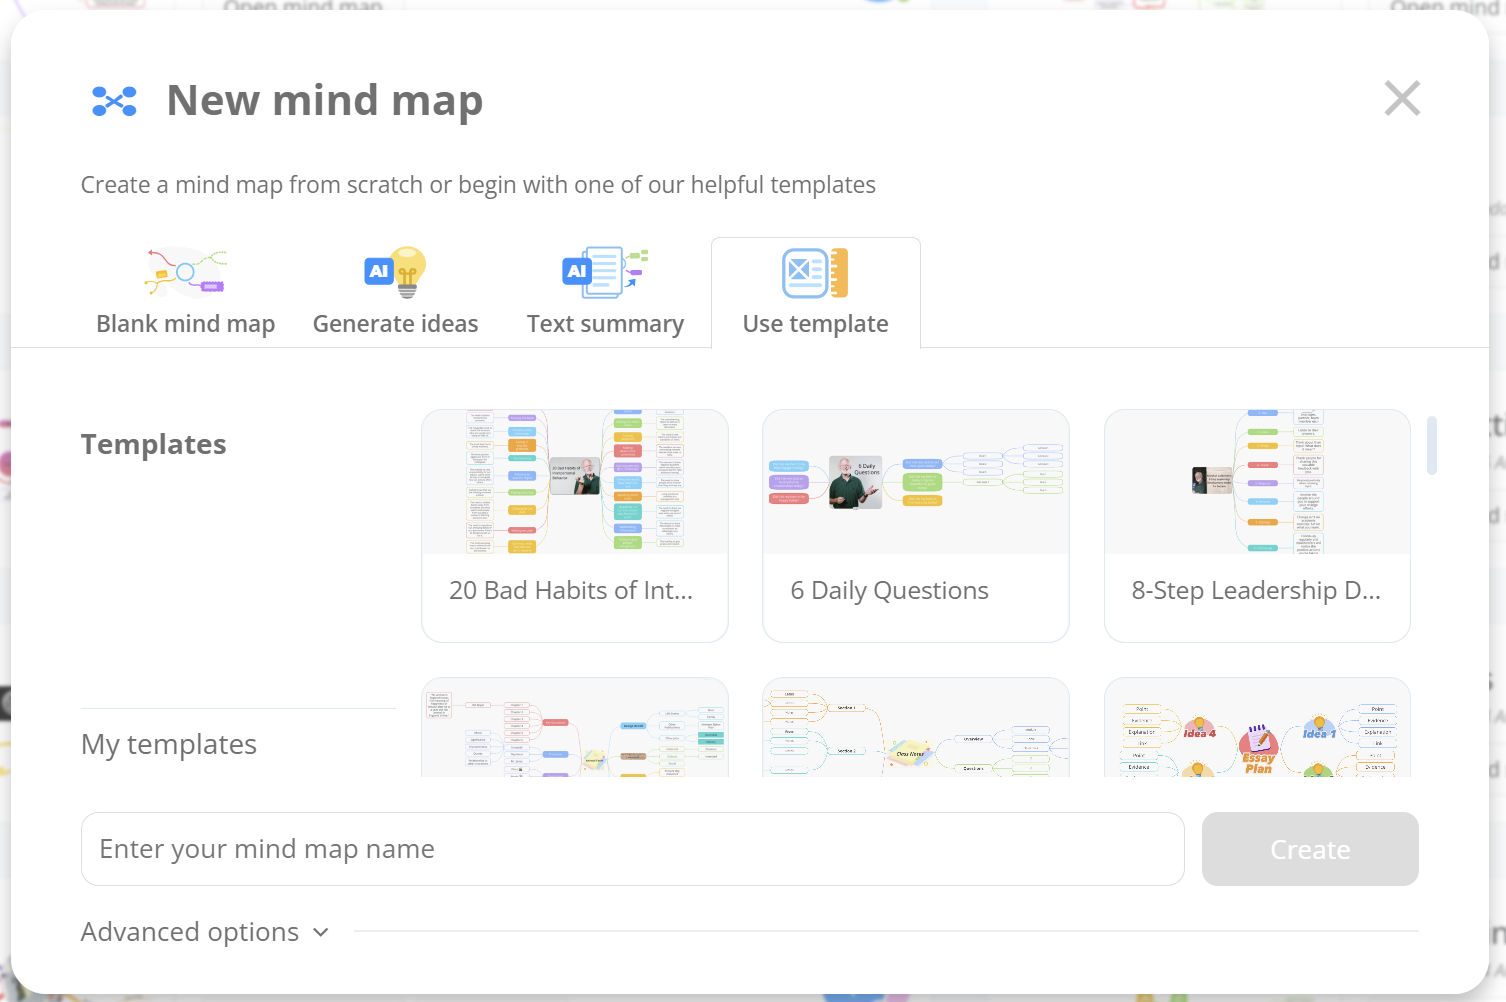
5. The other option is using one of our pre-made templates. These are automatically created in specific styles but once opened, you can switch the style at any time.
6. When selecting Blank mind map, enter the name of your map and this will become your central idea.
In the Advanced options, you can add a short description and invite others.

You can invite other people to your map later on. To learn more about inviting members to your maps, click here.
You can also import maps from iMindMap when selecting the option at the bottom of the window.

7. You will then be taken to your brand new mind map with the central idea editor appearing in the middle of the screen. You can select the central idea from in-built styles or choose the custom image if you wish.
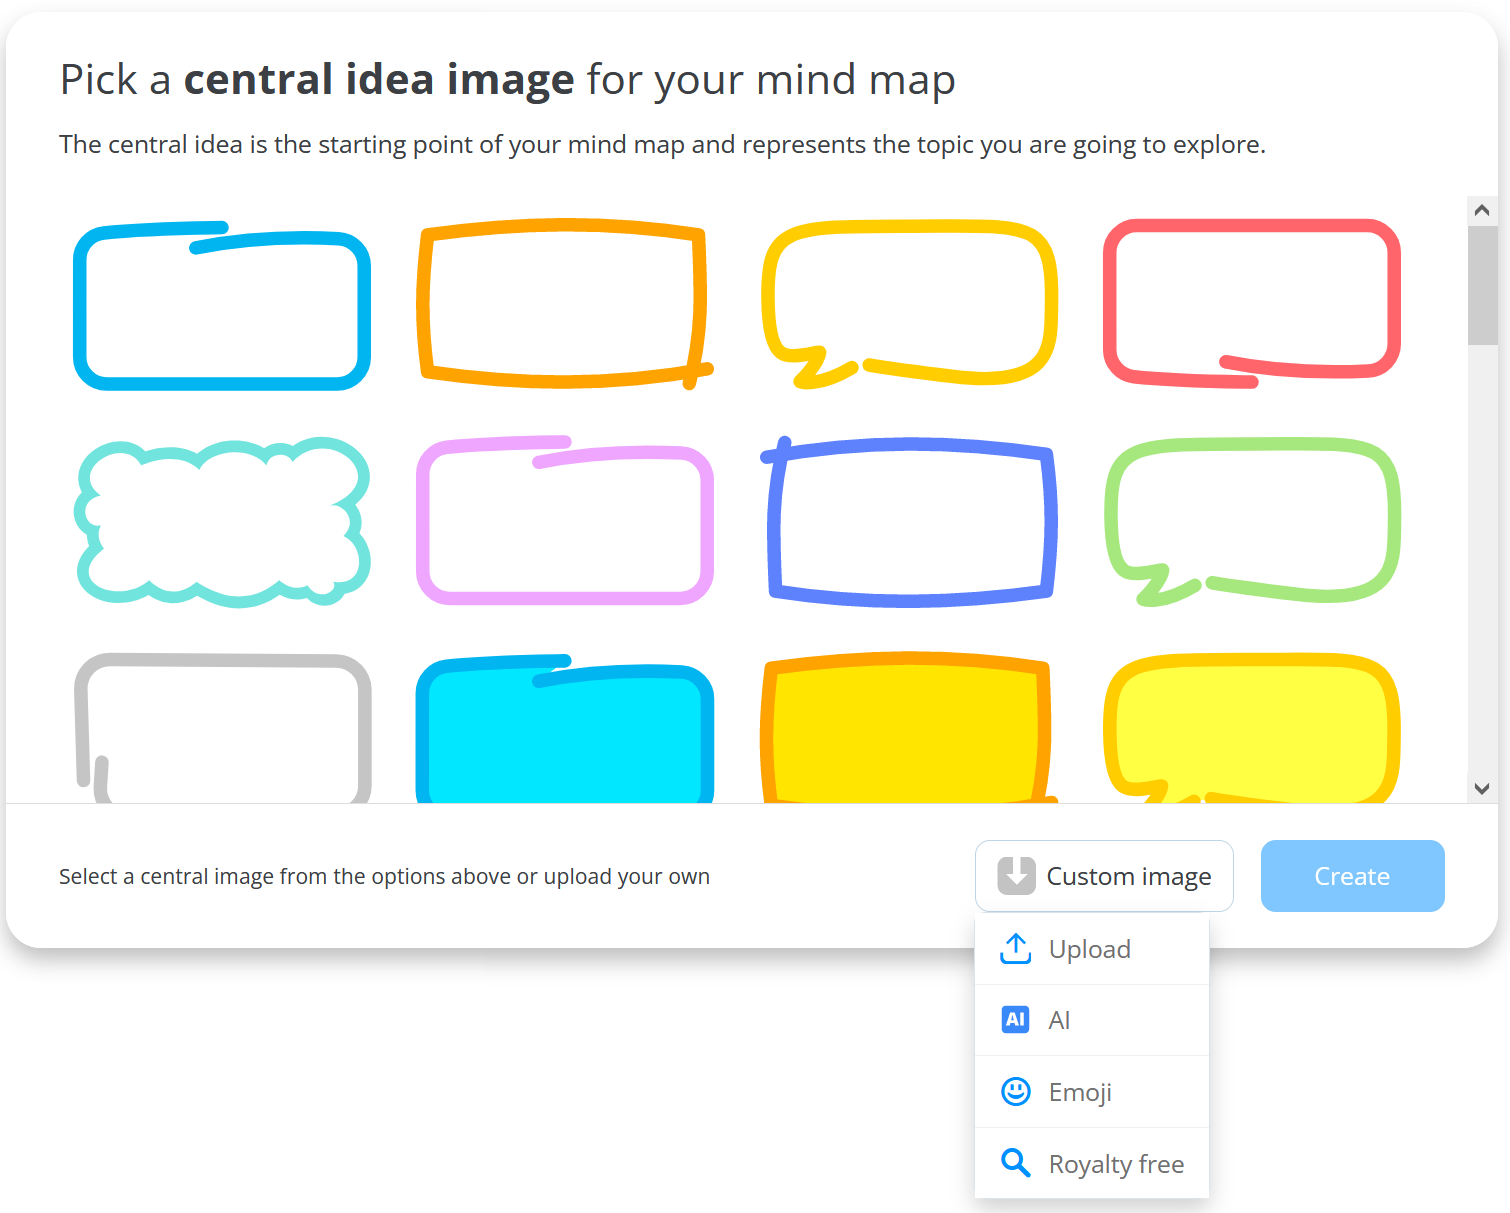
8. When selecting the custom image, you will have the option to select the image position within the central idea, choose the back colour and the option to hide the text ( cover image only).
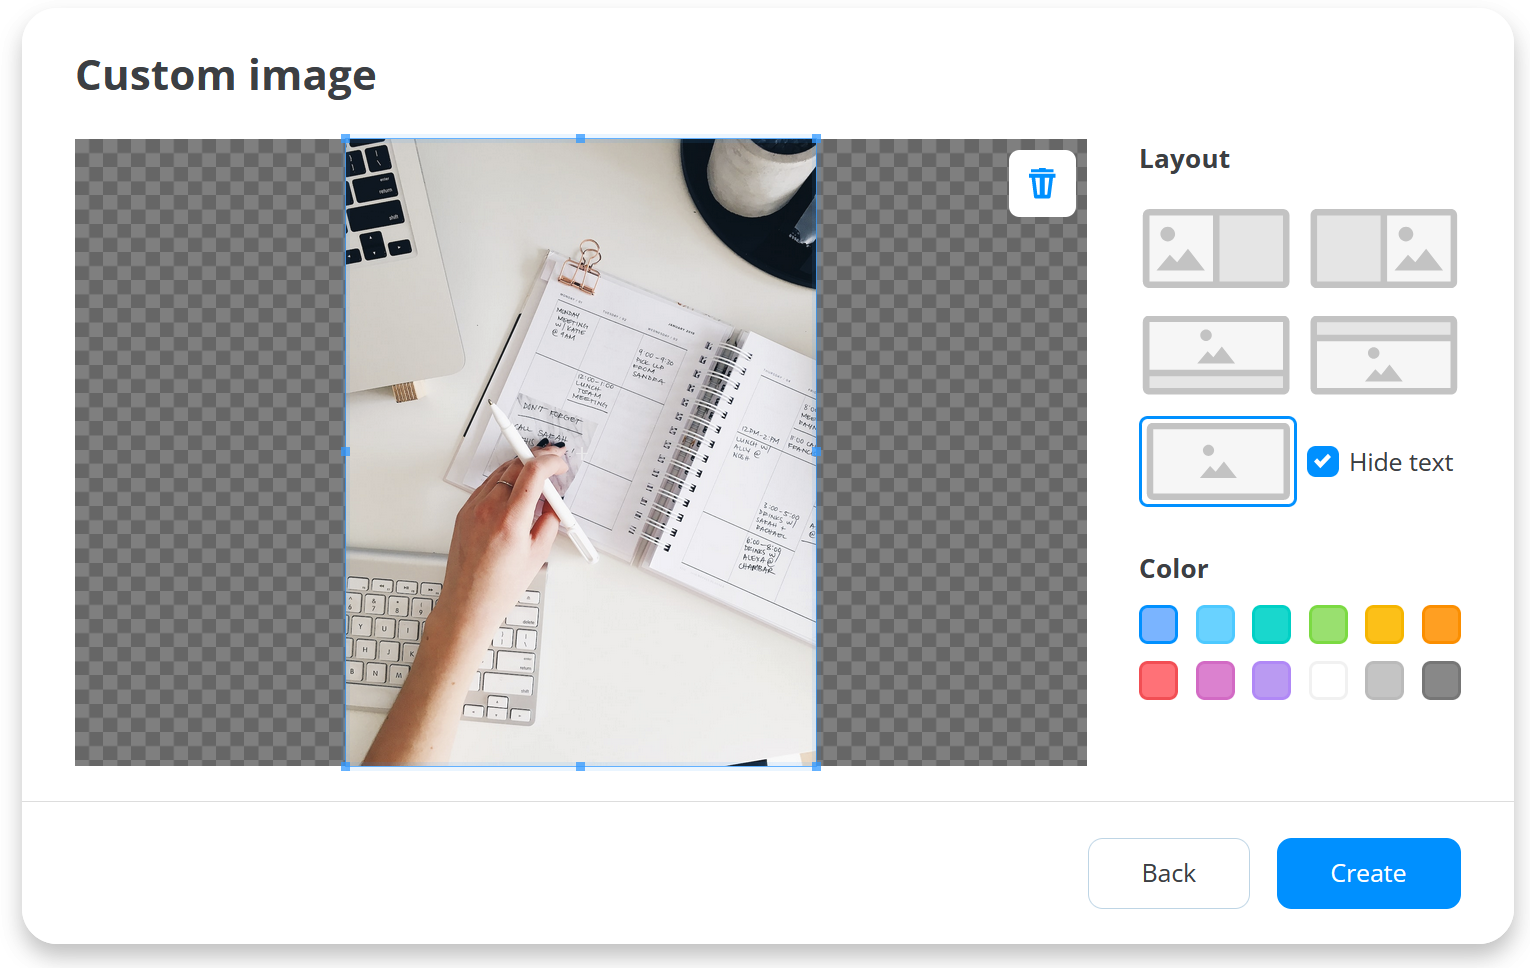
9. Then when you are happy with your choice, click the Create button.
10. The name of your map does not have to match the title of your central idea, so feel free to change this. To change the central idea text, double-click on the text to bring up the text editor.
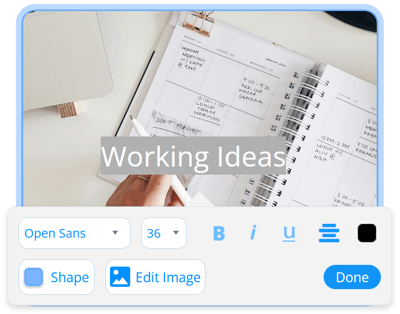
11. The text editor will allow you to change the font, colour, size, alignment, and styling of the text. Highlight the text to change specific sections. To make a line break hold Shift and Enter on the keyboard.
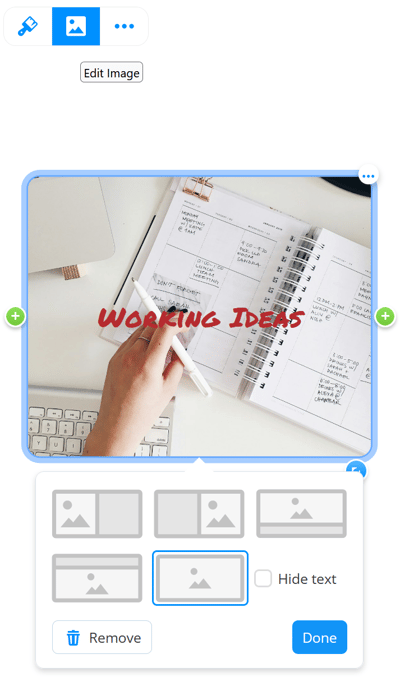
12. To change the image click on the plus icon and then select the image icon.
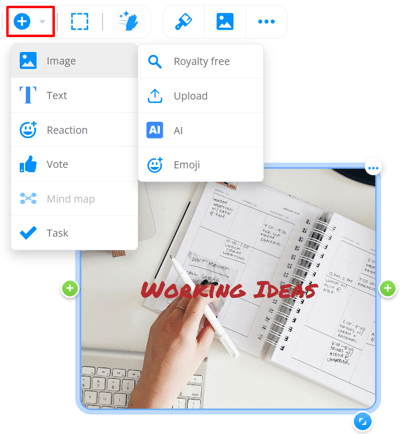
To change the layout, click on the central idea and then the Edit Image option in the top menu. You will also have the option to remove the image.