.png?height=120&name=Ayoa%20small%20(1).png)
With Mind Mapping, Ayoa is supporting your project life cycle from the very beginning. Although meeting your end goals is important, how you go about creating your goals in the first place is key.
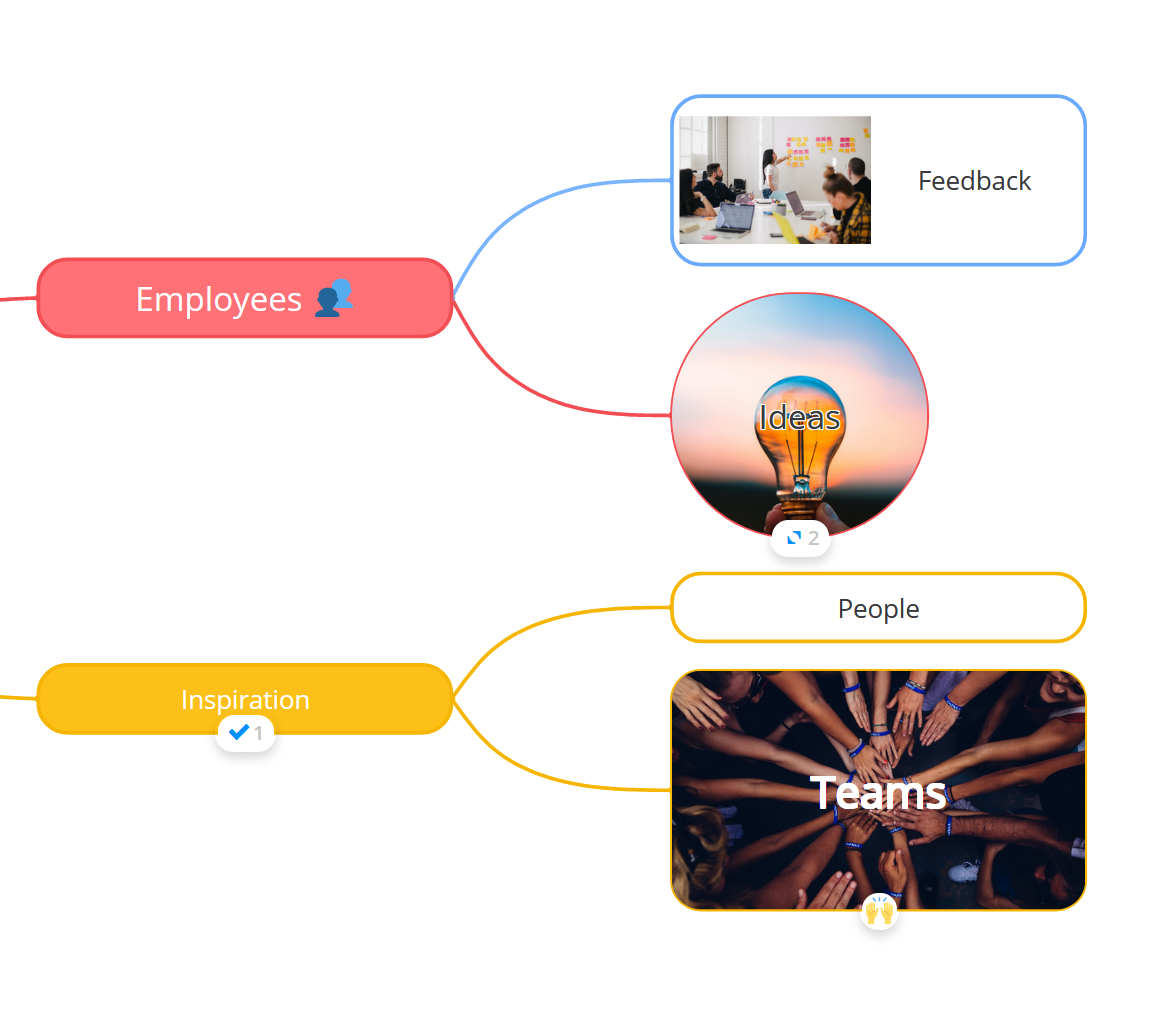
The opportunity to collaborate on mind maps in real-time, ensures no ideas, big or small, are missed and can be developed to their fullest potential before being actioned into tasks. Idea generation is at the tip of your fingers, whether you're working together in a meeting or remotely half way across the world from your colleagues.
With a sleek and professional interface, Mind Mapping is quick and easy to use.
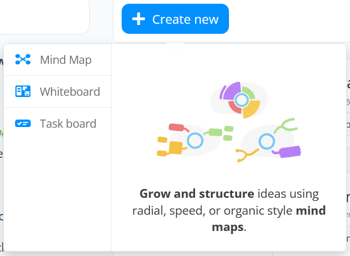
To create a New Mind Map:
1. Go to the Home page and click Create New, then choose Mind Map.
2. Choose the style you would like to start your map.
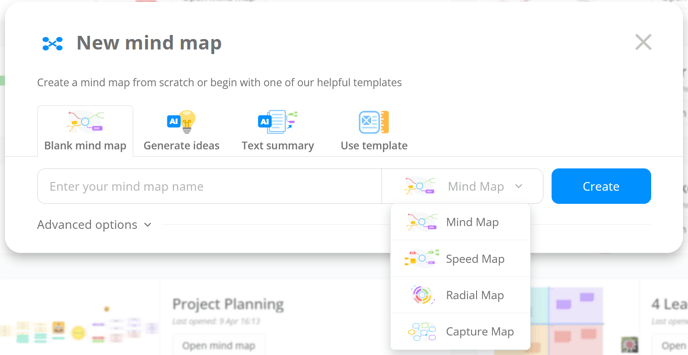
- The Mind Map style allows for more creative maps in a hand-drawn style.
- The Speed Map style is a professional-looking and designed to get the information down fast.
- The Radial Map shows your branches in adjustable segments.
- The Capture Maps show branches as floating bubbles, great for quickly getting ideas down in a less structured way.
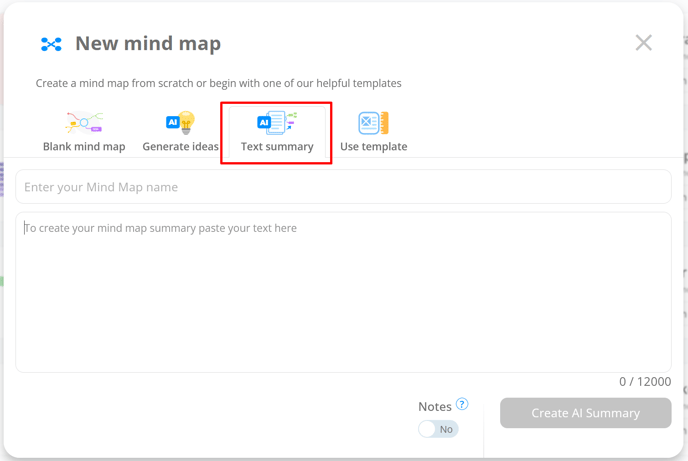
To create a map with AI assistance, you can select the Generate ideas tab, where AI creates mind maps based on your chosen subject.

Or you can select the Test summary tab, where AI creates mind maps based on the text provided.
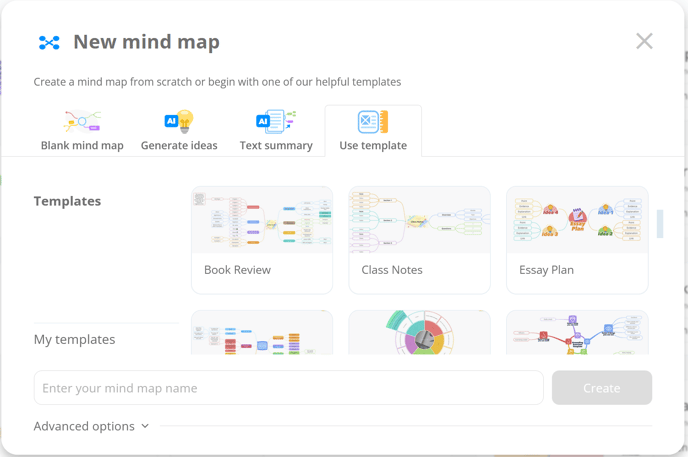
Alternatively, choose from one of our pre-made templates when selecting the Use template tab. These are automatically created in specific styles, but once opened, you can switch the style at any time.
3. When the map style is selected, enter the name of your map. This will become your central idea.
You can invite others to your map in the Advanced Options and a map description. To learn more about adding other users to your maps, go to Inviting Members.

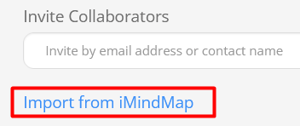
You can also import maps from iMindMap when selecting the option at the bottom of the window.
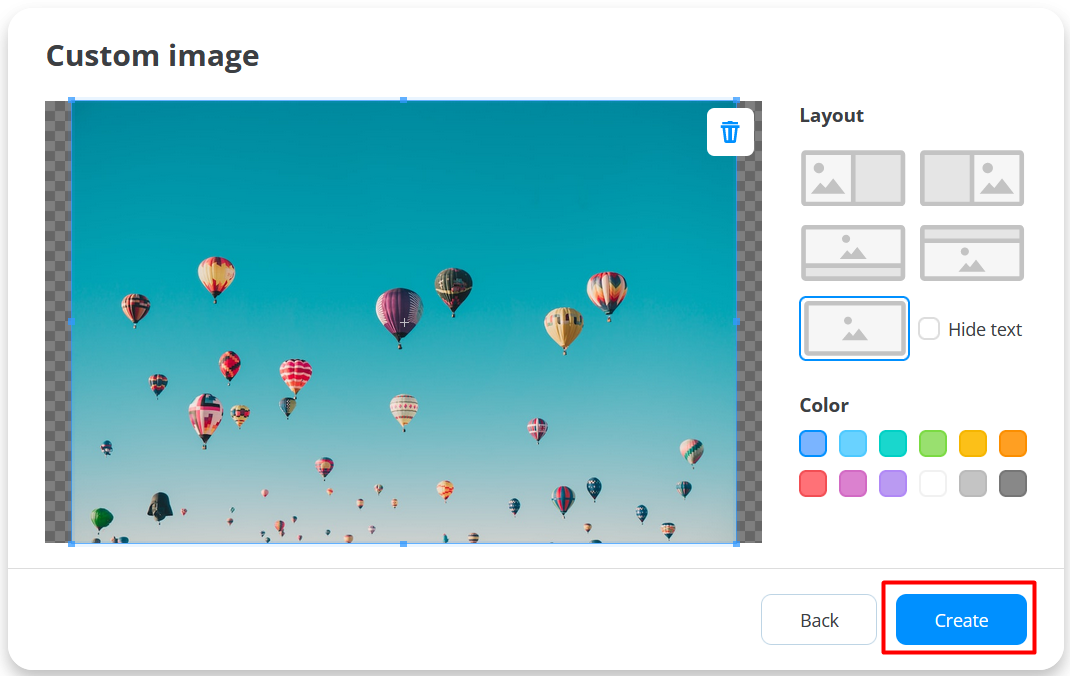
4. You will then be taken to your brand new mind map with the central idea editor appearing in the middle of the screen. You can select the central idea from in-built styles or choose the custom image if you wish.
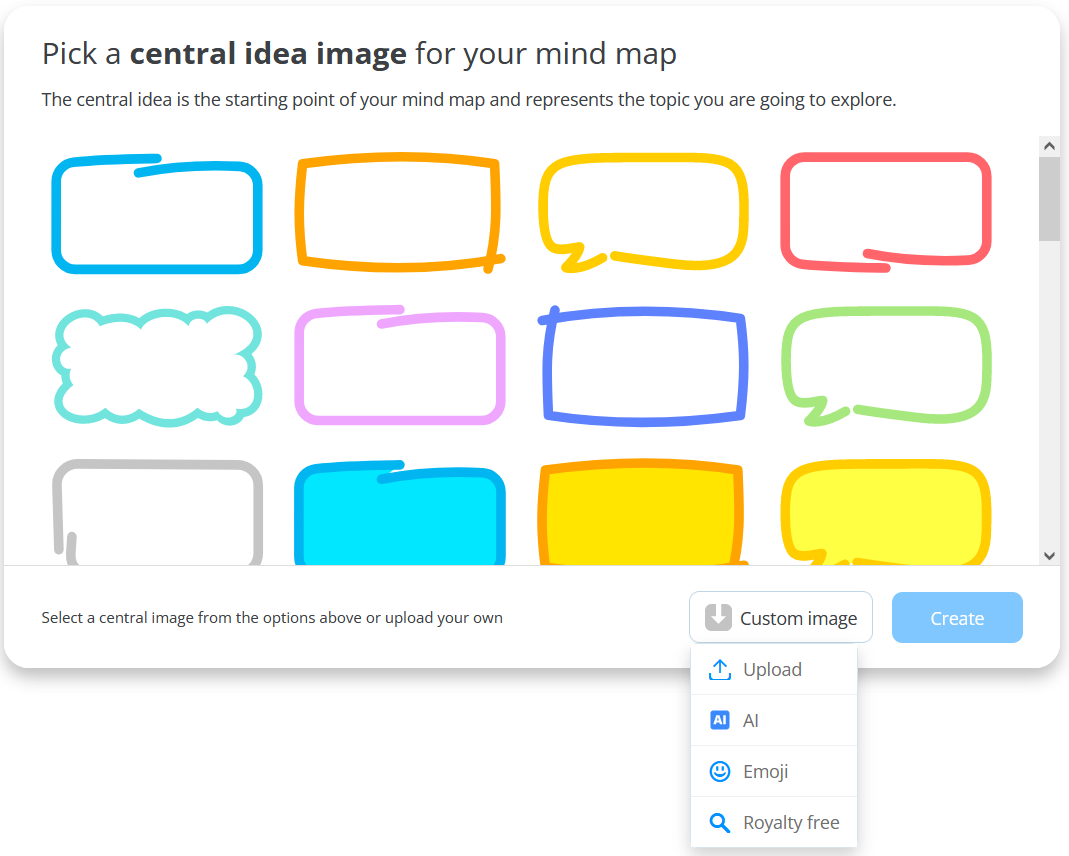
5. When selecting the custom image, you will have the option to select the image position within the central idea, choose the back colour and hide the text ( cover image only). Once you are happy with the image setup, press Create.
6. The name of your map does not have to match the title of your central idea, so feel free to change this. To change the central idea text, double-click on the text to bring up the text editor.
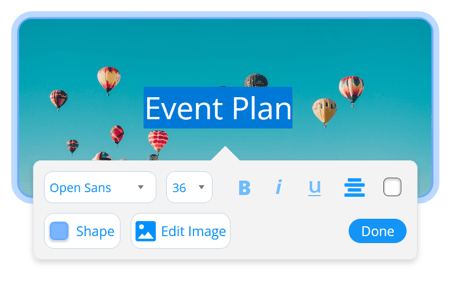
7. The text editor will allow you to change the color, size, alignment, and styling of the text. Highlight the text to change specific sections. To make a line break hold Shift and Enter on the keyboard.

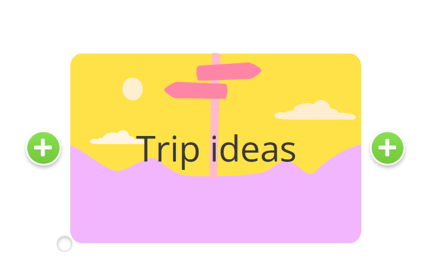
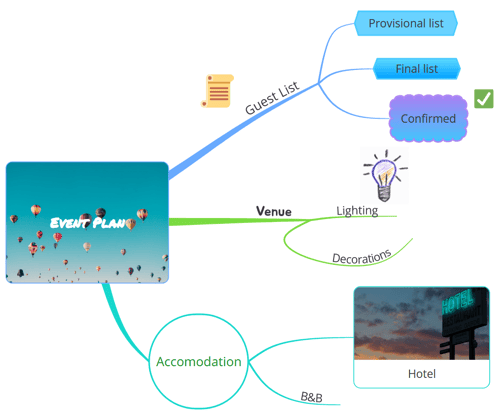
The Central Idea:
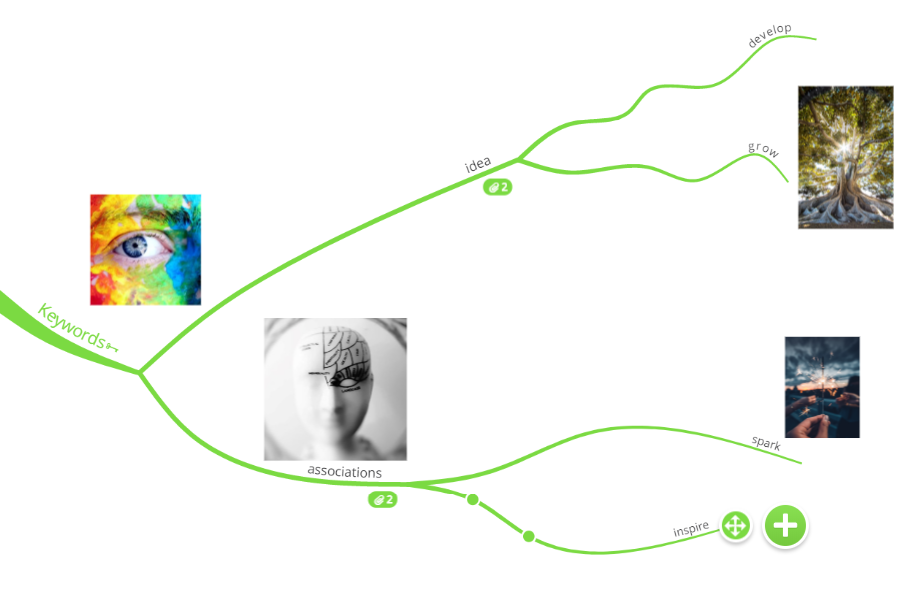
Your central idea represents the topic that your map is going to cover. This is the starting point for your ideas to grow out of. Within Ayoa, you can adjust the size and shape of your central idea to focus your attention on the subject matter. Adding an image reflective of your topic will encourage you to find further associations for you to add to your map. In Ayoa, you can even hide the text on your central idea to let the image take center stage on your canvas.
The Branches
The ideas that you add to your map are called Branches. The main branches that grow from your central idea will highlight the key areas of your topic and you can then add child branches to these for further detail. More branches will grow from each other as they trigger other thoughts. With an unlimited canvas in Ayoa, you can add as many branches as you like, allowing you to fully explore your ideas. Click the links to learn more about adding mind map style or speed branches to your mind map.
- If you enjoy the process of drawing mind maps, Ayoa lets you drag and drop branches onto your canvas into a space that you choose.
- Alternatively, use your arrow keys and hit Tab to speedily create multiple branches. When you make a branch and hit Enter, Ayoa will automatically prepare the next sibling branch for you.
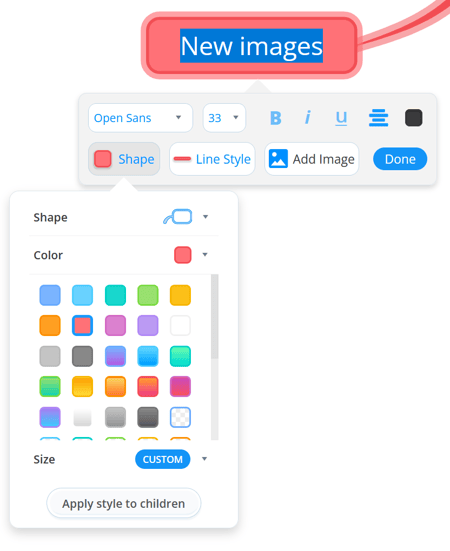
Formatting and Color
Adding color to your mind map enhances your work by linking the logical with the creative. Using color, you can highlight and categorize information in your map more effectively, allowing you to analyse, memorize and learn content. The more visually exciting a platform is, the more motivated and engaged you will be in your day to day work. Click the links to find out more about formatting your mind map or speed map branches.
-
Ayoa has a varied color palette - ideal for creating both professional and creative mind maps. Find these formatting options by clicking the paintbrush tab in the branch menu.
-
Outline your branches in color to differentiate between areas whilst keeping a clear and simplistic appearance.
-
Fill your branches in with block or gradient colors to inject a little more fun into your map.
-
Use the branch editor to your advantage - fill branches in, increase the size and change the connector style to draw attention to important ideas.
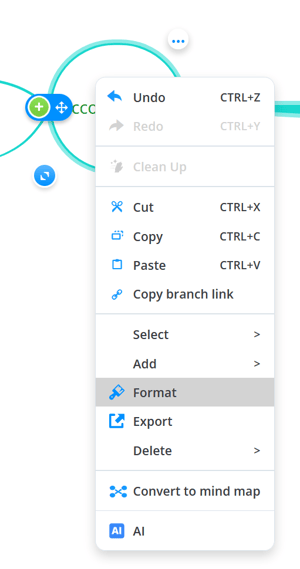
You can access the formatting options through either the toolbar.
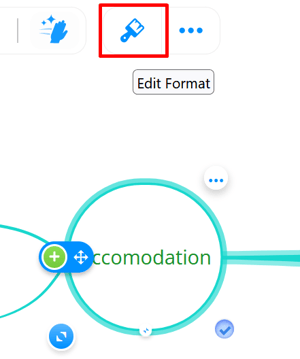
Or you can open the quick access menu by right clicking on the branch you want to edit.
Images
Images are powerful because they instantly convey messages, in a way that words do not. Acting as visual stimuli, they can spark numerous associations to help you create ideas and recall information. Within Ayoa, there are a few different ways you can add images to make your map more visually exciting. Click on the link to find out more about adding images.
-
Add images to your branches to clearly represent key themes and spark further ideas.
-
You can also add emojis reactions to your text in branches.
-
‘Showing creators' will add an image of that person’s avatar to each branch so you instantly know who has created what, helping you to remember your colleague's contributions.